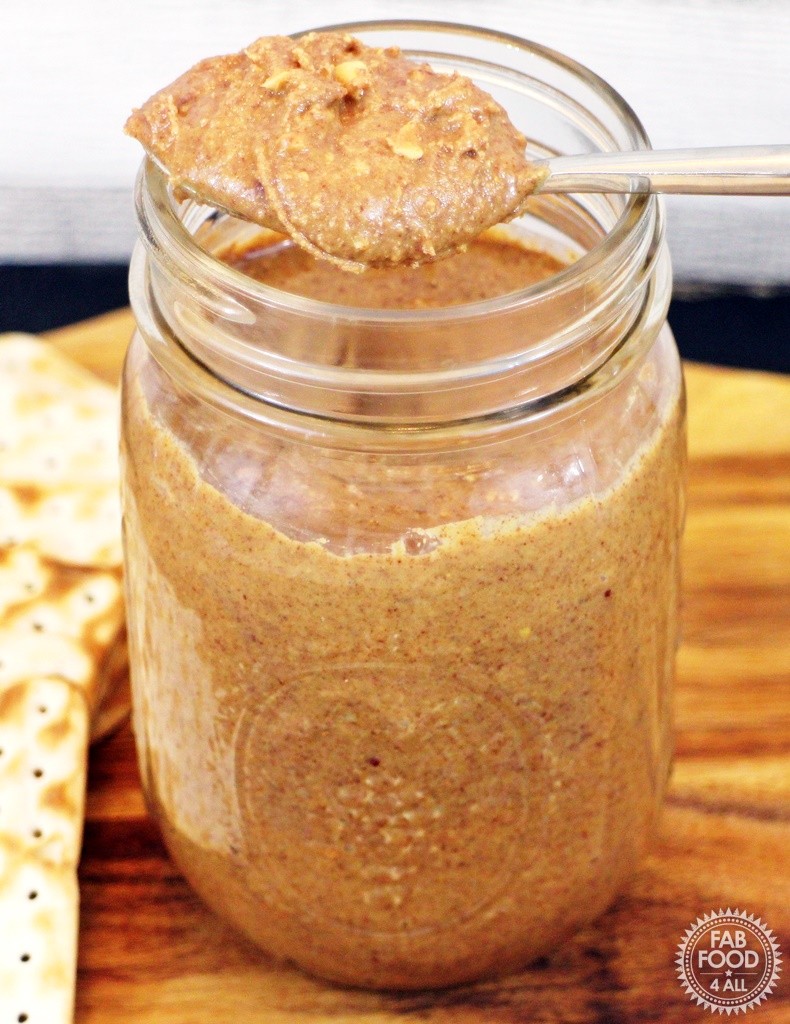
Once you’ve tasted this homemade One Ingredient Crunchy Peanut Butter I don’t think you’ll want to buy it from a shop ever again! It’s so easy to make, plus being additive free it’s very healthy too!
Today’s recipe for One Ingredient Crunchy Peanut Butter came about because the amount of peanut butter my family are going through has become unsustainable on my purse! No sooner do I buy a jar it seems to be empty in no time.
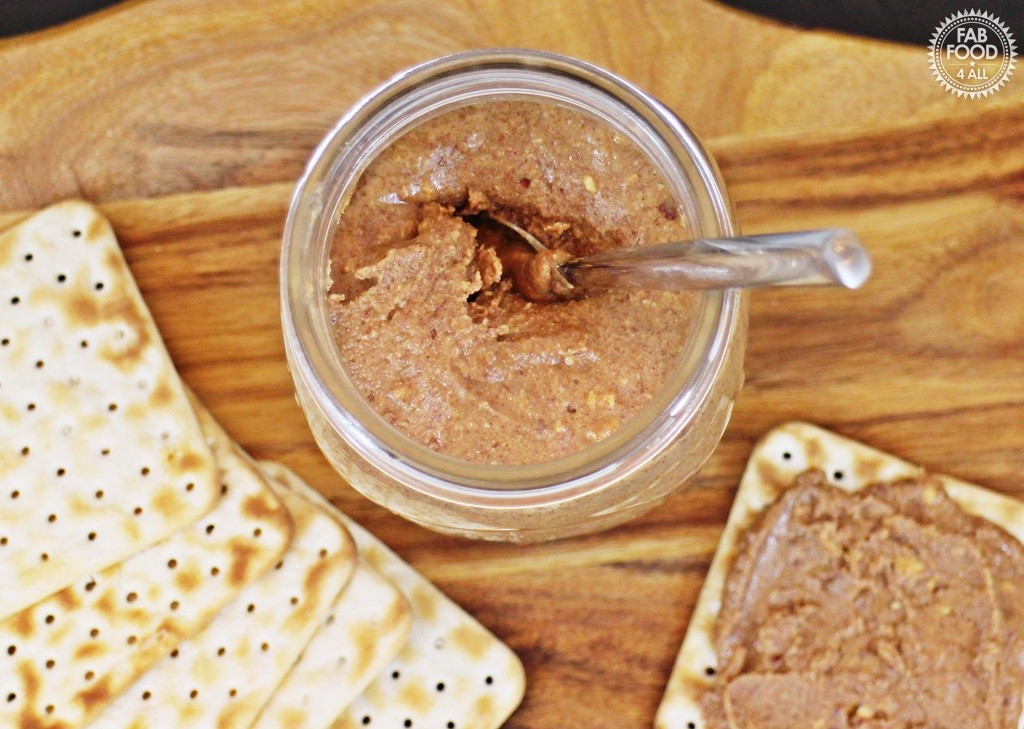
My son comes down in the evening for a snack, which is often peanut butter and crackers and now my daughter has started joining in this ritual.
Hubby seems to sneak some peanut butter on a cracker at any time of the day and I have to say I am very partial to it too!
So seeing 4 empty jars that needed washing up on the worktop the other day I realised that I was paying a lot of money for something I could easily make myself!
My first hurdle was finding raw peanuts not in their shells. I had to give up on the first supermarket I tried but then I found red skinned peanuts in the “world food aisle” of my local Tesco (and I’ve seen the same ones in Morrisons) which cost £1.19 for 500g. As a 480g jar of Whole Earth peanut butter cost me £3.17 recently I knew I was on to a winner!
The other peanut butter I also buy is by Meridian so taking my inspiration from their 100% peanut content, I realised that peanuts were all I needed! My family prefer the consistency of the Whole Earth peanut butter so I was able to make my One Ingredient Crunchy Peanut Butter to match this consistency whilst maintaining the zero additives of the Meridian
My next hurdle was what to make my peanut butter in!
I use my trusty old Braun stick blender for most blending which came as part of the Multipractic set I bought over 20 years ago. It was no good for this job so I decided to use the large blender attachment that came with it, you just clip the motor on.
All was going well until the peanuts reached a claggy stage at which point there was a strange high-pitched noise and the blade stopped whirring!
In a mild panic, I then clipped the motor onto the herb chopper attachment, and the blade in there span around so the motor wasn’t broken although it was starting to get quite hot.
I then had to decant the ground peanuts (in 3 separate batches) into my herb chopper and eventually reached my goal of delicious peanut butter but with an extremely hot motor in my hand!
Next time I will dig out the food processor which I know is hidden somewhere in the garage which would have been a lot easier! (Note, since writing this post I now have a power blender which is the best thing to make peanut butter in).
So what did the family think of my peanut butter?
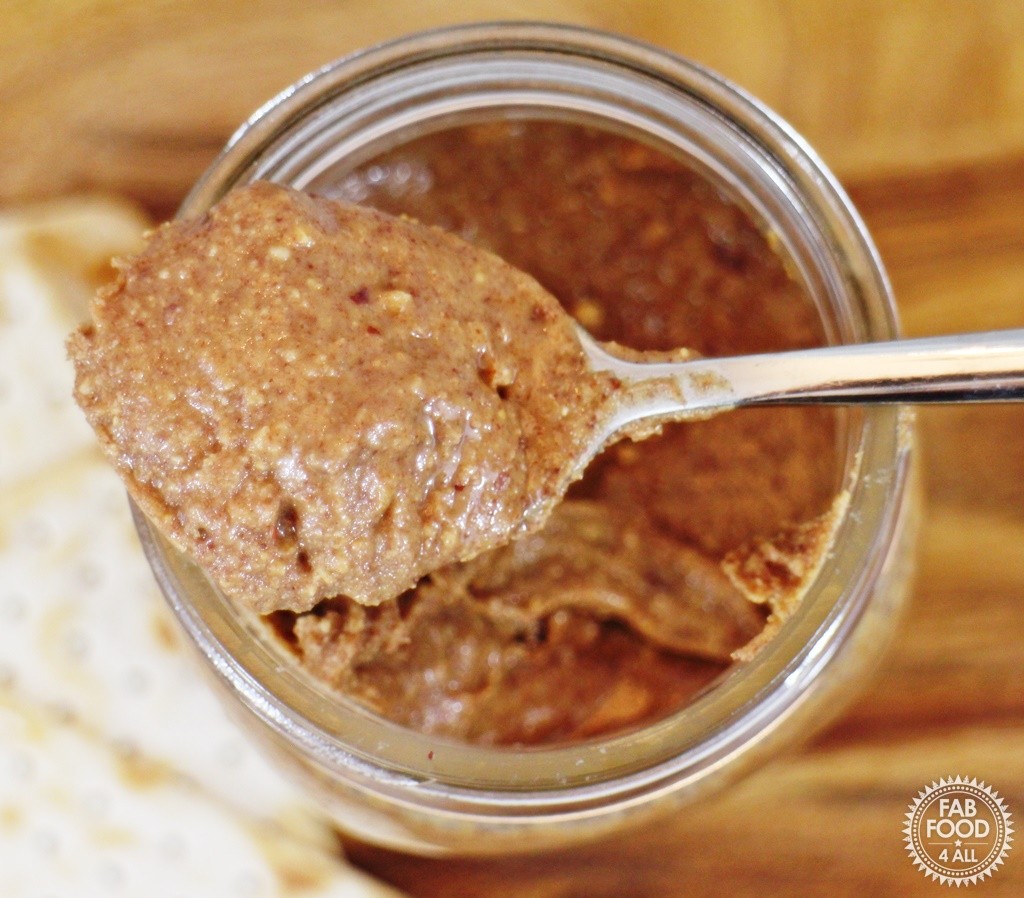
Well, I was barely able to take my photographs before the children were all over the jar scooping it out onto crackers. They absolutely loved it and I think it’s safe to say that I won’t be buying peanut butter anymore!
Hubby tried some the following day and also approved saying he preferred mine to the shop-bought ones! What more can I say – go make some crunchy peanut butter and save yourself some money too!
I’ve made a couple of Instagram videos below where you can see the blending process!
Recipes Using Peanut Butter
For recipes using peanut butter, you might like to check out the following:
- Houmous with Peanut Butter – Fab Food 4 All
- Peanut Butter and Banana Gluten Free Wrap N Rolls – Fab Food 4 All
- Stir-fry Veggies in a Peanut Butter Sauce – Coffee & Vanilla
- Peanut Butter Oreo Milkshake – Foodie Quine
- Creme Egg Peanut Butter and Nutella Cake with Nutella Icing – Recipes from a Pantry
- Old Fashioned Nut Butter Biscuits – Kavey Eats
- Peanut Butter Cookie Brownies – Emily’s Recipes & Reviews
- Fat Elvis Brownies – Supper in the Suburbs
- No Bake Peanut Butter Cream Pie – United Cakedom
- S’mores Granola Clusters – Elizabeth’s Kitchen Diary
- Chocolate & Peanut Butter Flapjacks – Penne for your Thoughts
- Chocolate & Peanut Butter Cake – Sew White
- Carrot Cake Quinoa Truffles – Veggie Desserts
- Snickers Style Peanut Butter Milkshake – Munchies & Munchkins
- Vegan Peanut Butter Cheesecake – Nadias Healthy Kitchen
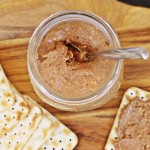
Pin for later!

Leave a comment and rating below when you’ve made this recipe; I love getting your feedback! You can also share your pictures by tagging @FabFood4All over on Instagram.
One Ingredient Crunchy Peanut Butter
Equipment
- baking tray
- large spoon
- food processor or power blender
- preserve jar & lid
Ingredients
- 500 g Raw shelled peanuts I used red skin peanuts
Instructions
- Pre-heat the oven to 180ºC.
- Spread the peanuts out in a single layer on a baking tray and roast for 15 minutes.
- Taste a peanut (carefully it will be hot) and if it doesn’t taste like a roasted peanut carry on roasting for a little longer and taste again.
- Once the peanuts are ready, allow them to cool.
- Pop the peanuts into a food processor and blend until the peanut fragments are the size you’d like in your peanut butter.
- Remove a few tablespoons (amount depends on how much crunch you want in your peanut butter) and set aside.
- Continue blending the peanuts, stopping periodically to scrape down the sides (patience needed unless you have a high powered blender) until you achieve the consistency of peanut butter (having a little taste will confirm this too).
- Finally fold in the peanuts fragments and place in a 500 ml sterilised jar.
- Store in a cool dark place.
Candace
Never even thought about making my own peanut butter. Must say my kids would love this on thick crusty bread
Camilla
My kids can’t wait for me to make some more:-)
Spanish HomeMade
It looks great! We are not big fans of peanut butter, but I have to admit in this case I´d have more than one! 🙂
Thanks! Enjoy the weekend!
Working mum Blog
I have been making my own nut butter (peanut, almond and cashew) for a while too but I usually tend to include a bit of nut oil to get the right consistency. Yours look really good – I will have a go at making without oil the next time. Thanks for sharing
Camilla
Thanks, glad to have inspired:-)
Nadine-Johanna Stewart
Looks delicious. For me it would be almond butter, I go through it like crazy. So good and so healthy.
Camilla
Thanks! Almond butter is on my list too;-)
Jessica
I can hear the crunch haha. After cheese, peanut butter is my second choice for spread. Your idea is a must try. 🙂
Camilla
Thanks Jessica, yes we alternate with these two for a snack but in particular my teenage son:-)
WhatLauraLoves
I love peanut butter; definitely the crunchier the better for me! xxx
Camilla
Me too and here you can decide exactly how much crunch to add:-)
Kacie
Thanks for sharing this recipe, I bet it tastes so much better than shop-bought peanut butter. How long does it keep for?
Camilla
Thanks Kacie – as this is the first batch I’ve ever made I can’t answer that. I did look online at recipes with additions which talked about keeping it in the fridge for 3 months. As this has no additions I have not kept mine in the fridge but the jar is nearly empty now some 6 days after I made it so I don’t think I’ll ever find out how long this actual one lasts!
leeshastarr
I’ve only recently got into crunchy peanut butter, I’ve always preferred smooth but this looks great and easy to make
Camilla
Oh it has to be crunch in our house;-)
Nicole Neverman
I love how easy this is! I never realised it would be so simple to make your own peanut butter. I have got to give this a try 🙂
Camilla
Fab Nicole, glad to have enlightened you:-)
nicol
ive been meaning to make my own peanut butter but i keep forgetting. love it!
Camilla
No excuse now I’ve reminded you:-)