

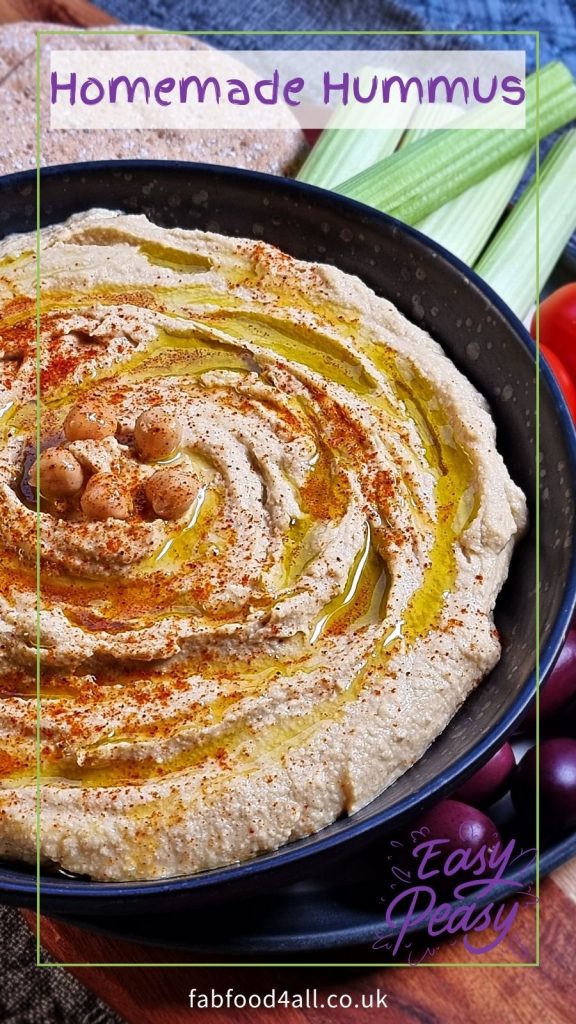
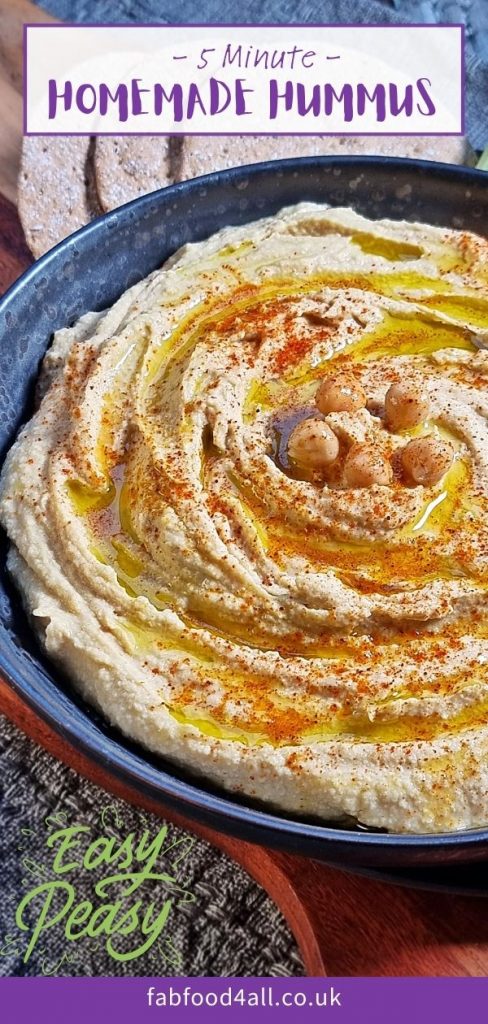
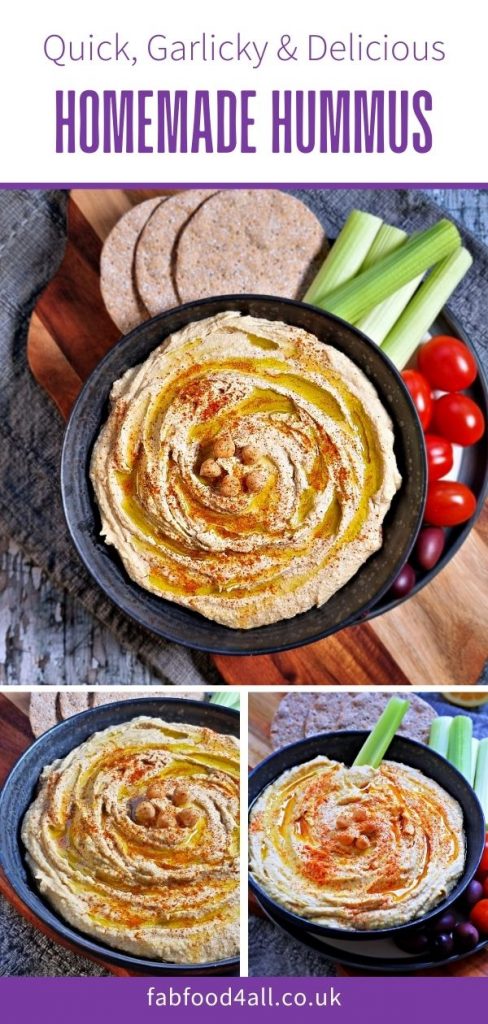
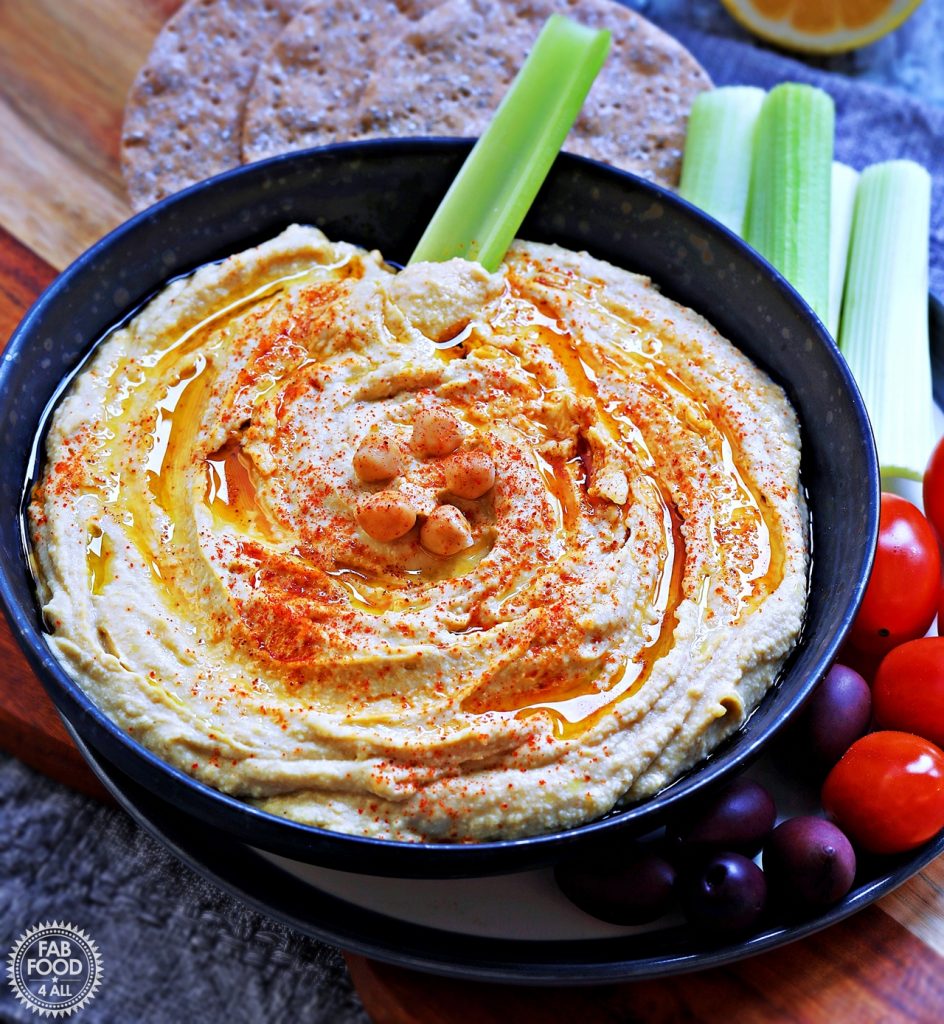
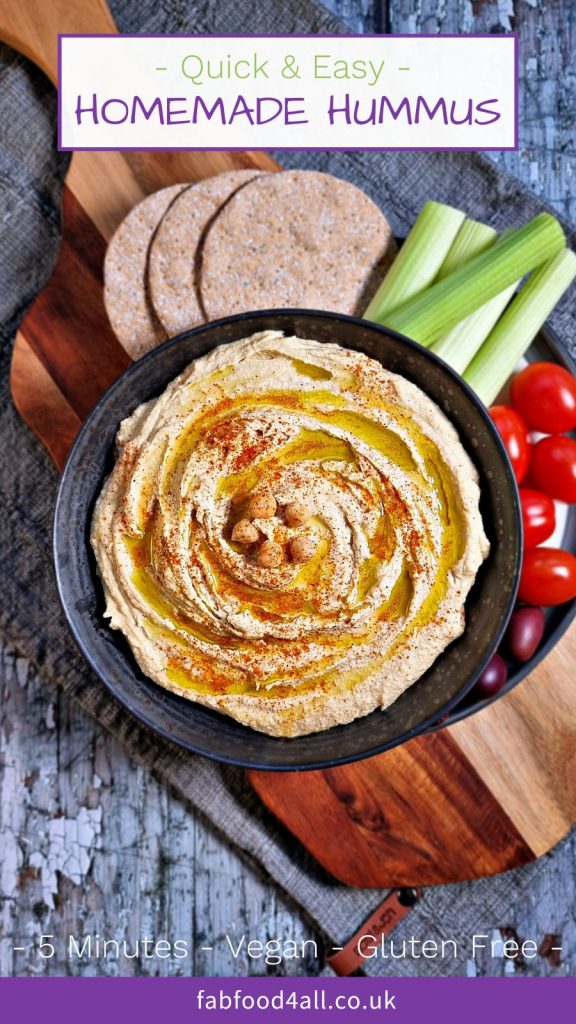
This Quick Homemade Hummus Recipe (aka houmous) comes together in just 5 minutes using canned chickpeas and a few simple pantry ingredients.
Better than store-bought, this easy creamy hummus is so versatile. Use it as a nutritious dip, sandwich spread, or addition to salads, wraps, and grain bowls.
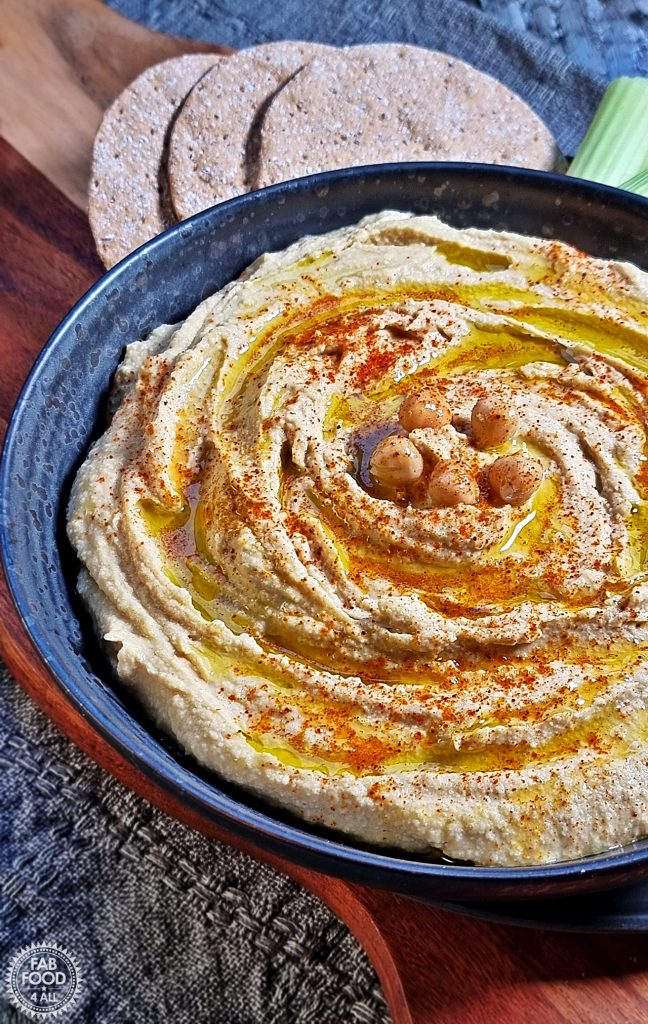
Table of contents
Background
We’ve been on a journey to improve our gut health, so cutting ultra-processed foods and seed oils has been paramount.
Hence, we ditched shop-bought hummus or houmous (depending on how you spell it) as most contain either sunflower or rapeseed oil.
My husband developed this easy hummus recipe some time ago. It’s the best hummus I’ve tasted, so I thought it was high time I shared it.
We enjoy this houmous regularly with cold food and salad for lunch, and it also makes a great healthy snack paired with crunchy veggies.
What is Hummus?
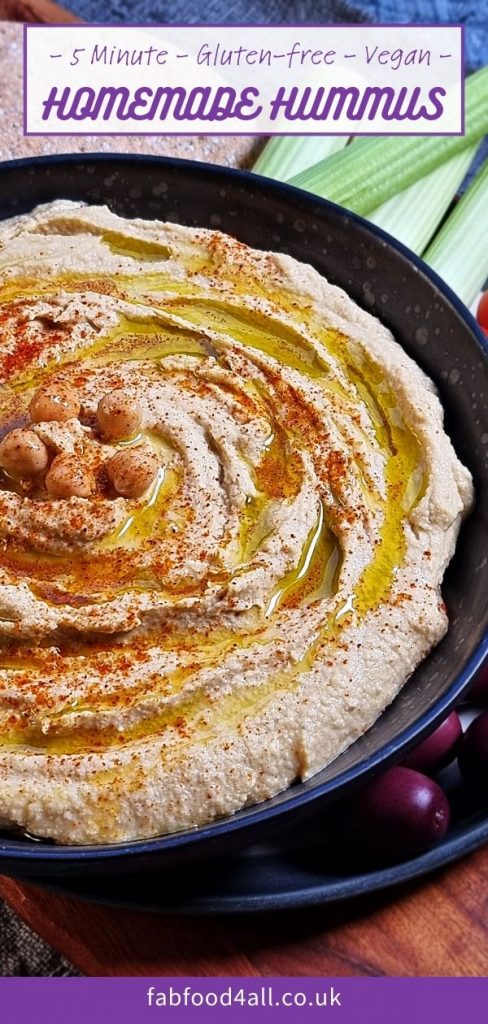
Hummus is a nutritious vegan Middle Eastern dip or spread from the Levant region. It’s a blend of cooked chickpeas, tahini, olive oil, lemon juice, garlic and salt, to which other flavours can be added, such as cumin.
Reasons to Make Your Own Hummus Rather than Use Store-bought!
- Superior Ingredients: You can use extra-virgin olive oil rather than seed oils, plus fresh lemon juice, rather than concentrated lemon juice. You can also use purely organic ingredients.
- Cheaper: Own-brand hummus costs around 60 pence per 100 grams (Tesco), whereas this recipe costs around 36 pence per 100 grams. So it’s far cheaper to make your own hummus.
- Quick & Easy: Great for an emergency sandwich filling or snack, and quicker than going to the supermarket.
- Flavour: Using fresh ingredients means better flavour, and you can tweak it to your personal taste, e.g., more or less garlic.
- Texture: Cater to your own preference, whether you make a more textured or smooth hummus; you can even add crushed chickpeas after blending.
- Food Safety: You have full control over food hygiene in your kitchen, whereas store-bought hummus is susceptible to recalls due to E. coli contamination.
How To Make This Quick Homemade Hummus
For full instructions, see the Recipe Card at the bottom of this post.
Equipment Needed
- Hand blender (stick blender), food processor or high-powered blender
- Medium-sized glass bowl, if using a stick blender (it is far easier than using a blender beaker).
- Paring knife for cutting the lemon.
- Citrus press for squeezing the lemon.
- Measuring spoons for measuring ground cumin and salt.
- Dessert spoon for swirling hummus in the serving dish.
- Serving dish/bowl, or use the bowl you made the hummus in.
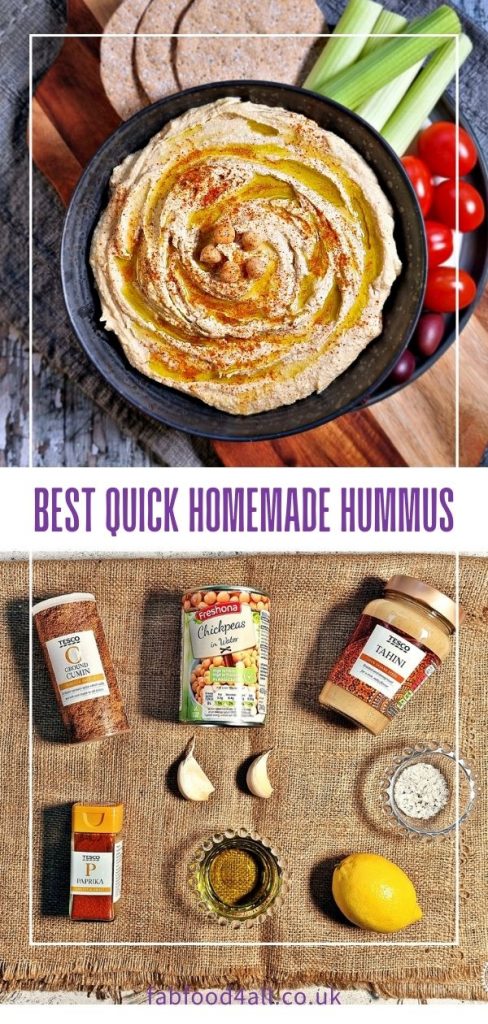
Ingredients
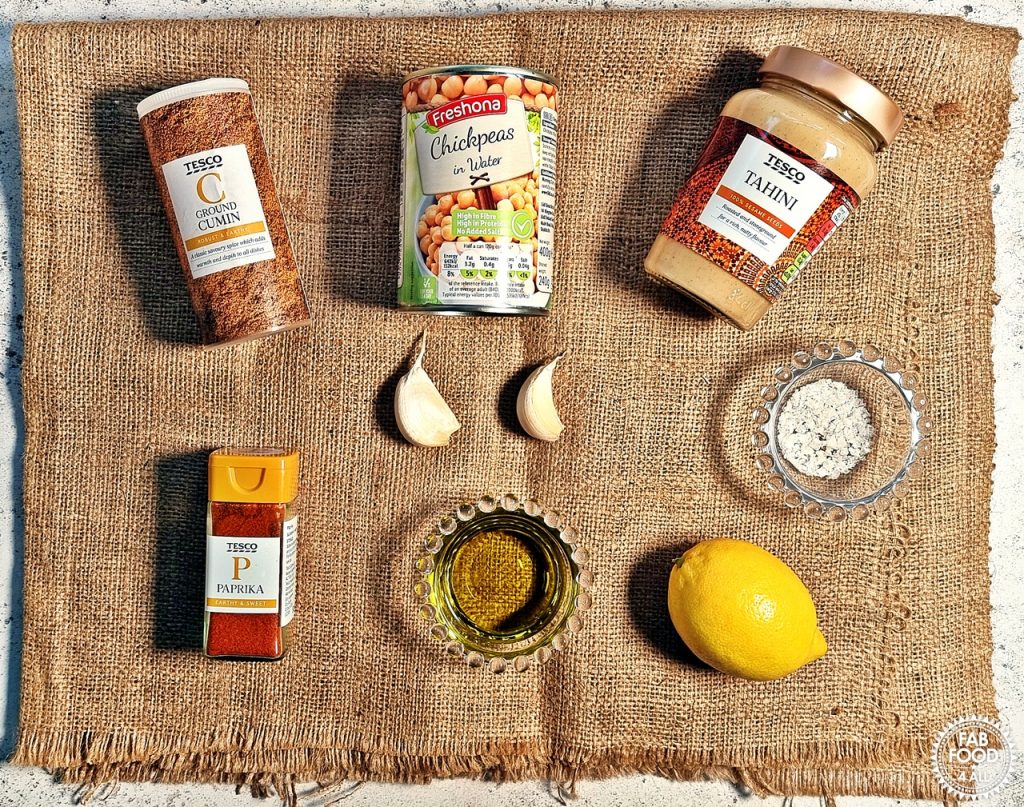
- Can of Chickpeas: aka garbanzo beans (drained and liquid reserved along with a few chickpeas for decoration). We often use organic ones when available. Some people prefer to boil their own dried chickpeas for extra flavour, but we don’t.
- Tahini: this sesame seed paste gives the hummus its nutty flavour. I don’t find any discernible difference between supermarket own-brand tahini and what would be considered good tahini from a brand.
- Lemon Juice: always use freshly squeezed, not concentrated lemon juice. Organic lemons are best.
- Extra Virgin Olive Oil: a high-quality single-origin oil, not a blend (check the label). I use a Greek one from Lidl.
- Fresh Garlic: no need to crush. Roasted garlic can also be used. Use more or less to taste.
- Cumin: adds a subtle depth of flavour.
- Sea Salt Flakes: natural and have a better flavour profile than table salt.
Instructions
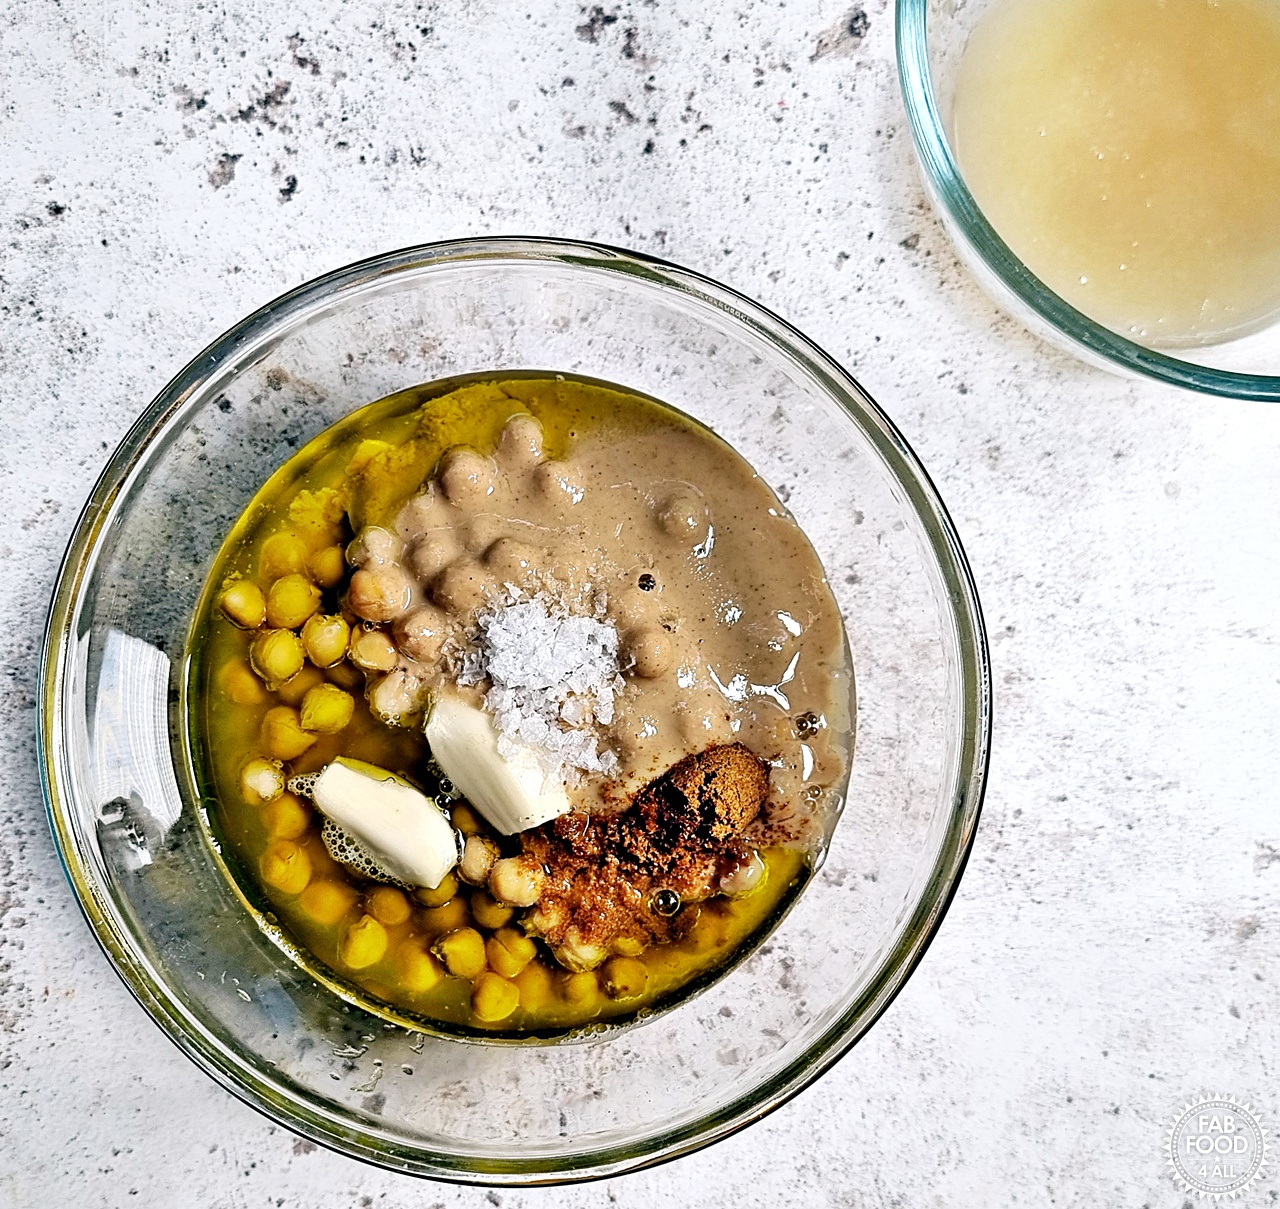
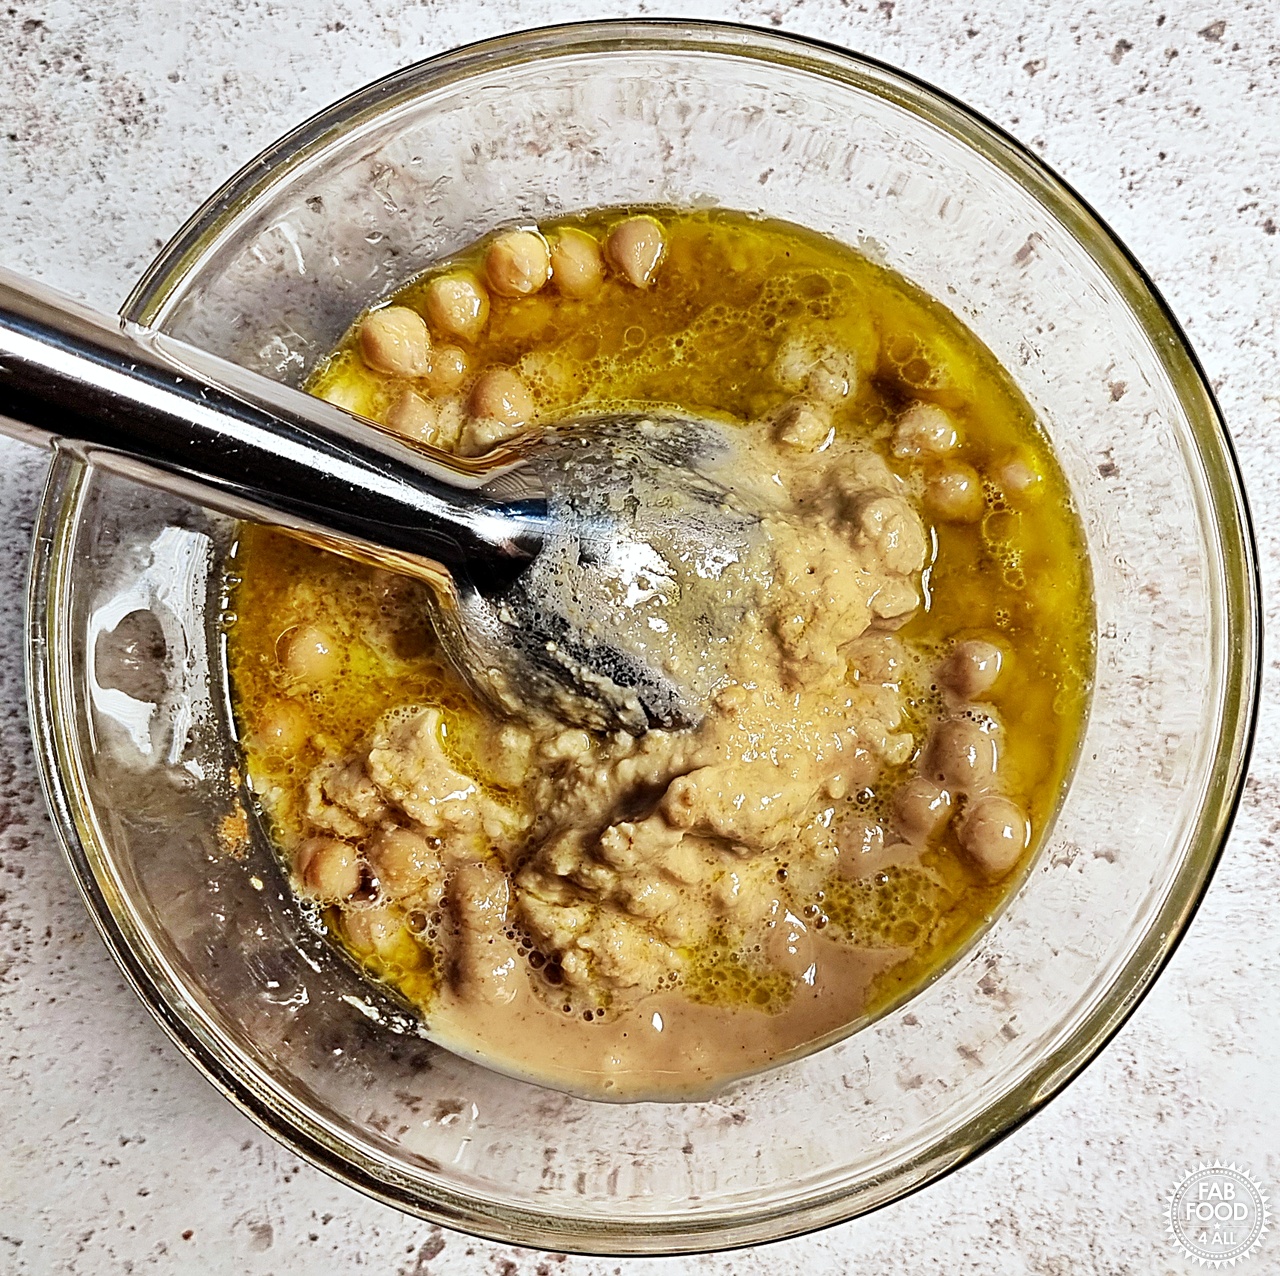
- Place the drained chickpeas, tahini, lemon juice, extra virgin olive oil, whole cloves of garlic, cumin and salt flakes into a medium-sized bowl, food processor or high-powered blender. Keep the drained chickpea liquid to hand.

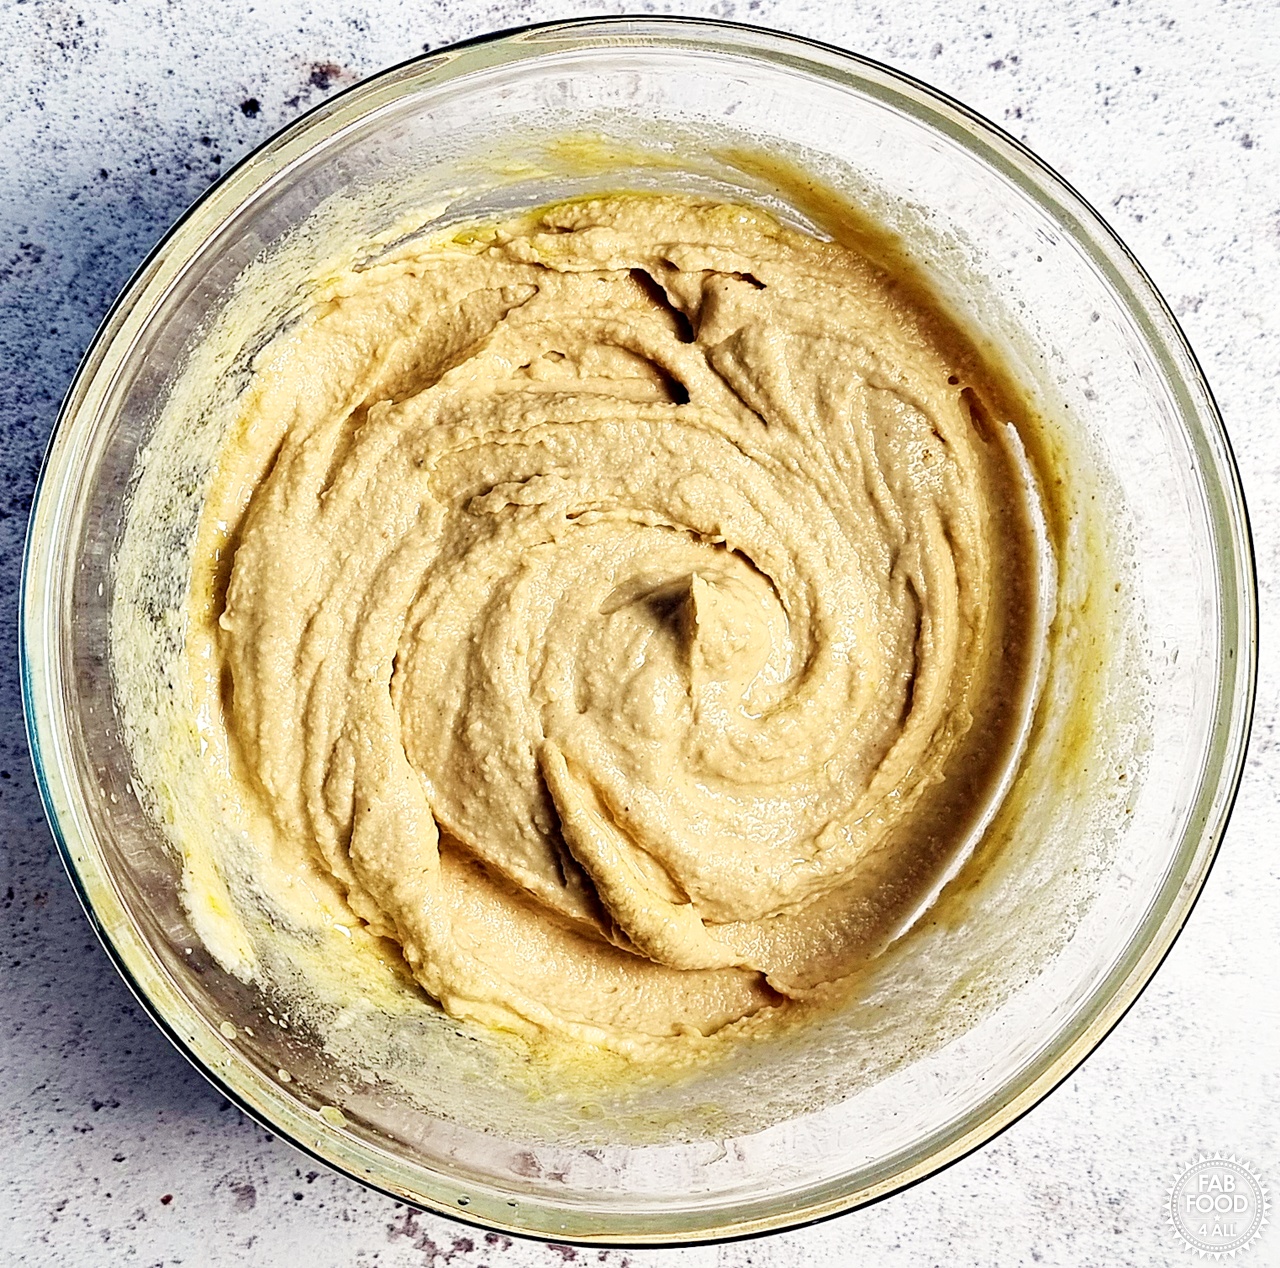
- Blend with a hand blender or in your chosen blender to the desired consistency. For a more creamy texture, blend for longer.
- If the hummus is too thick, add a little of the reserved chickpea liquid (aquafaba). (Was not necessary here).
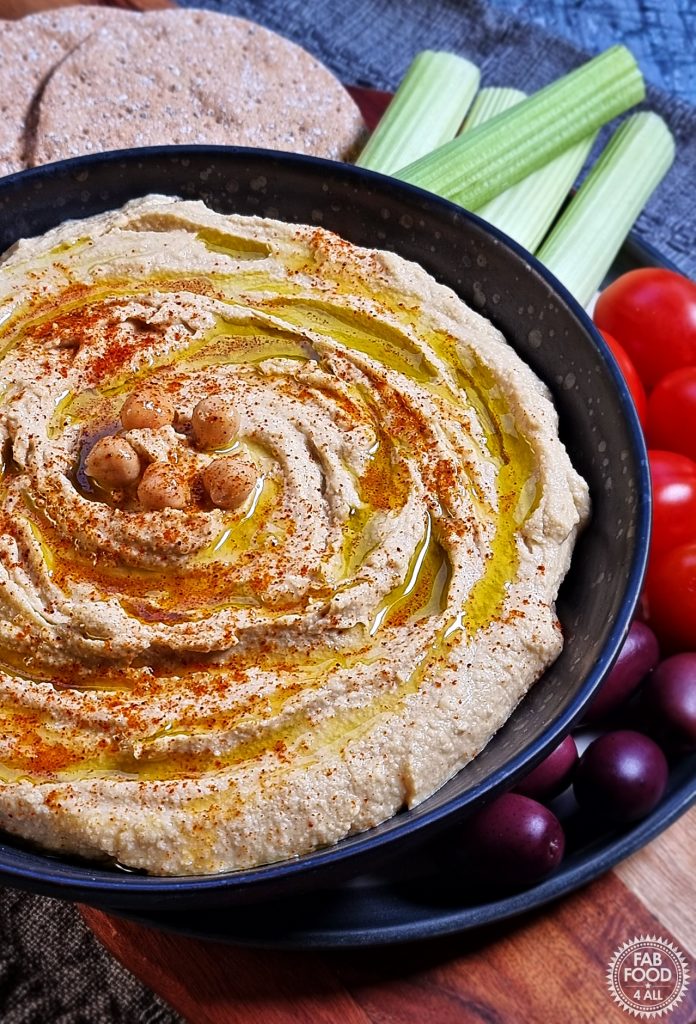
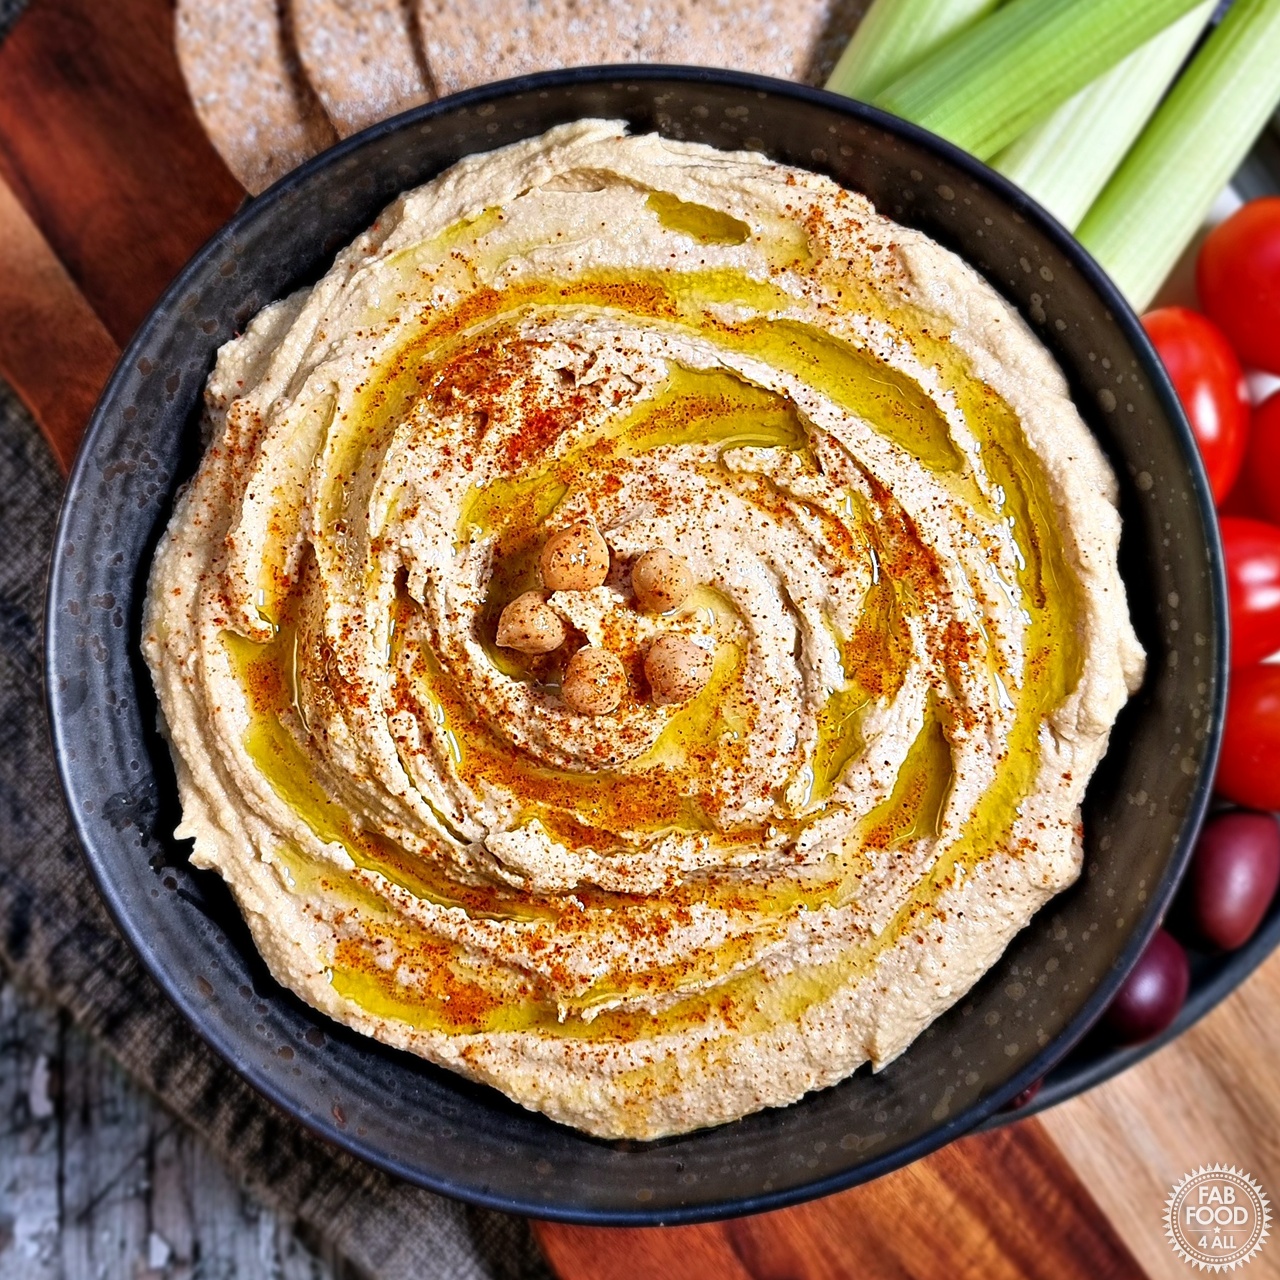
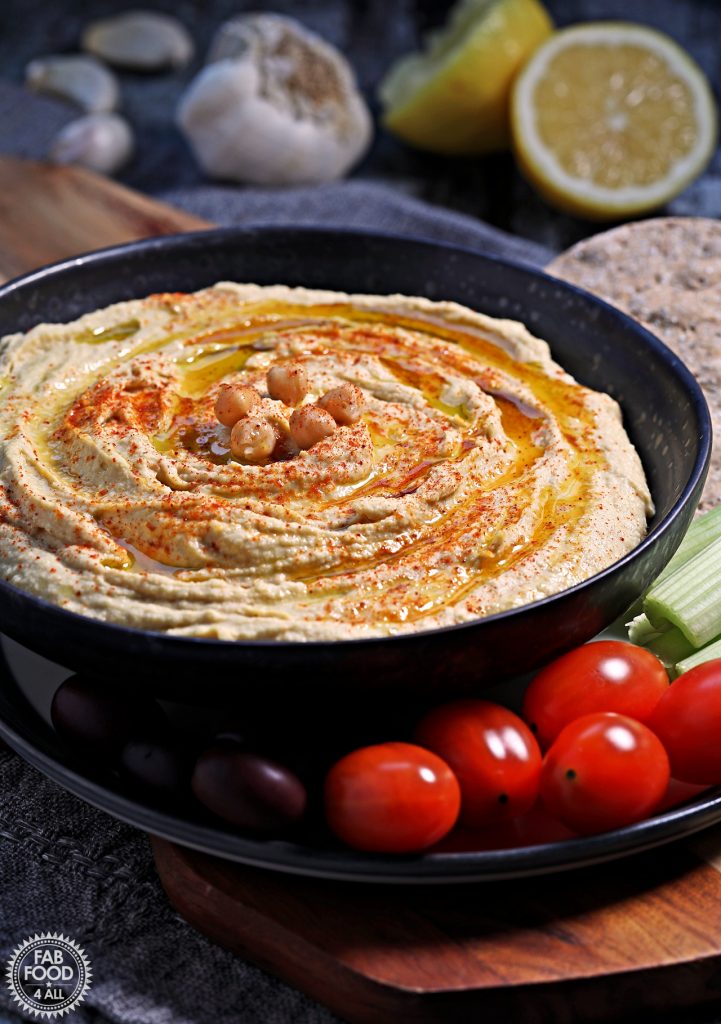
- Place the hummus in a serving dish and swirl with a spoon. Top with the reserved chickpeas, a drizzle of olive oil and a dusting of paprika.
- Serve at room temperature or chill first.
Serving Suggestions
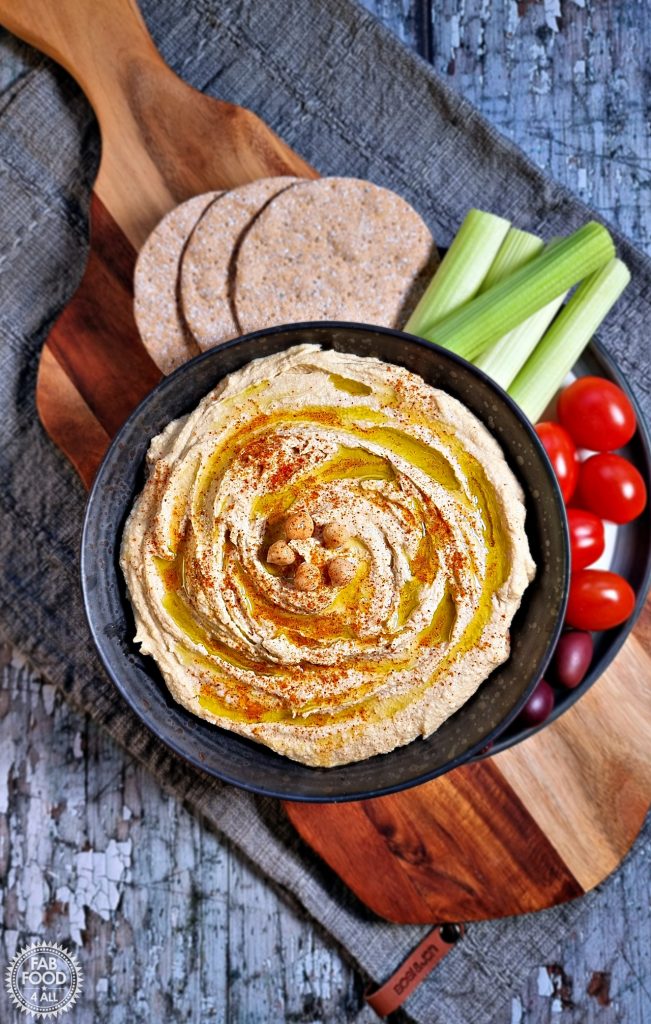
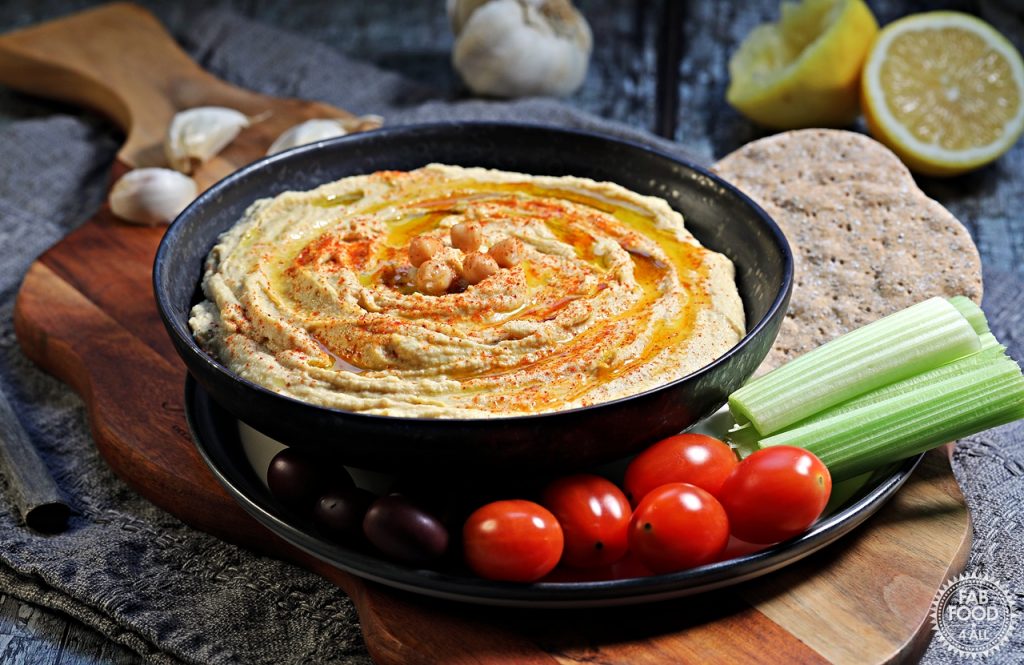
Serve this hummus recipe with:

- Crudités: strips of celery, bell peppers, carrots, cucumbers, olives, cherry tomatoes, etc.
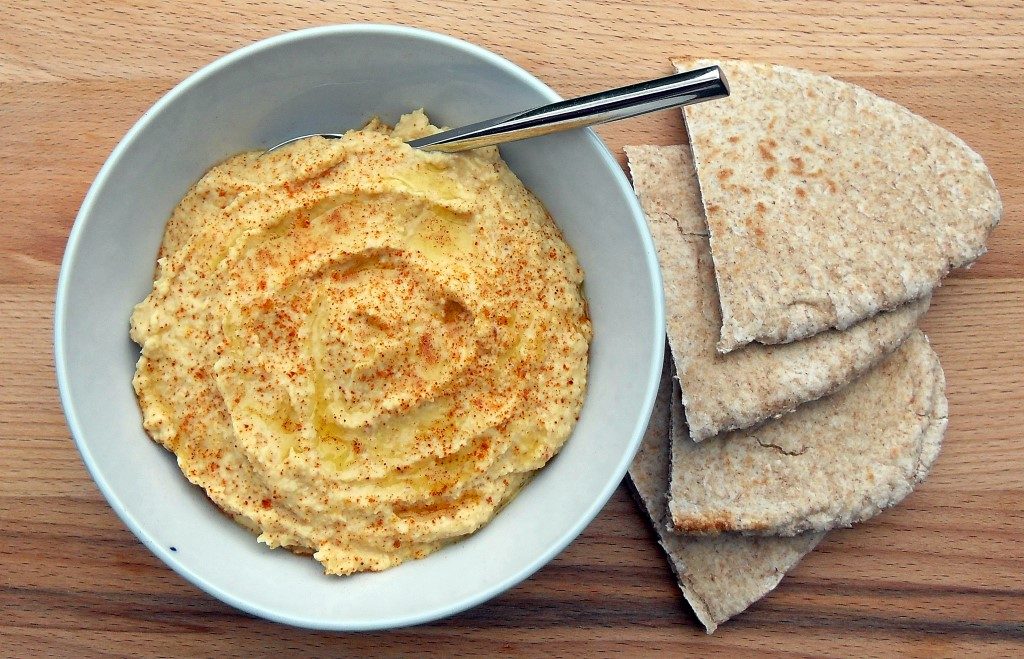
- Flatbreads, soft flour tortillas, pitta bread or wraps: my Easy Spelt Yogurt Flatbreads are perfect for dipping or as wraps.
- Crackers: such as my Sesame & Chia Seed Crackers.
- Homemade tortilla chips or crisps: e.g., Pita Chips
- Sandwiches: great on open sandwiches using my Danish Sourdough Rye Bread or with Sourdough Sandwich Bread.
- Salad bowls: e.g., Buddha bowl
Alternative Garnishes
Here are some more hummus garnish ideas:
- Fresh Chopped Herbs: parsley, coriander (cilantro), dill, mint, chives, etc.
- Crunchy Toppings: Roasted Chickpeas, Roasted Pumpkin Seeds or Toasted Pine Nuts.
- Za’atar: a blend of dried oregano, thyme, and/or marjoram, sumac and toasted sesame seeds.
- Spices: to add an extra kick of flavour, e.g., cayenne pepper, smoked paprika, chilli flakes, etc.
Substitutions & Additions
Many of the ingredients in this hummus recipe can be replaced if necessary, or additions made to ring the changes.
- Chickpeas: butter beans, cannellini beans or green lentils can be used instead.
- Tahini: can be replaced with peanut butter, which I use in this Houmous with Peanut Butter recipe.
- Extra Virgin Olive Oil: cold-pressed avocado oil also makes great hummus.
- Lemon Juice: substitute lime juice for an alternative fresh citrus zing.
- Lemon Zest: if using organic lemon, add the zest for an extra citrusy tang.
Frequently Asked Questions
Store leftover hummus in a covered bowl or airtight container in the fridge, where it will keep for up to 4 days.
Yes, you can freeze hummus for up to 3 months. A convenient way is to freeze it in a silicone ice cube tray, then decant the frozen cubes into a freezer bag. That way, you can thaw as many portions/cubes as you wish in the fridge overnight (in a covered bowl). Just give it a good stir before serving.
Conclusion
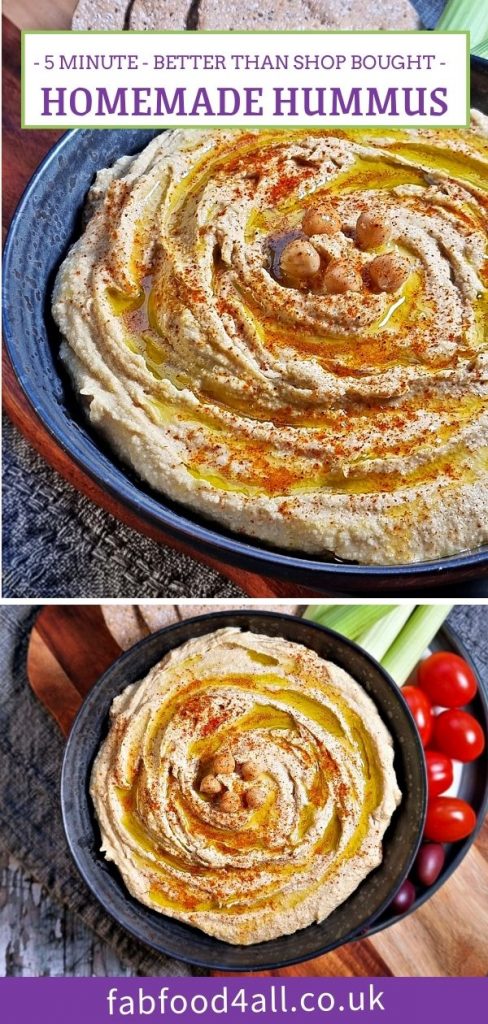
If you want to make a really quick batch of hummus, then this is the recipe for you! There’s simply no need to blend the ingredients in stages.
If you want a long, drawn-out hummus recipe, then look away. I don’t have time to cook chickpeas, peel them (for a smoother hummus), and use ice water or ice cubes.
Peeling chickpeas also removes dietary fibre, making the hummus less healthy.
I don’t know about you, but life is too short to overcomplicate food unnecessarily!
Hopefully, I’ve convinced you to ditch supermarket stuff, as this hummus recipe is so easy and delicious. Enjoy!
Pin for later:
Leave a comment and rating below when you’ve made this recipe; I love getting your feedback! You can also share your pictures by tagging @FabFood4All over on Instagram.
Quick Homemade Hummus Recipe
Equipment
- 1 hand blender, food processor or high-powered blender
- 1 medium sized glass bowl (if using stick blender)
- 1 citrus press
- 1 Set of measuring spoons
- 1 Paring knife
- 1 Dessert spoon
- 1 serving bowl
Ingredients
- 1 x 400g can chickpeas drained (liquid and a few chickpeas reserved)
- 3 tablespoons tahini
- 1 lemon juiced
- 2 tablespoons extra virgin olive oil
- 2 garlic cloves
- ½ teaspoon ground cumin
- 1 teaspoon sea salt flakes
Garnish (optional)
- extra virgin olive oil for drizzling
- paprika for dusting
Instructions
- Place the hummus ingredients into a medium sized bowl, food processor or high-powered blender.1 x 400g can chickpeas, 3 tablespoons tahini, 1 lemon, 2 tablespoons extra virgin olive oil, 2 garlic cloves, ½ teaspoon ground cumin, 1 teaspoon sea salt flakes
- Blend with the hand blender or in your chosen blender until smooth.
- If the hummus is too thick, add some of the reserved chickpea liquid to reach your desired consistency.
- Place hummus in a serving dish and swirl with the back of a spoon. Top the hummus with the reserved whole chickpeas, drizzle with extra virgin olive oil and dust with paprika for a special touch (optional).extra virgin olive oil , paprika
- Serve immediately or chill for an hour if preferred.
Claire Toplis
Love this ! glad to see your gut journey continue
Camilla
Thank you Claire, yes we’ve become very mindful of what we eat:-) The old saying “you are what you eat” wasn’t just an old wives tail:-)
Chris
You are so right! This is soooo much better than what we can get at the shops and so much healthier! Love to have a bowl of hummus in the fridge as it’s great as an appetizer, side or just a snack. Thanks for this delicious recipe!
Camilla
Thanks Chris, glad you’re on team hummus:-)