
1st prize-winning Seedless Blackberry & Raspberry Jam is smooth, intensely fruity, and made with just 4 ingredients and no pectin.
This small-batch jam is a great way to use up wild blackberries and summer raspberries.
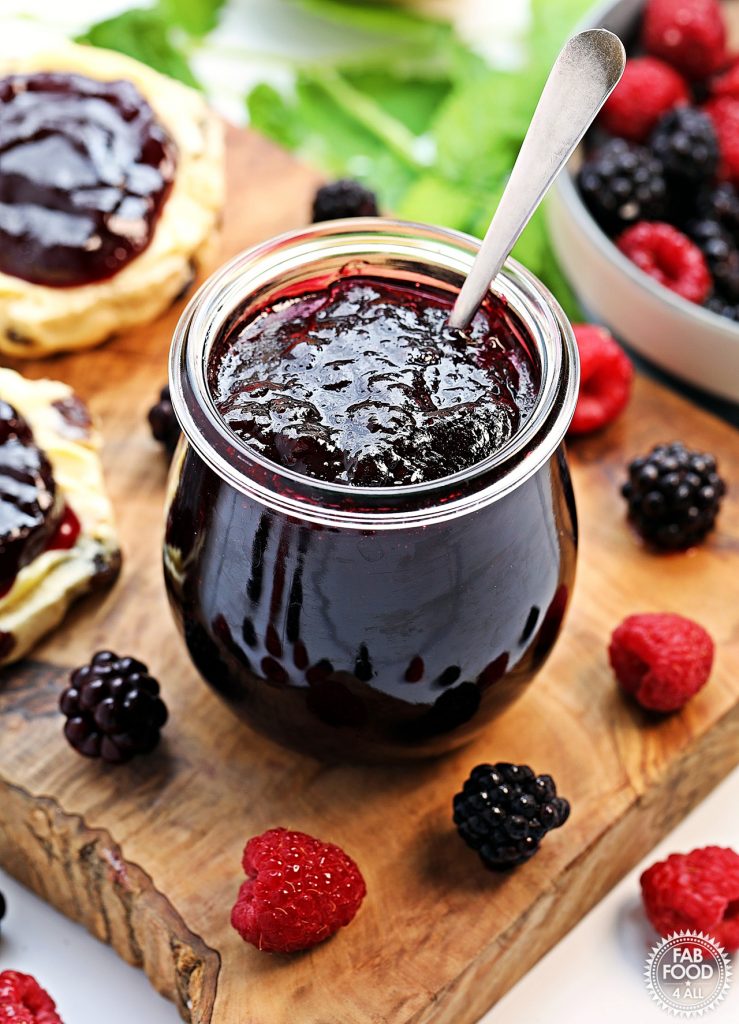
Table of contents
- Background
- Why You Should Make Seedless Blackberry & Raspberry Jam
- Choosing the Best Blackberries & Raspberries
- Cleaning Berries
- Freezing Blackberries & Raspberries
- Pectin Levels in Blackberries & Raspberries
- How to Make Seedless Blackberry & Raspberry Jam
- Recipe Testing Notes
- Substitutions and Variations
- Storing Seedless Blackberry & Raspberry Jam
- What to Serve with Seedless Blackberry & Raspberry Jam
- More Blackberry & Raspberry Preserve Recipes
- Seedless Blackberry & Raspberry Jam FAQs
- Conclusion
Background
Every year since starting this blog, I’ve entered our local Parish Day Horticultural Show, and this year was no different.
I had no idea what I was going to enter, as none of my fruit bushes had produced much fruit in the current heatwave.
With just five days to go, I went foraging for wild blackberries in our local park, hoping for some inspiration.
I’ve never known blackberry season to start in July; it’s usually August to September!
I wanted to create a new recipe, so I considered making a plain Blackberry Jam.
However, looking at my wild blackberries, I realised that the jam would be extremely seedy and not have the best mouthfeel.
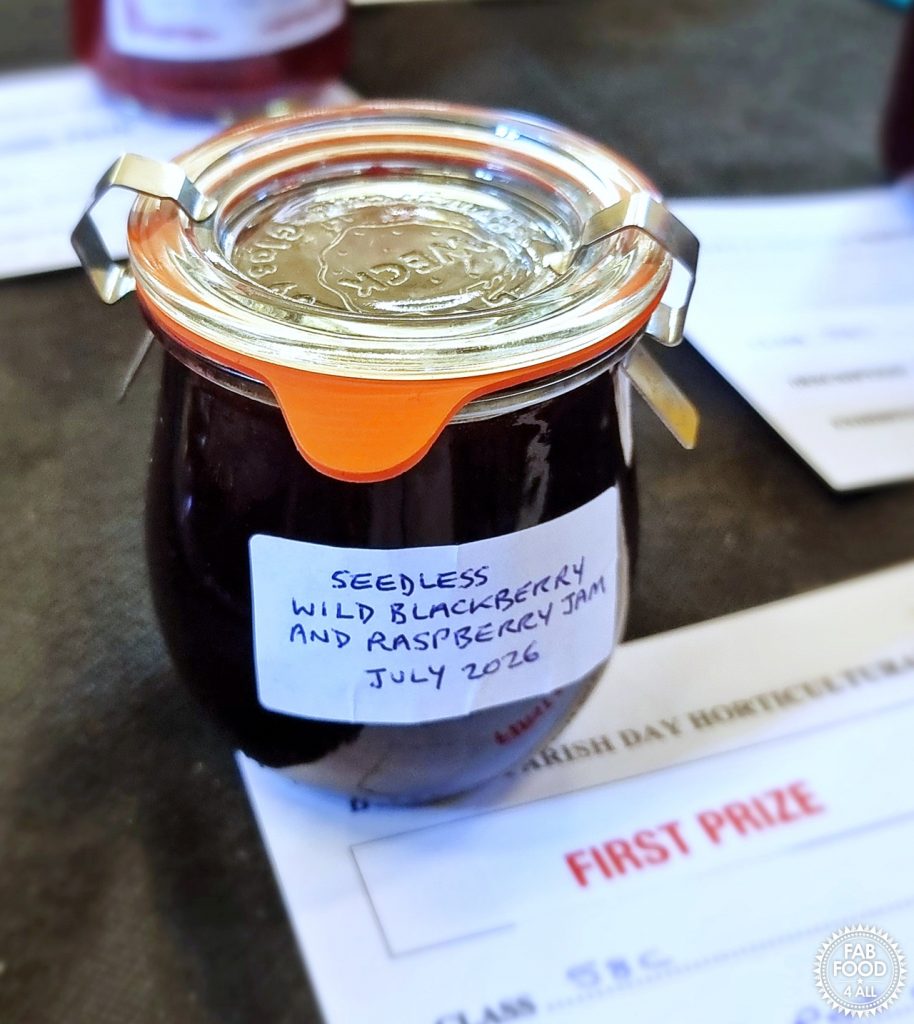
So I realised I should make a seedless jam, but I’d already made and entered Seedless Blackberry Jam previously.
Opening the freezer, the answer stared me in the face: raspberries! I’d make Seedless Blackberry & Raspberry Jam.
Fast forward to my first taste-tester, my daughter, who couldn’t actually wait for the jam to cool before tasting!
She said it was definitely a winner and the best jam she’d ever tasted.
I wasn’t convinced (you never know what the judges are looking for), but then my husband tried it, and he loved it too.
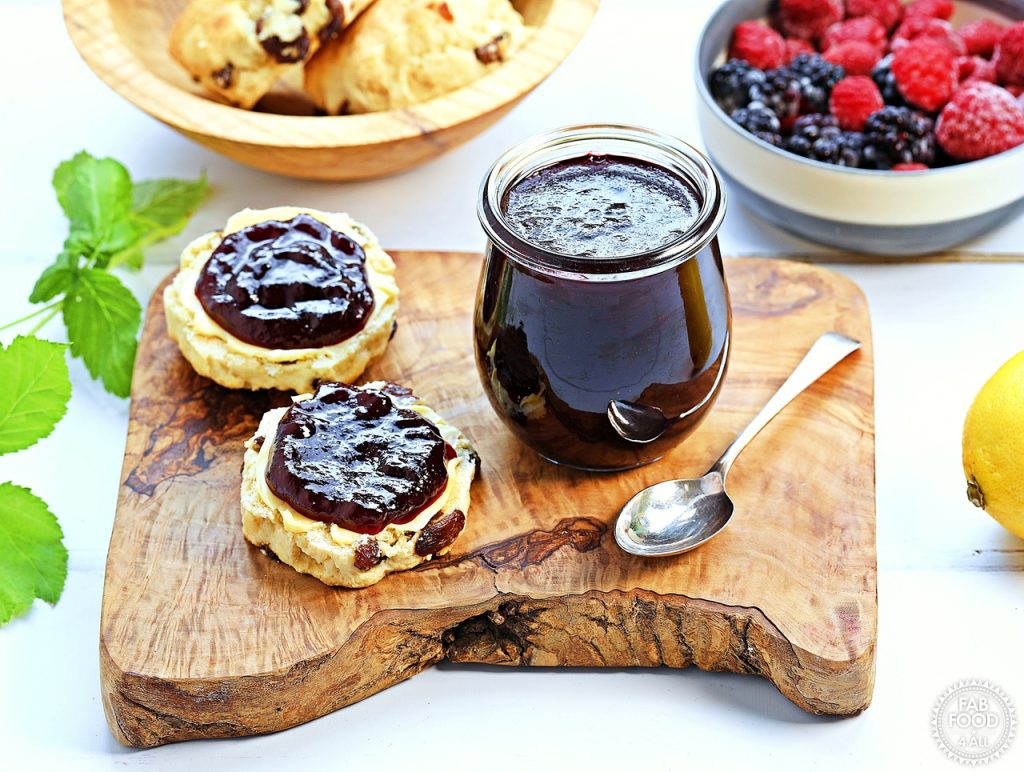
So I should have had more faith, as it went on to win 1st Prize. We haven’t stopped having it with cream teas on my spelt scones since!
Why You Should Make Seedless Blackberry & Raspberry Jam
- It’s the most delicious jam and won 1st Prize at our local Parish Day & Horticultural Show.
- Suitable for young and old alike since there are no seeds to choke on or get stuck in teeth.
- It’s budget-friendly as wild blackberries can be foraged for free.
- A great way to use up a small amount of blackberries and raspberries.
- Makes a great gift.
Choosing the Best Blackberries & Raspberries
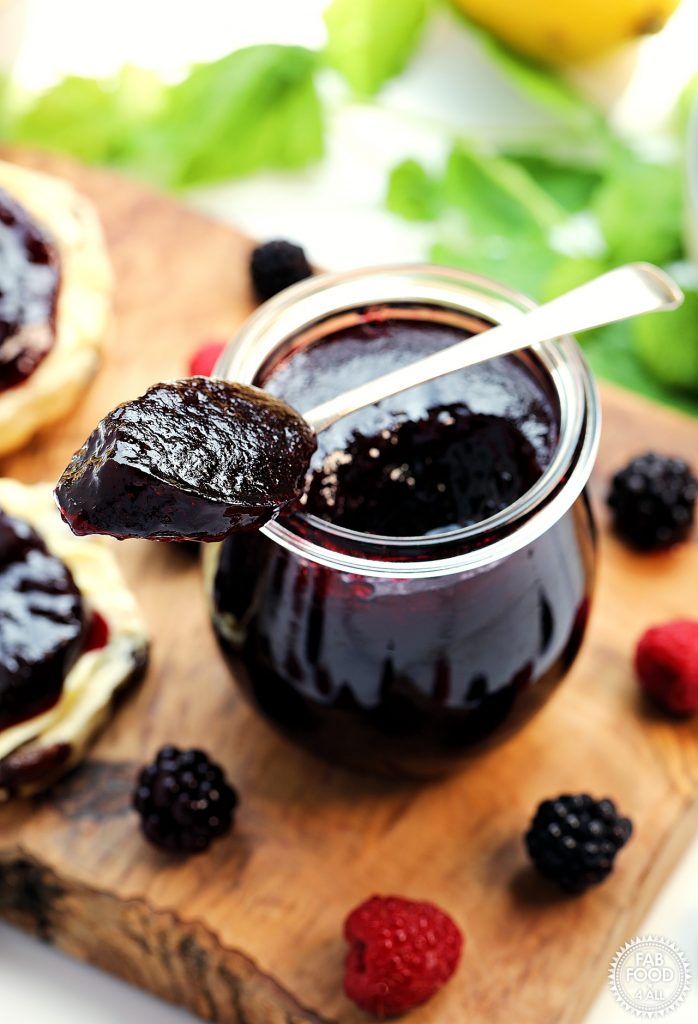
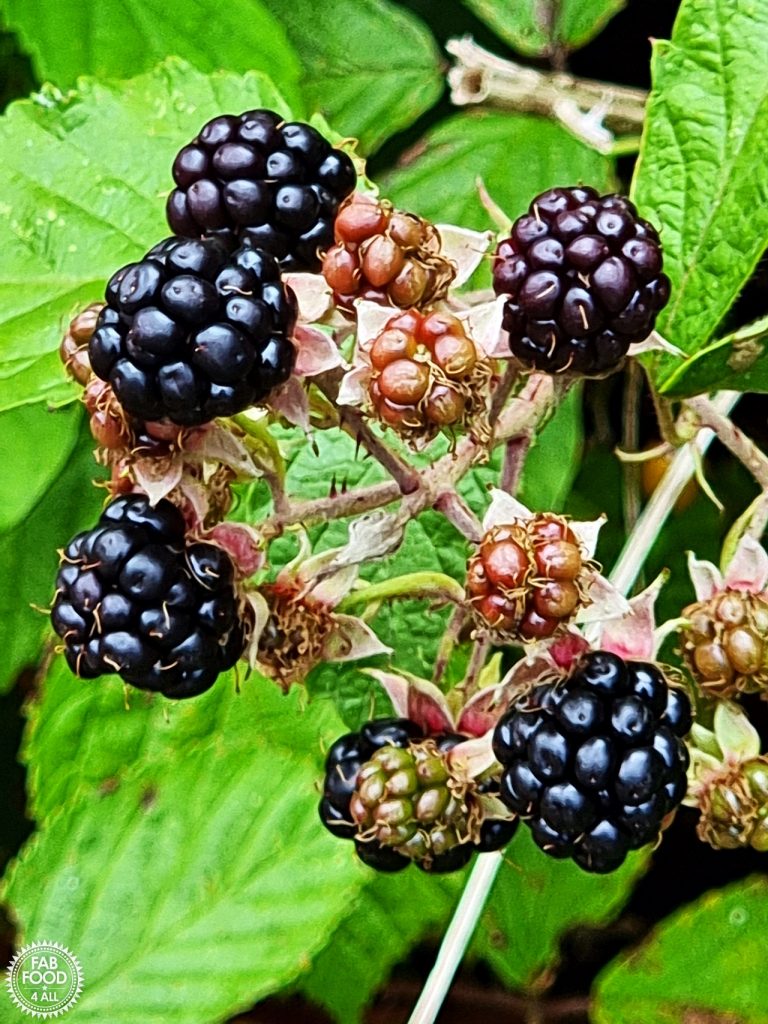
Always use fresh blackberries and raspberries, not mushy, overripe berries, for the best flavoured jam.
A few slightly underripe berries are fine and will add to pectin levels.
In an ideal world, you want to avoid berries that have been commercially grown using pesticides such as glyphosate (a common weed killer).
Organic berries are prohibitively expensive whether fresh or frozen. So that’s why foraging for wild blackberries, which are naturally organic, is the best solution.
Just avoid picking blackberries from the side of the road where they are likely to pick up more pollution.
With raspberries, homegrown is the best option.
Cleaning Berries
To clean shop-bought fresh or frozen berries, soak them for a minute or two in a solution of bicarbonate of soda (1 tsp to 475 ml cold water) and agitate.
Then lift the berries out and rinse them well in a colander with cold water. Don’t worry about drying the berries as the excess water will be boiled away.
This will help to remove outer debris and some of the pesticide residue but not that which has been absorbed.
Freezing Blackberries & Raspberries
I’m rarely ready to make jam on the same day as picking or harvesting berries.
Hence, I usually rinse and dry them, spread them out on a tray, and then freeze.
Once frozen, I put them in a freezer bag (squeezing out excess air) and return them to the freezer.
That way the berries don’t clump together, and you can easily measure out your desired quantity.
Try to use the berries as soon as possible (at least within 3 months) for the best quality.
Pectin Levels in Blackberries & Raspberries
Wild blackberries are high in natural pectin due to their high concentration of seeds and dense cell walls. Cultivated blackberries contain a moderate amount of pectin, and raspberries a low amount.
So in this recipe, I use fresh lemon juice to aid the gelling process.
If you use cultivated blackberries, you may need to boil the jam for slightly longer to reach the setting point due to their higher water content.
How to Make Seedless Blackberry & Raspberry Jam
Get the full ingredients list and instructions in the Recipe Card at the end of this post.
Ingredients
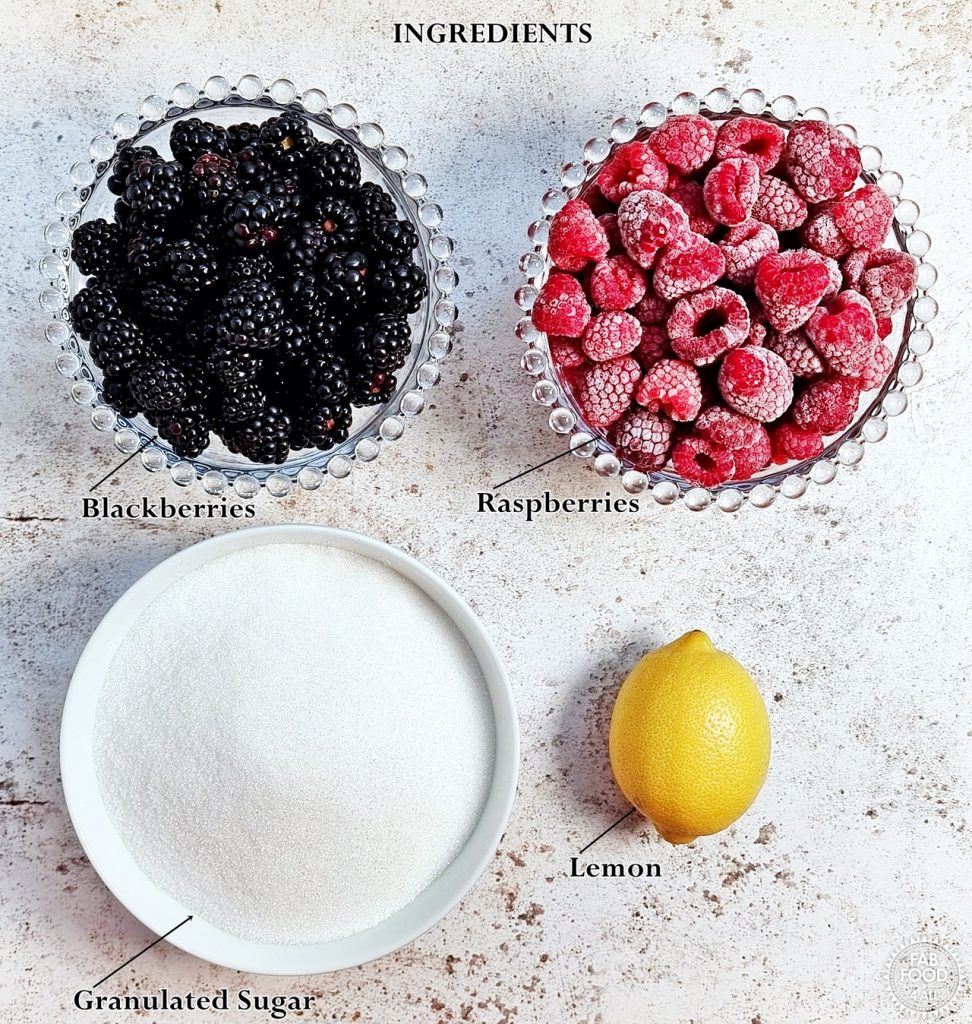
You need just 4 ingredients:
- Fresh or frozen blackberries: preferably wild, as they have a more concentrated and slightly tart flavour compared to cultivated ones.
- Fresh or frozen raspberries: preferably homegrown or organic.
- Lemon juice: preferably organic.
- Granulated sugar: no need for jam sugar, which is more expensive and gives a firmer set.
Equipment
- Preserving Pan or Large Pot: ensures a large surface area for evaporation during boiling, which helps the jam to reach the setting point.
- Potato masher: for squashing the berries as they cook.
- Stainless steel sieve (fine mesh strainer) or rotary food mill: for straining out the berry seeds after cooking.
- Large stainless steel spoon: for pushing the berries through the sieve.
- Medium-sized glass bowl: for straining the berry pulp into.
- Long wooden spoon: for stirring and not burning your hand.
- Digital or jam thermometer: optional but great for gauging setting point (at 104.5℃/220°F).
- Stainless steel jam funnel (canning funnel): avoids unsightly spills around the brim of your jars.
- 3 x 220 ml (or 8 oz) Glass jam jars with lids: this jam makes approximately 2.5 jars (570 ml).
- 2 Small plates: used for the chilled plate test to test for jam set.
Instructions
- Before you start, place two small plates in the freezer and sterilise your jars.
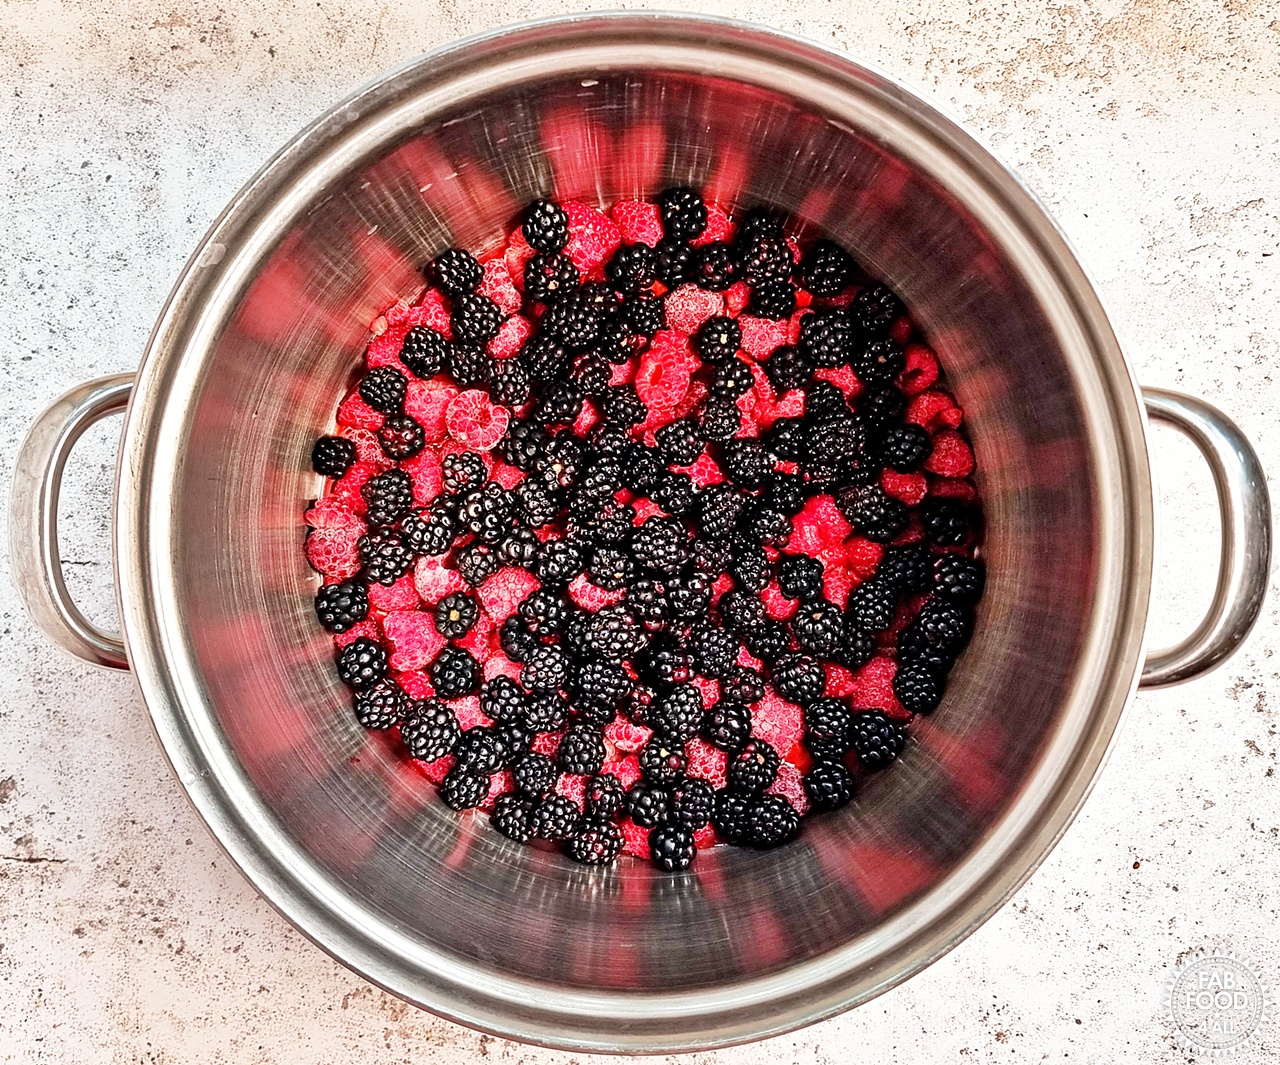
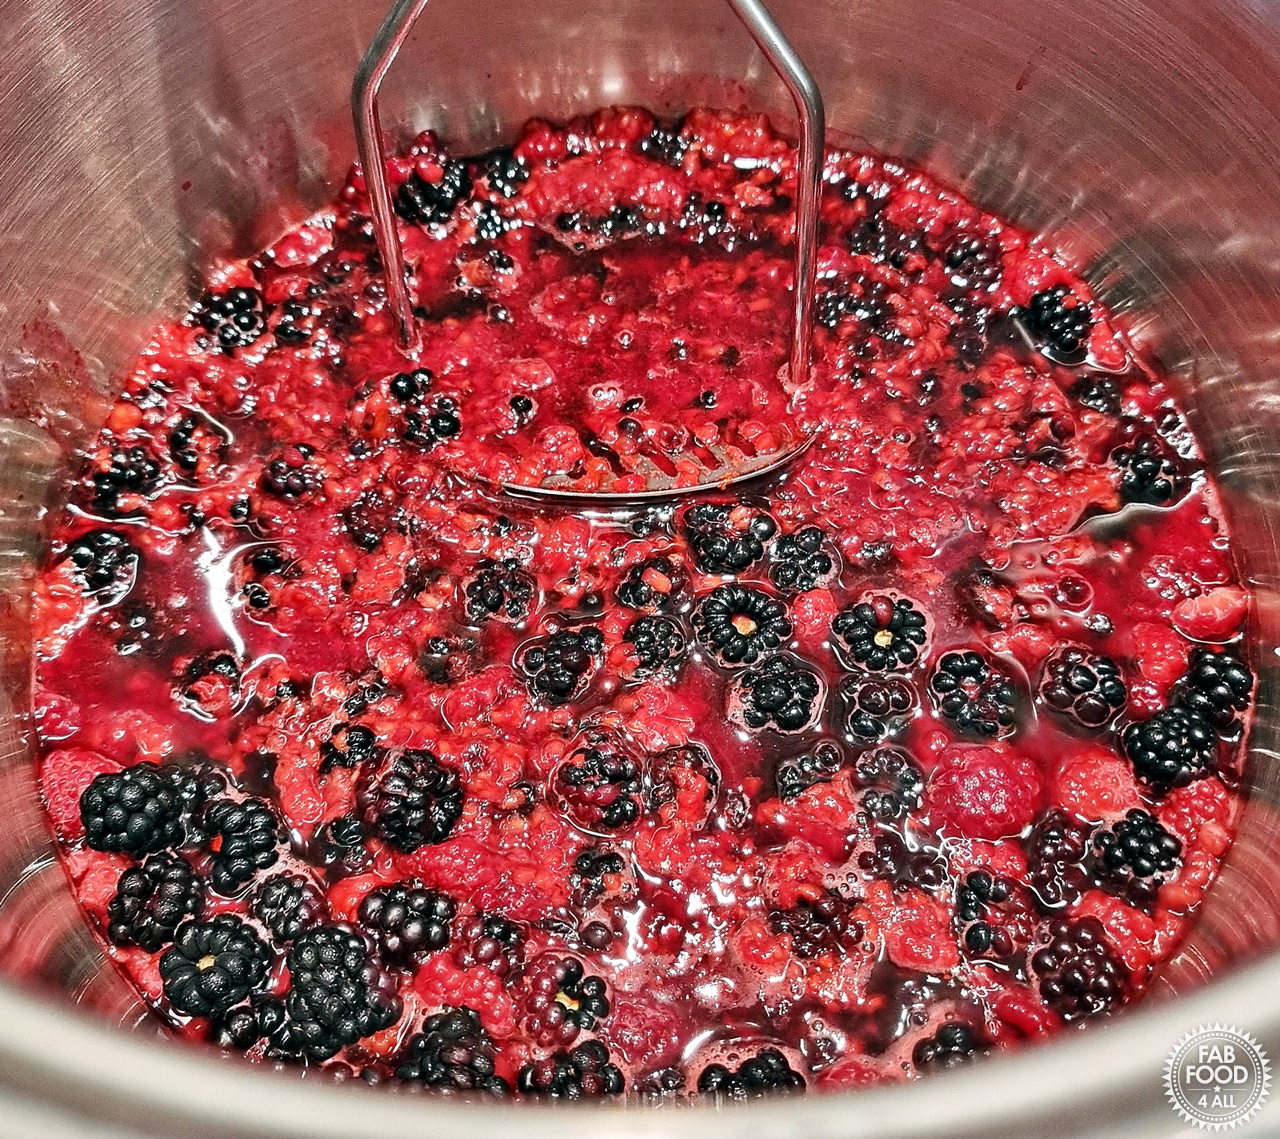
- Place the fresh or frozen blackberries and raspberries, along with 2 tbsp lemon juice and 2 tbsp water, into a preserving pan (or similar).

- Bring to a boil whilst mashing the berries with a potato masher, then reduce the heat to a simmer and cook for 10 minutes.
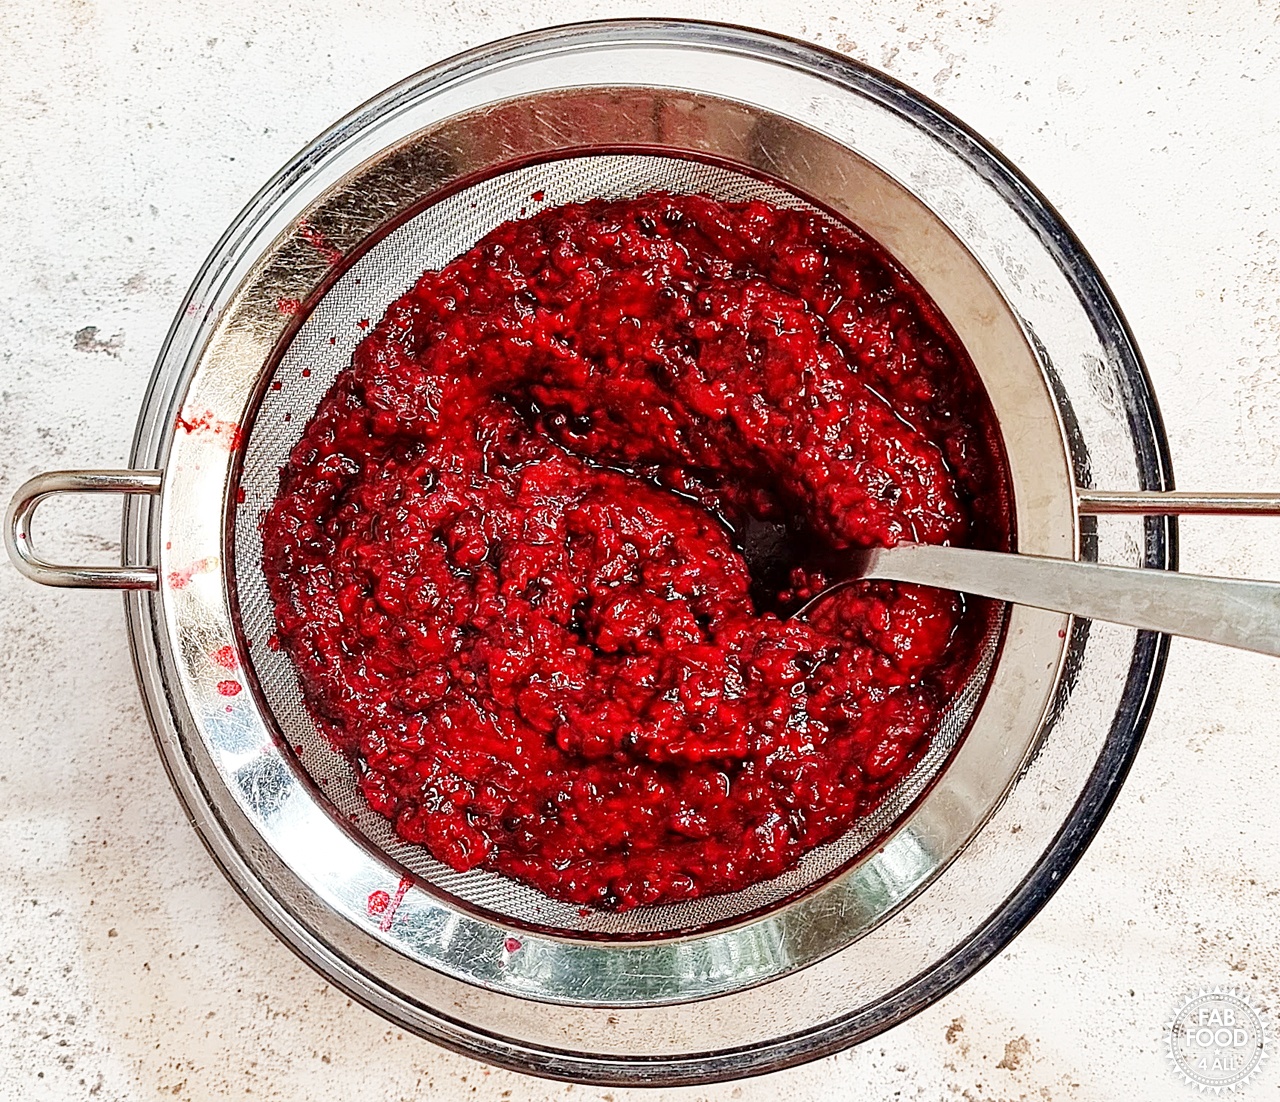
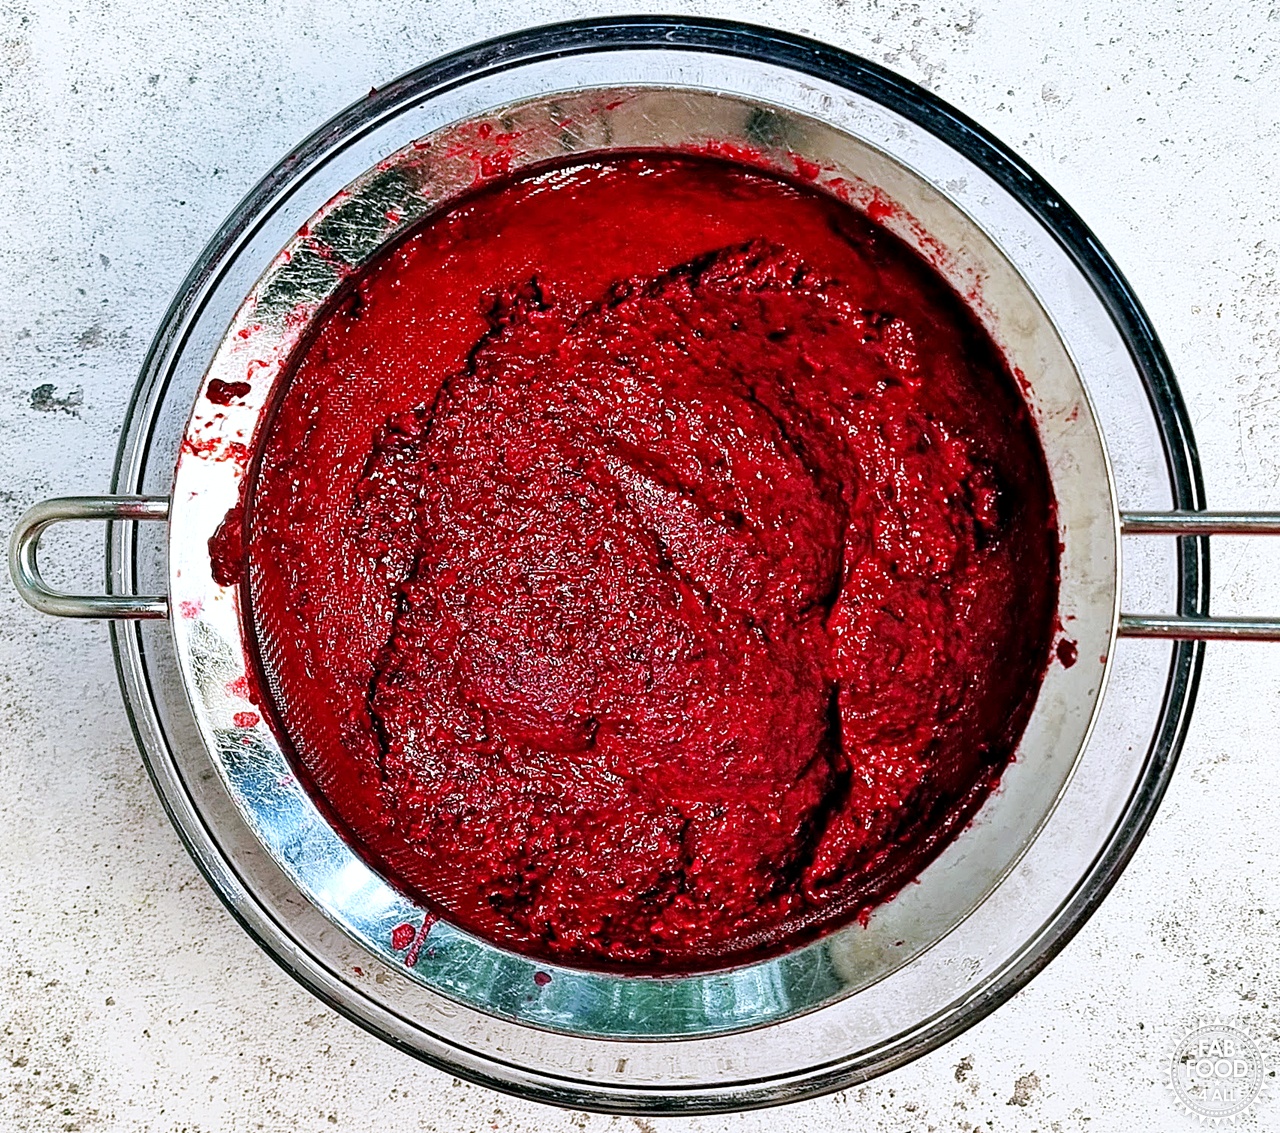
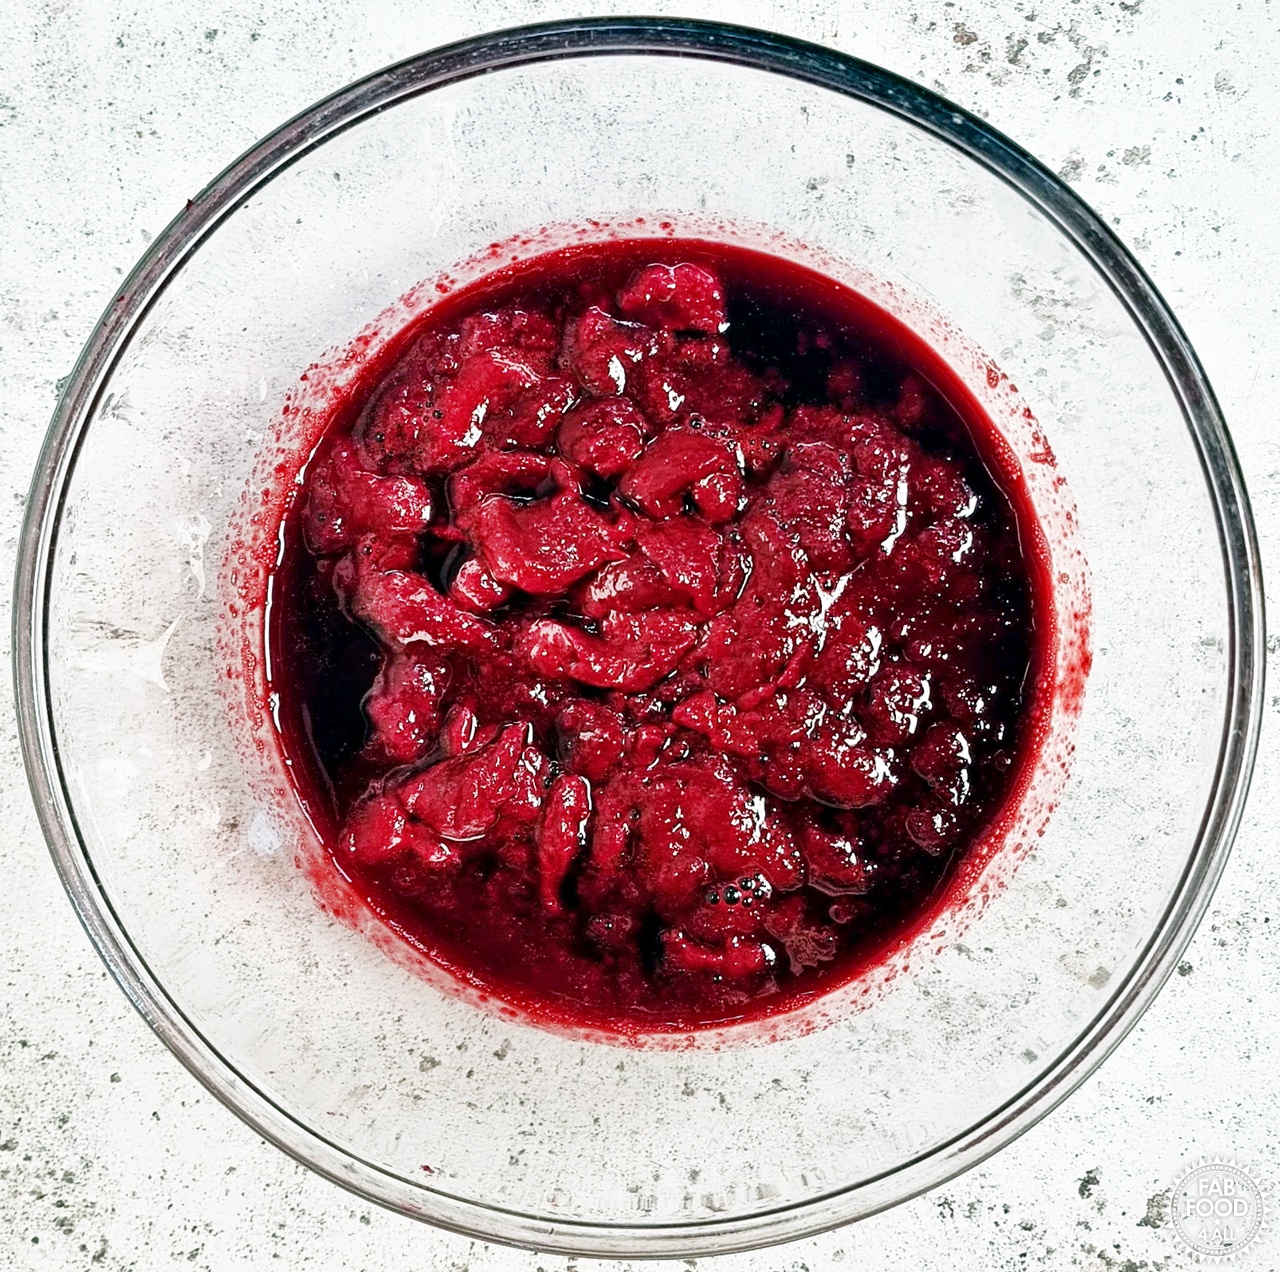
- Pour the cooked berries into a sieve (or rotary food mill) over a glass bowl, and press the juice and pulp through with the back of a large spoon.
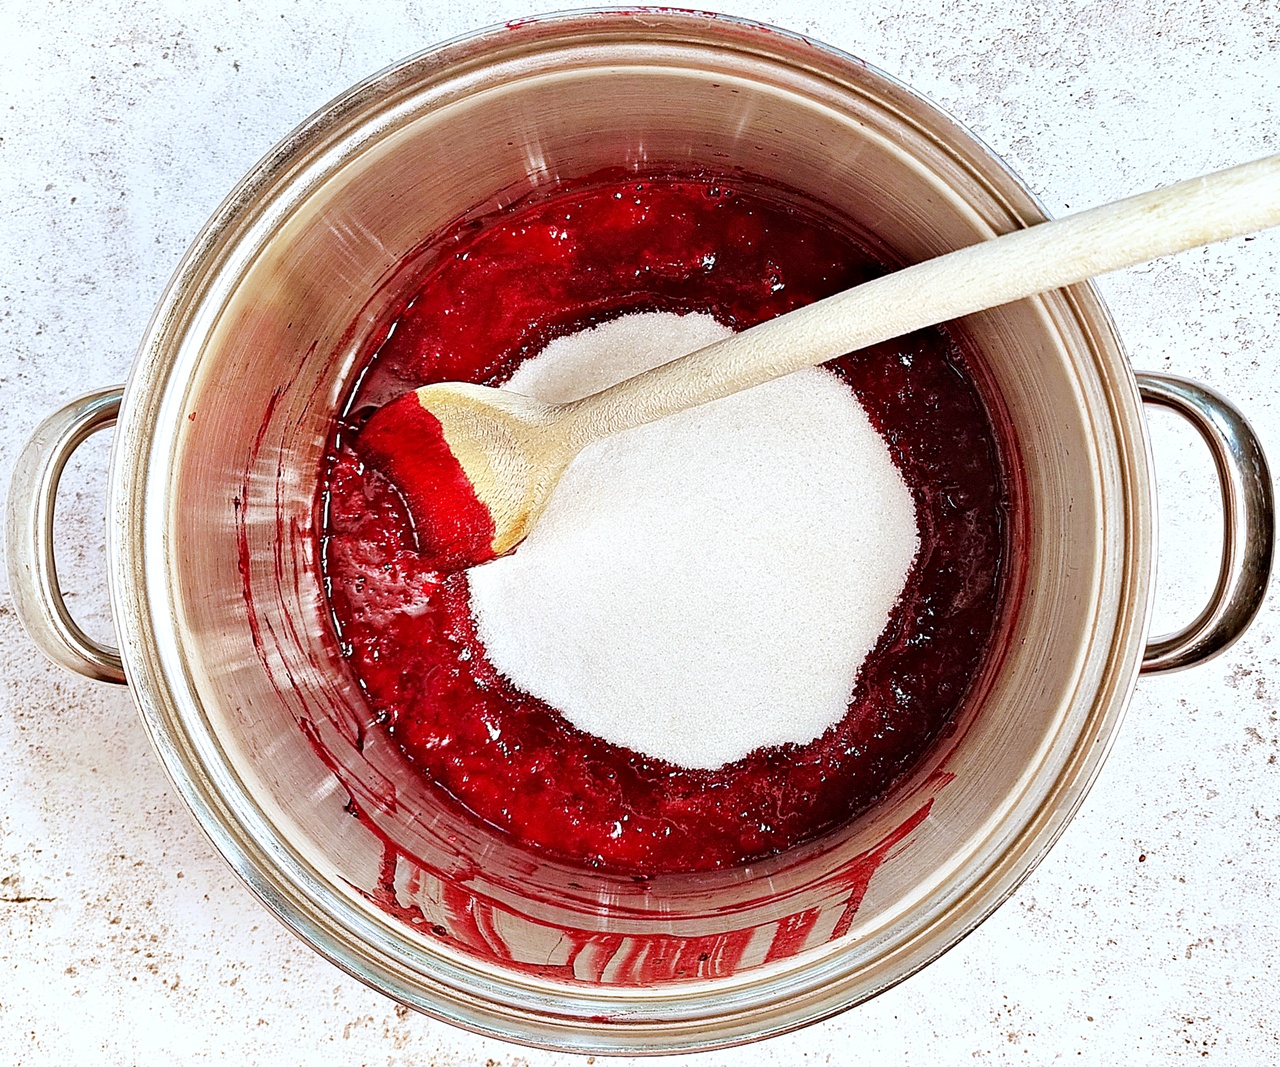
- Pour the fruit pulp/juice mixture back into the pan and add the sugar.
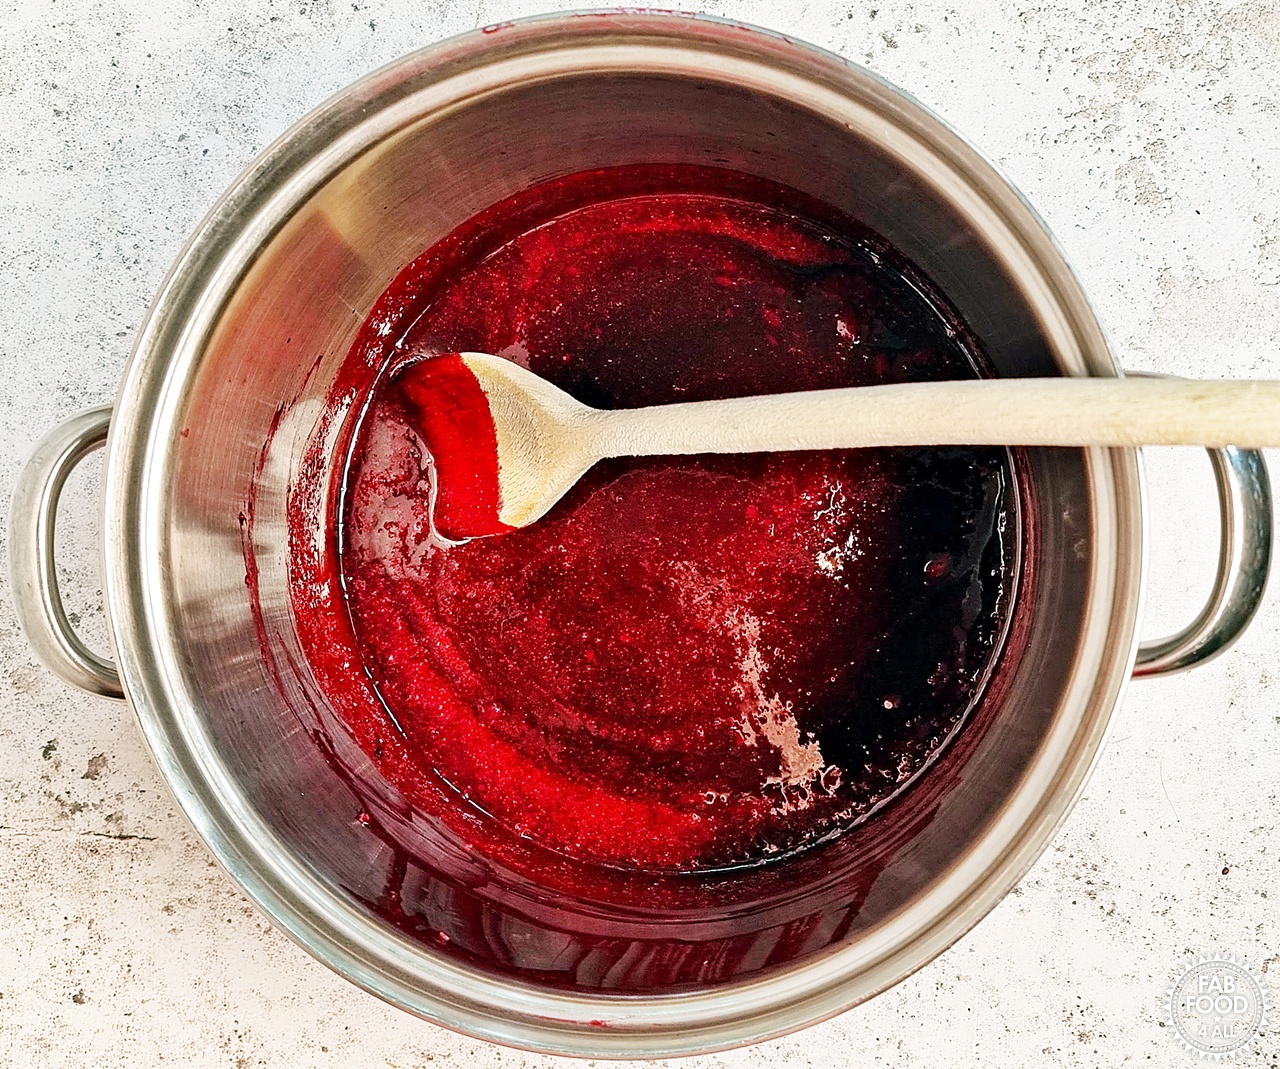
- Stir over low heat to dissolve the sugar.
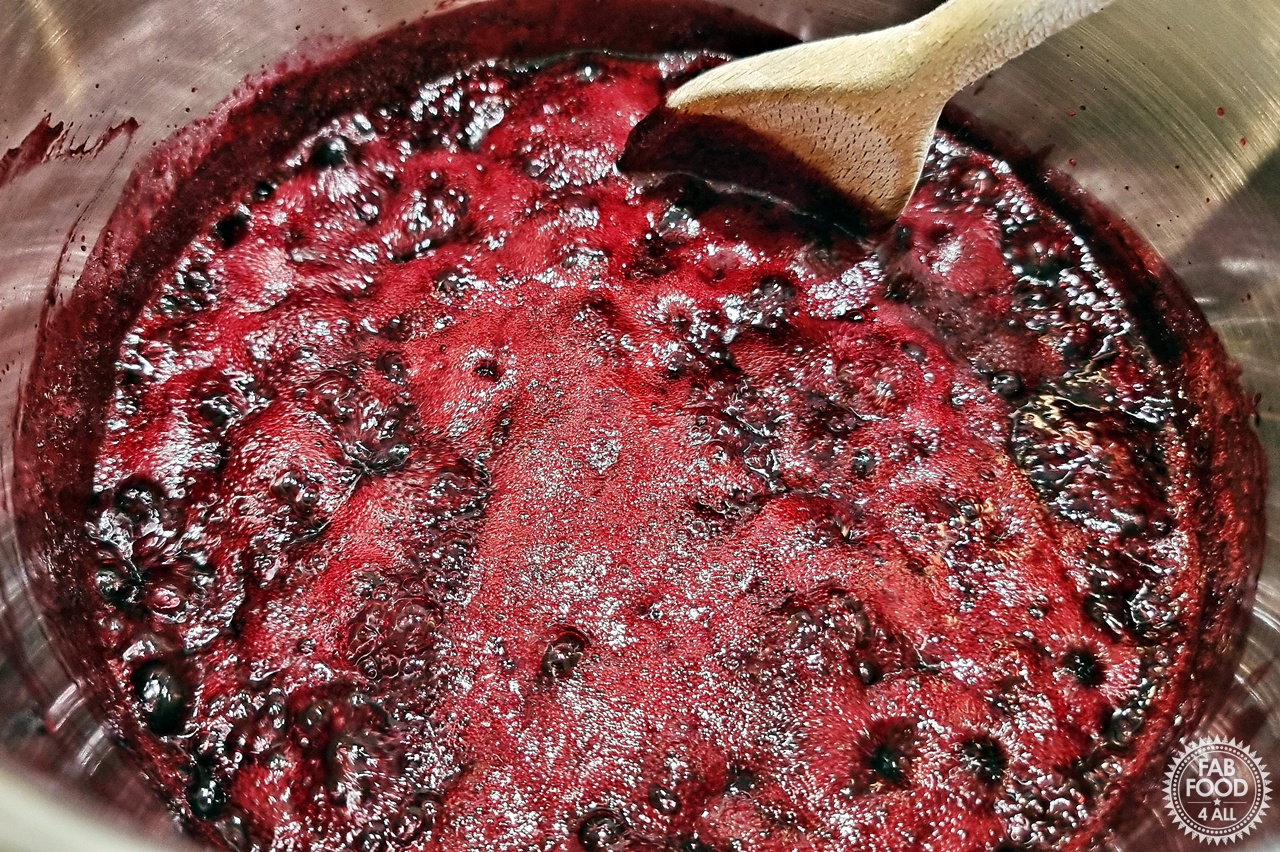
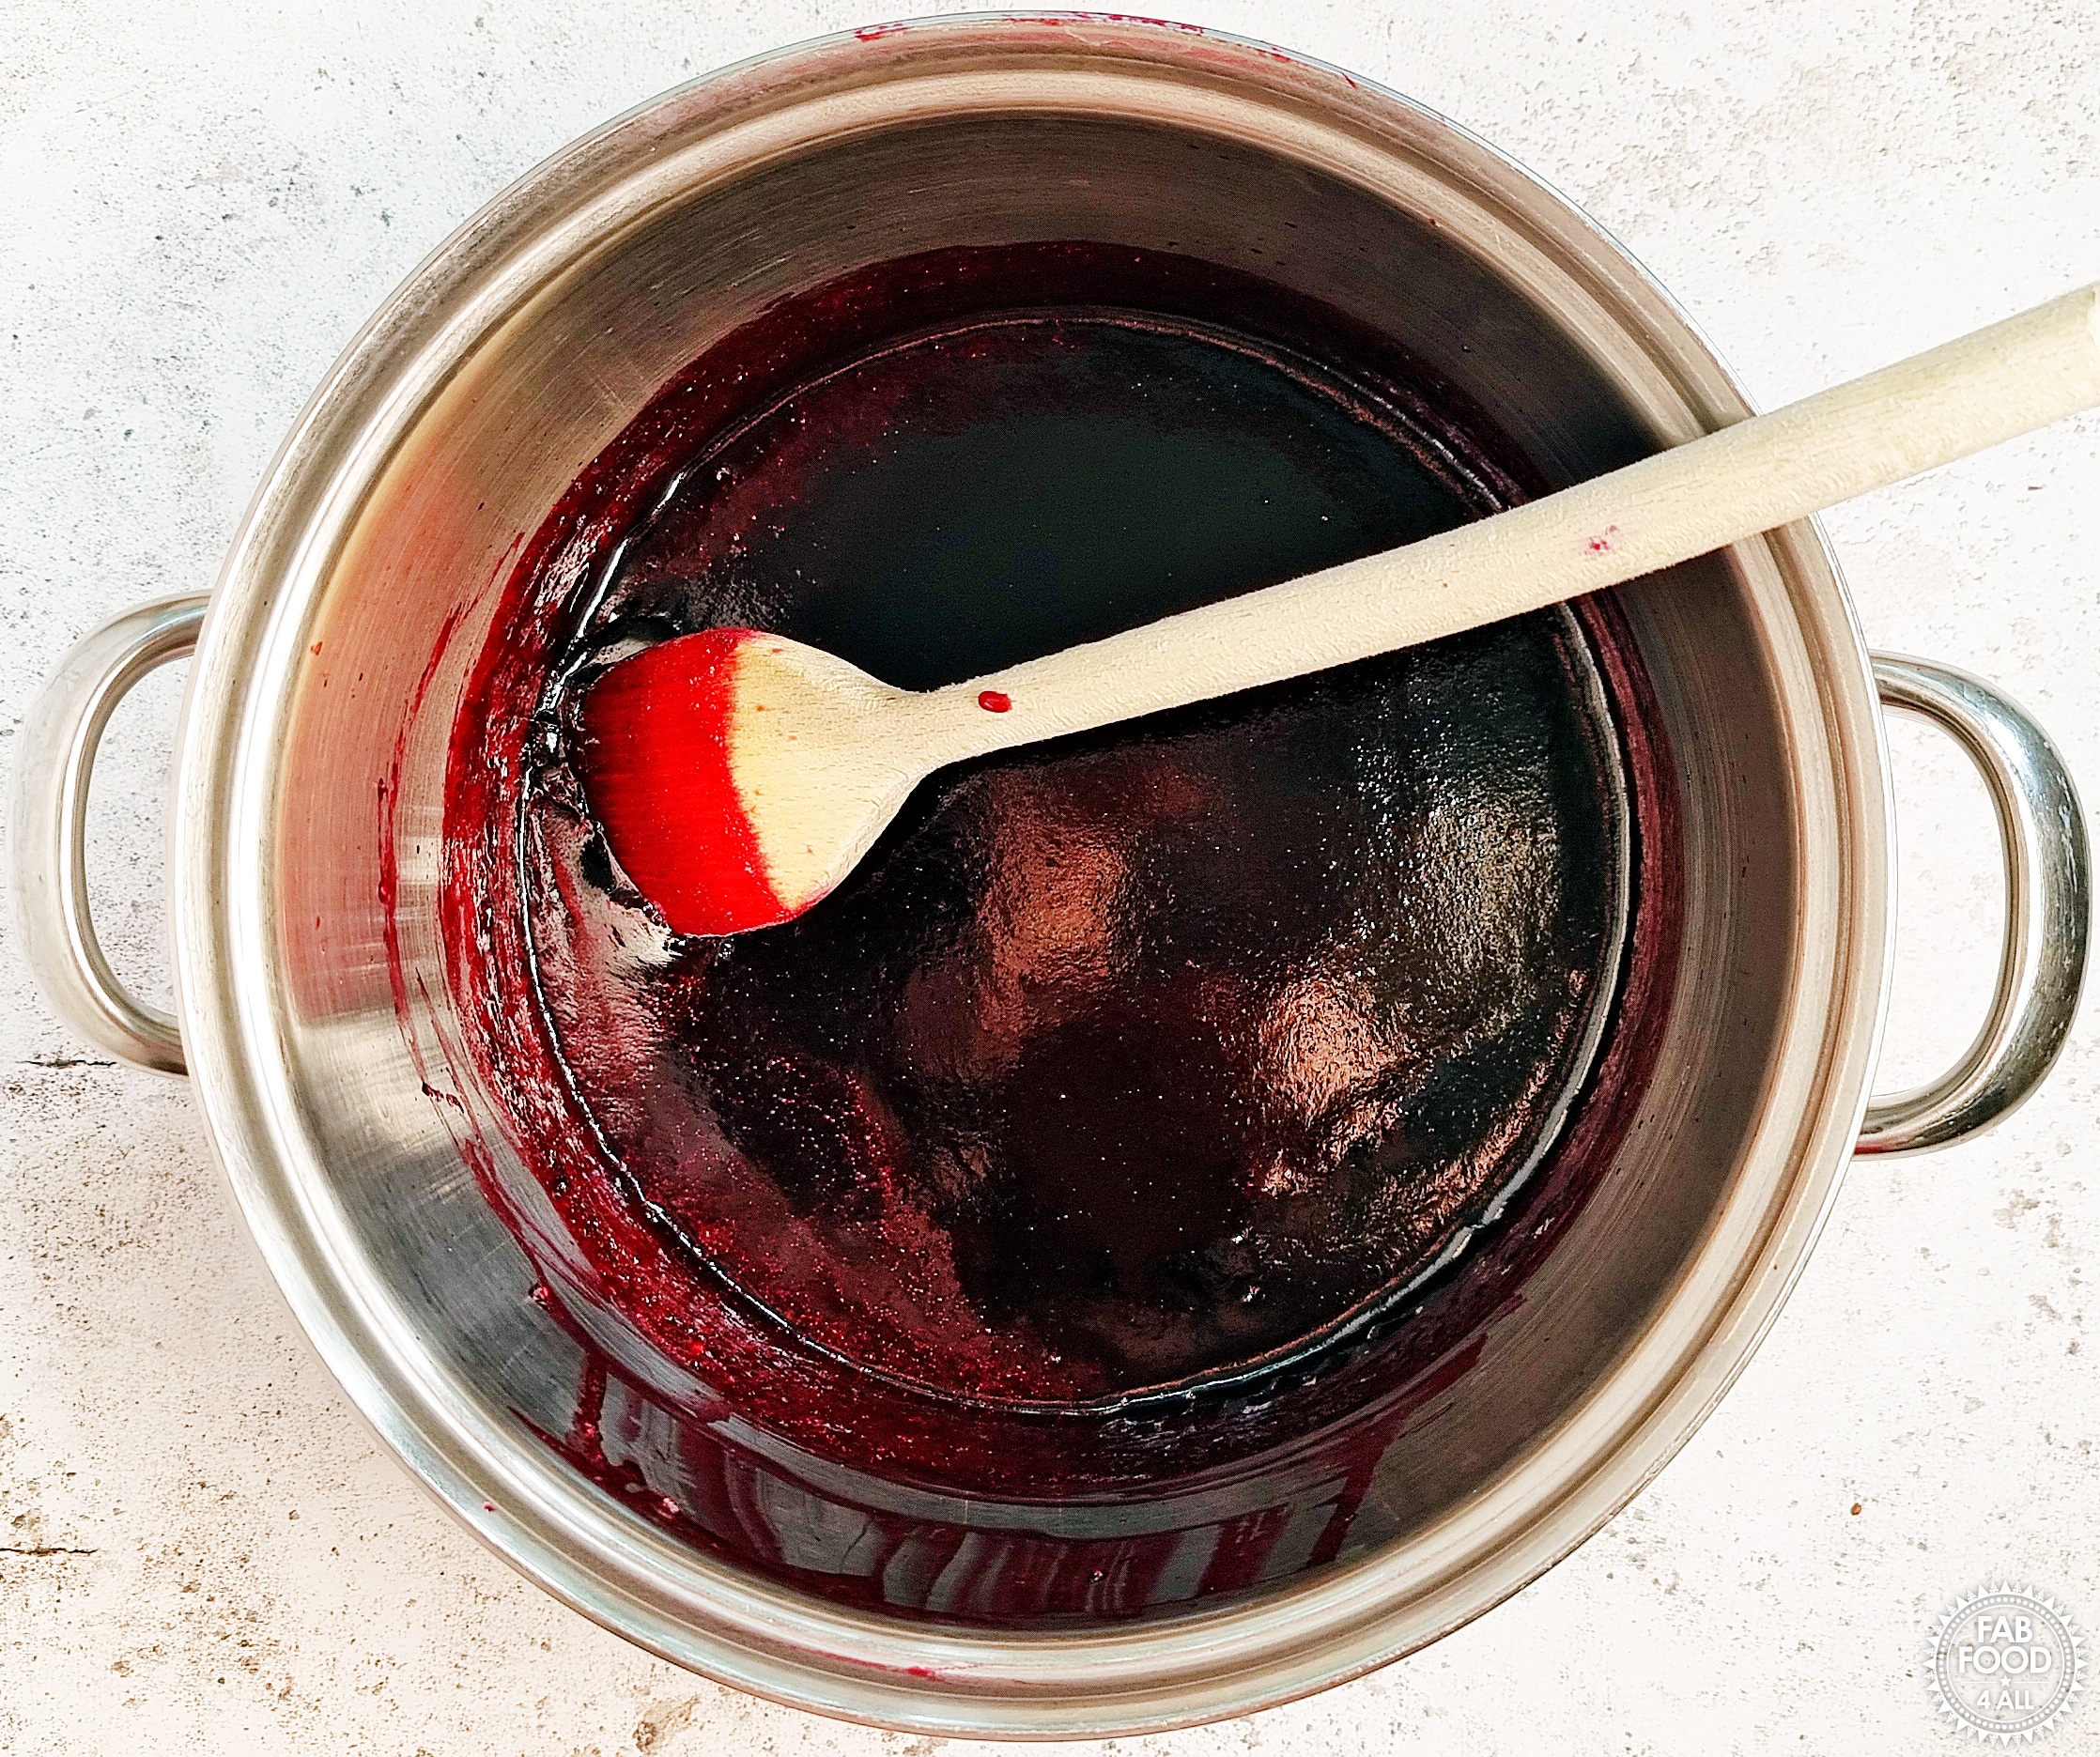
- Bring the pan to a full rolling boil over high heat until 104.5℃ (220°F) is reached or time for 90 seconds.
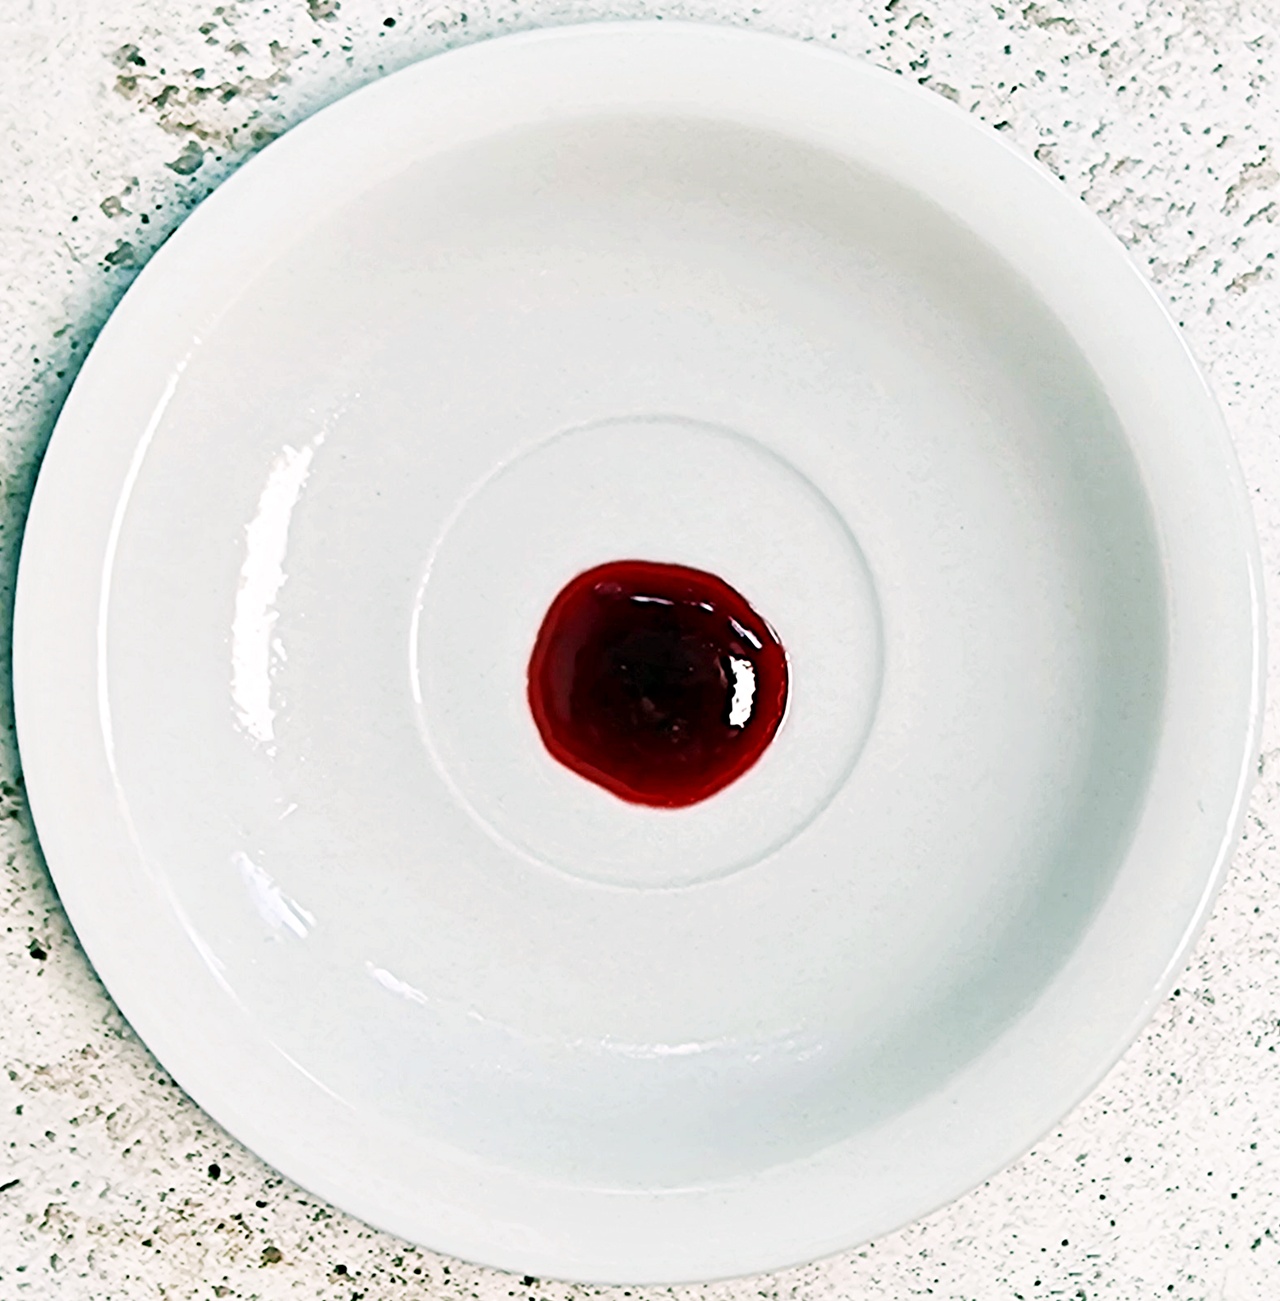
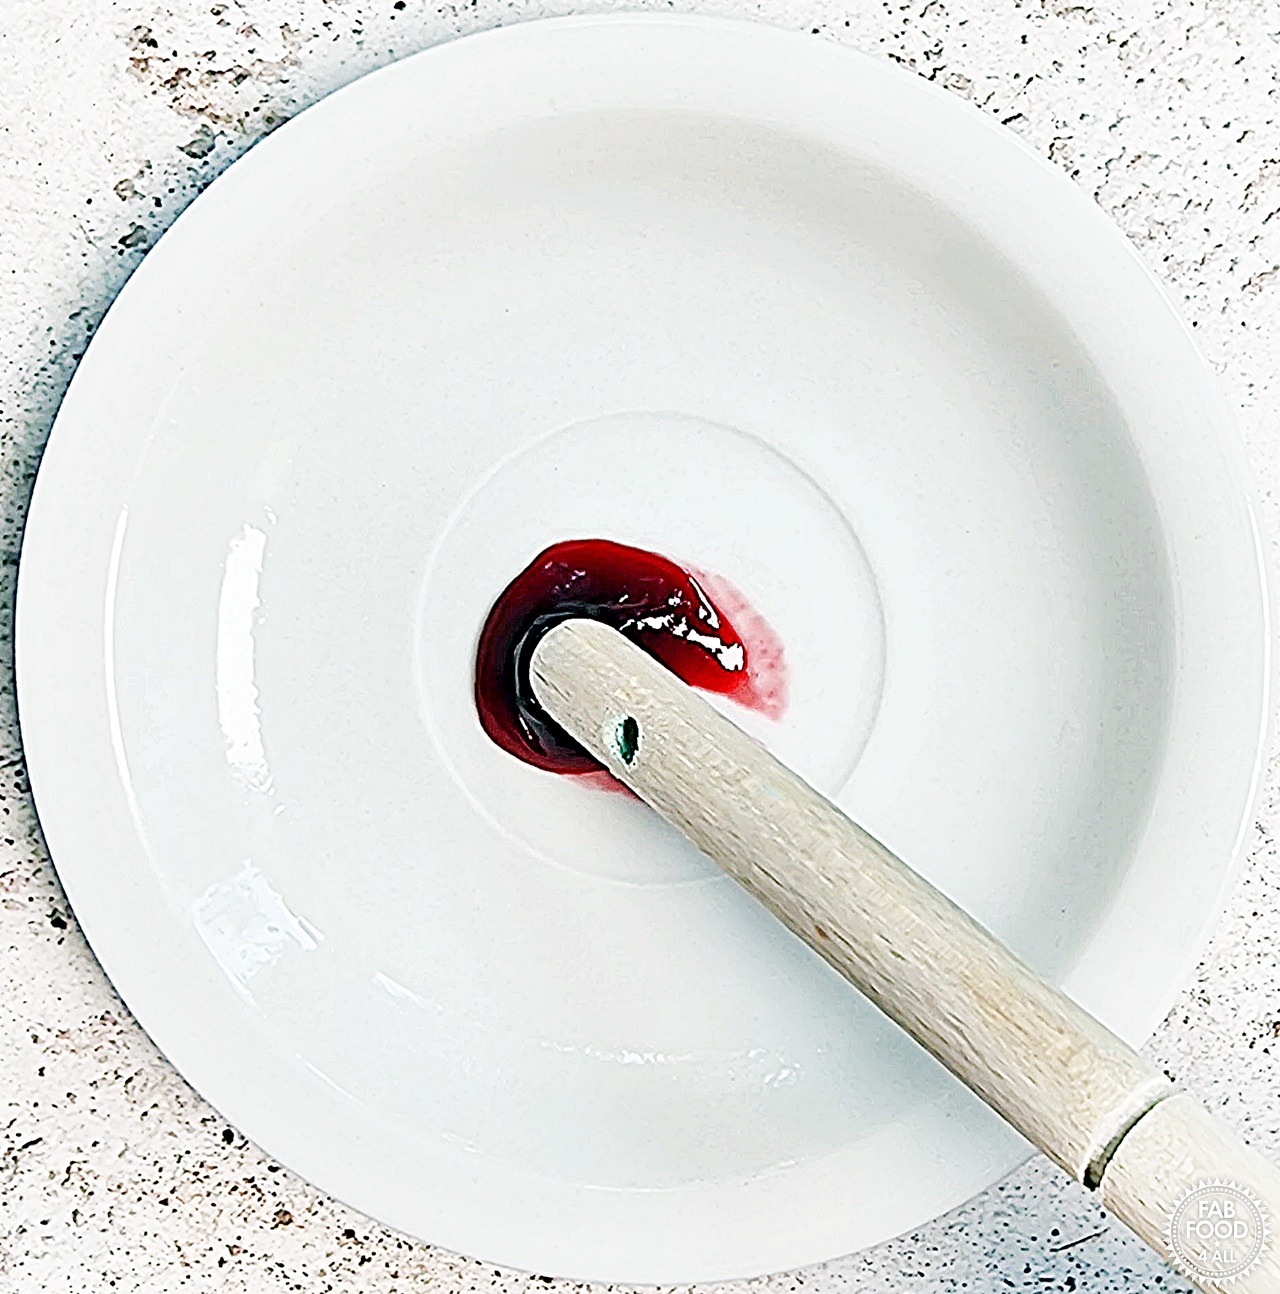
- Remove the pan from the heat and test for set by placing a few drops of jam onto a chilled plate. Place the plate in the fridge for 30 seconds.
- Push a finger through the jam; it will gently crinkle if the setting point has been reached. If it hasn’t, then bring to a rolling boil for another 20 seconds and retest. Repeat if necessary.
- Before potting up, eliminate any surface air bubbles (scum) by stirring the jam vigorously.
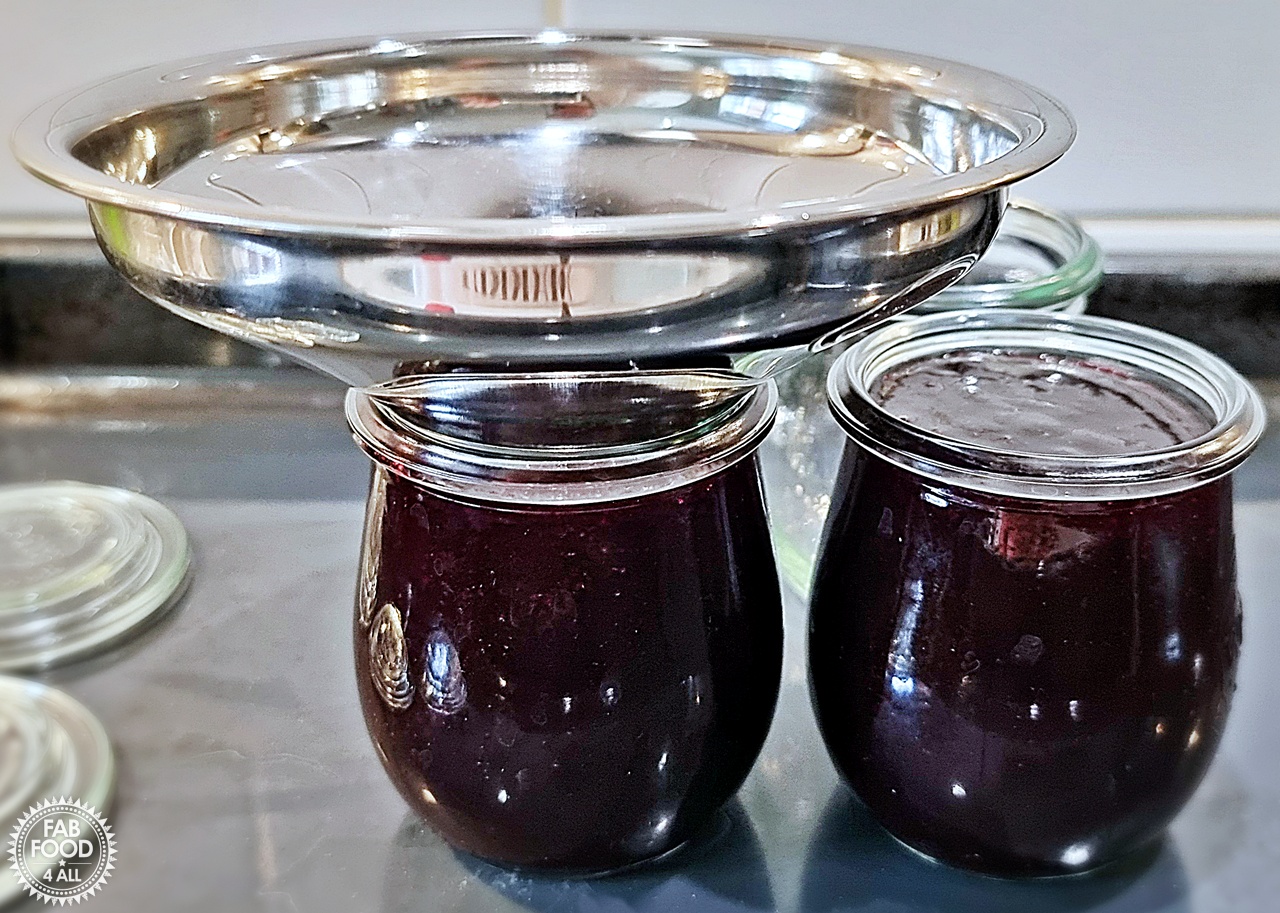
- Pot up the hot jam into hot jars by pouring straight from the pan using a jam funnel to avoid spillage.
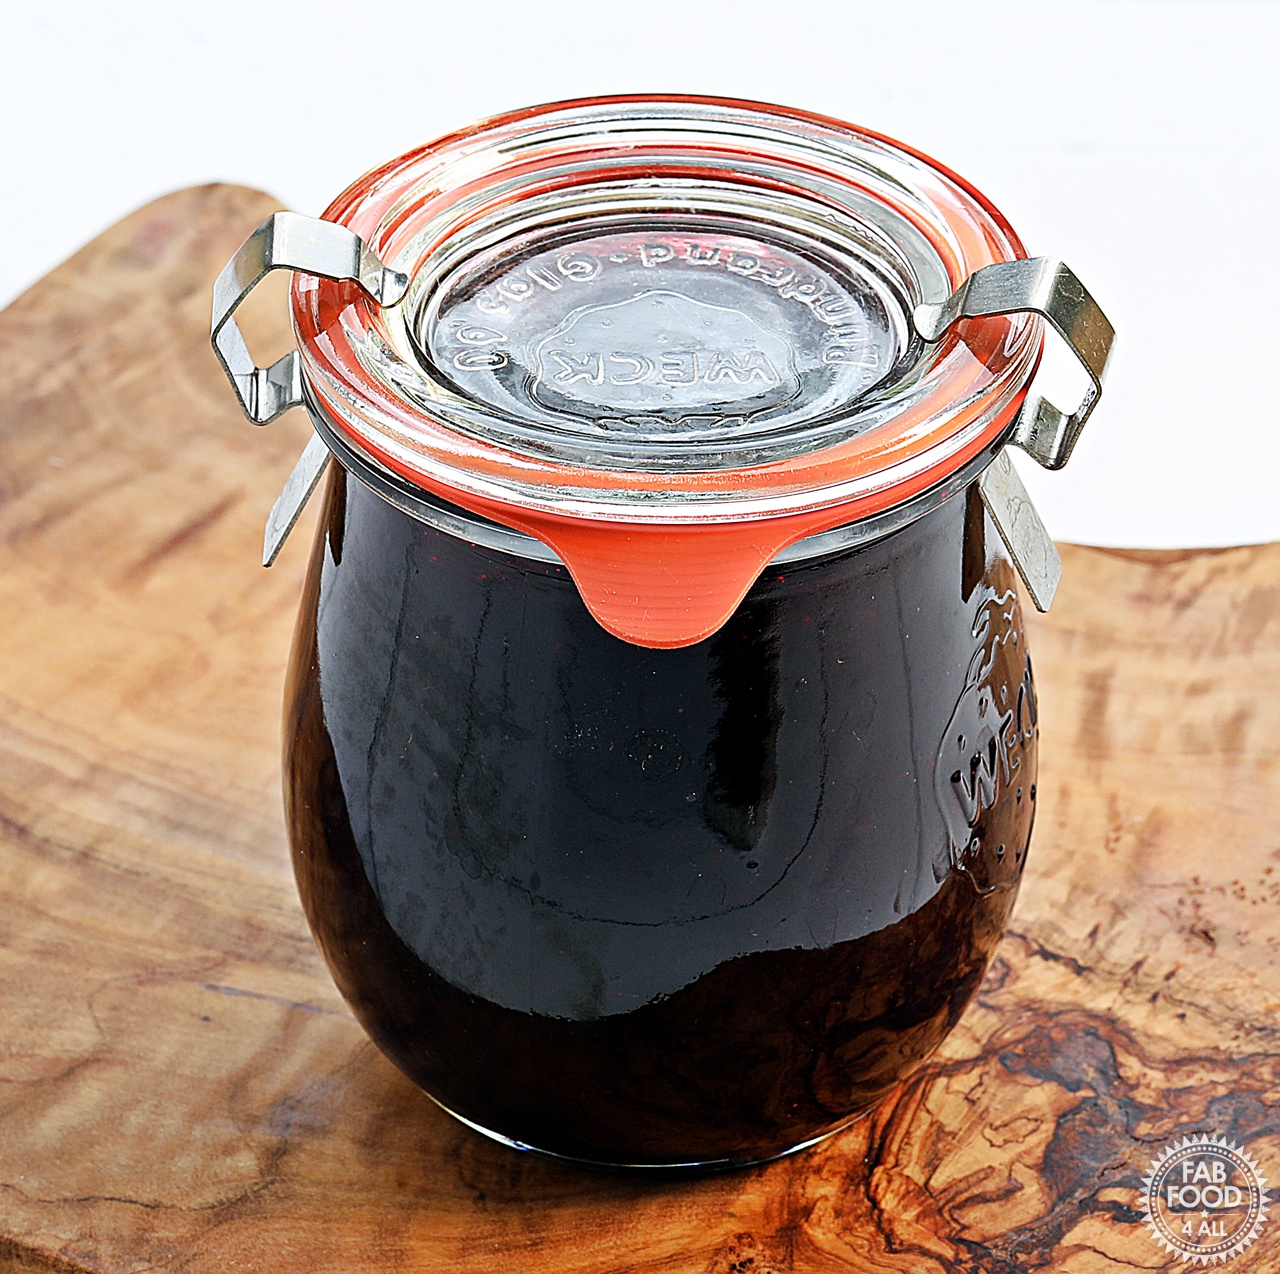
- Place the lids on immediately and allow to cool before labelling.
Recipe Testing Notes
In my previous 2 seedless jams (Blackberry and Raspberry), I added the sugar to the fruit, heated through to dissolve the sugar, and then sieved.
This time I wanted to make a slightly larger batch of seedless jam.
Hence, I decided it was more practical to boil and simmer the berries to soften the wild blackberries, release all their juices, and then sieve.
The sieving process is a labour of love; it took me 20 minutes, but it’s so worth the effort!
I’m sure a rotary food mill would have saved me a lot of time, so it’s on my list to buy!
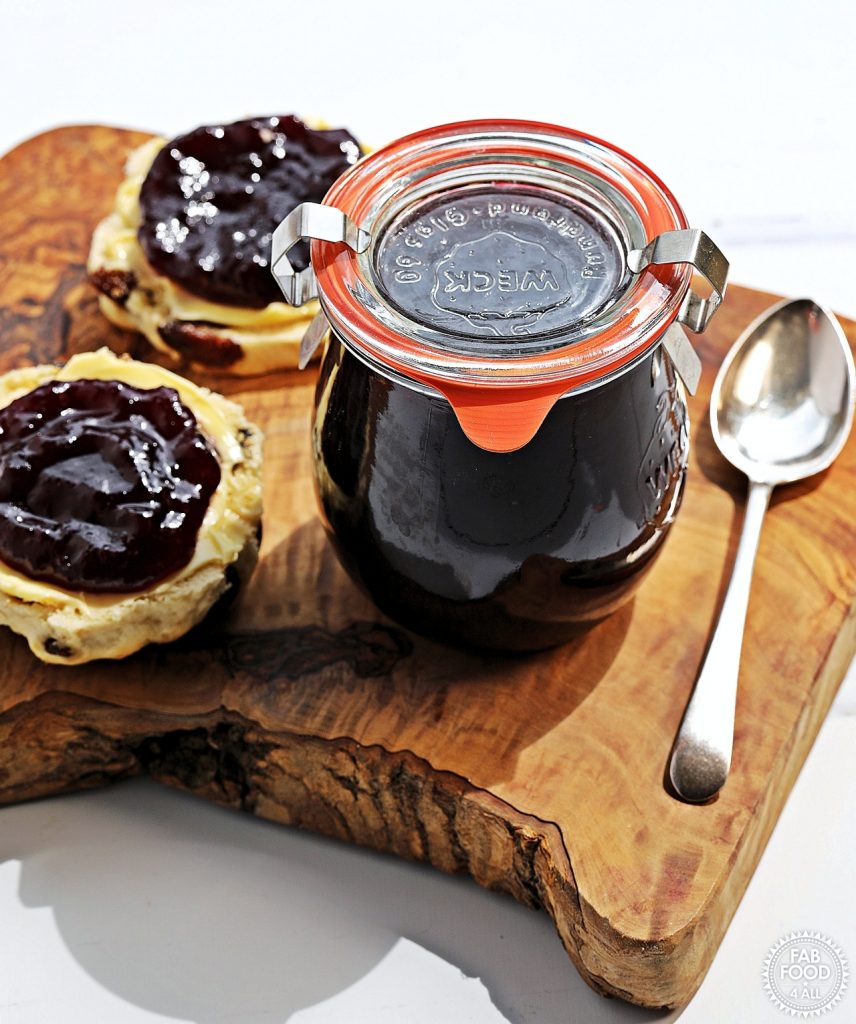
Substitutions and Variations
You could sub in other berries or use additional ones such as blueberries, elderberries, mulberries, boysenberries, etc. Just be aware that the timings may change.
The sugar-to-fruit ratio after sieving is 1:1, so feel free to reduce the sugar amount if you wish. You could easily shave off 100 grams.
Storing Seedless Blackberry & Raspberry Jam
Store unopened jam in a cool, dry, dark place. It is at its best for flavour and colour in the first 12 months but will be safe to eat for many years.
Once open, store the jam in the fridge where it will keep for many months if you always serve it with a clean spoon.
What to Serve with Seedless Blackberry & Raspberry Jam
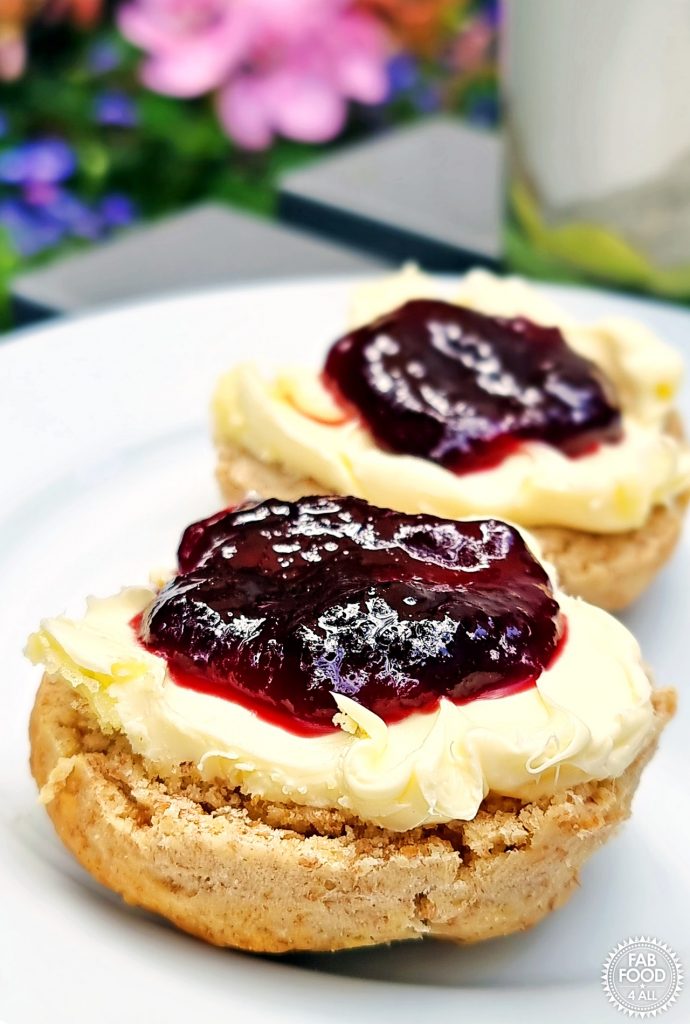
This seedless berry jam goes with so many things. Here are just a few ideas:
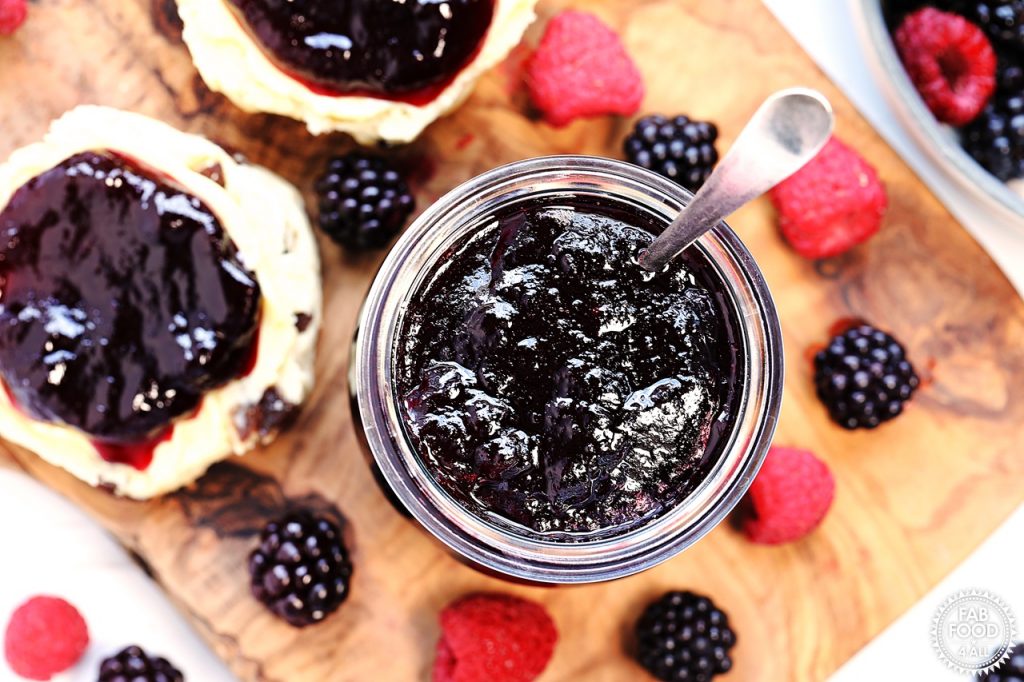
- Spread on my sourdough bread, Scotch pancakes or spelt scones with clotted cream for a traditional cream tea!
- Fill a Victoria Sandwich.
- Use as a filling in doughnuts.
- Add to Thumbprint Cookies.
- Swirl into ice cream or cheesecake.
- Add to muffins.
- Stir into porridge or yogurt.
More Blackberry & Raspberry Preserve Recipes
Here are some more berry preserves and jam recipes you should try:

- Easy Seedless Blackberry Jam
- Easy Seedless Raspberry Jam
- Blackberry & Raspberry Jam
- Quick & Easy Raspberry Jam
- Raspberry & Chocolate Jam
- Tutti Frutti Jam
- Blackberry & Apple Jam
- Blackberry & Apple Jelly
- Blackberry Curd
Seedless Blackberry & Raspberry Jam FAQs
Yes, but I would only do so if using a rotary food mill. You would need to allow extra time for the setting point to be reached.
It’s not necessary, as this jam is shelf-stable. If you wish to water bath, follow your jar manufacturer’s guidance, as it’s not something we do in the UK.
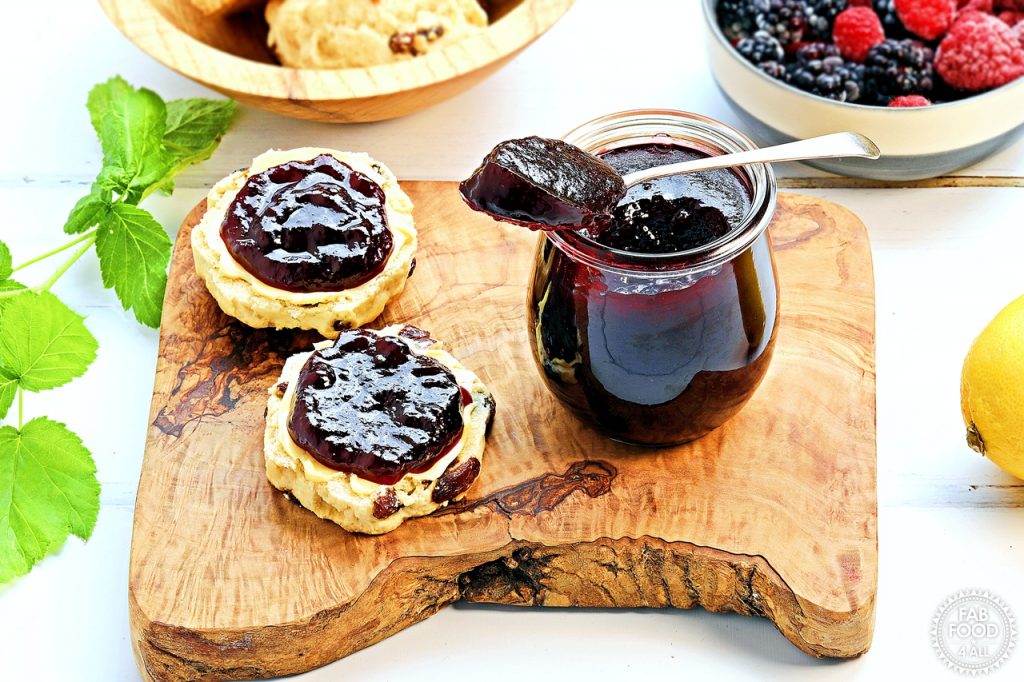
Conclusion
If you’re looking for a small-batch, delicious homemade jam to use up a harvest of blackberries and raspberries, then this seedless berry jam recipe is for you!
I’m sure your whole family will love it just like mine do!
If you enter it into any competitions and win, then do let me know; I love hearing about your victories.
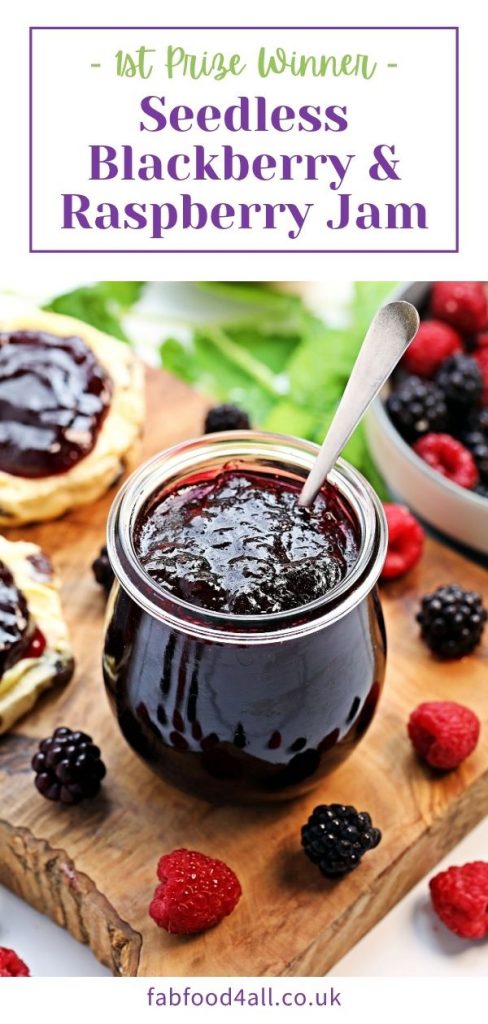
Pin Seedless Blackberry & Raspberry Jam for later:
Leave a comment and rating below when you’ve made this recipe; I love getting your feedback! You can also share your pictures by tagging @FabFood4All over on Instagram.
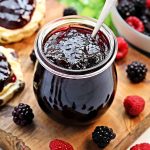
Seedless Blackberry & Raspberry Jam – 1st Prize Winner
Equipment
- 1 Preserving Pan or large stainless steel pot
- 1 potato masher
- 1 Stainless steel sieve (fine mesh strainer) or rotary food mill
- 1 Large stainless steel spoon
- 1 medium sized glass bowl
- 1 long wooden spoon
- 1 Digital or jam thermometer
- 1 Stainless steel jam funnel (canning funnel
- 3 220 ml (or 8 oz) Glass jam jars with lids
- 2 Small plates
Ingredients
- 300 g blackberries fresh or frozen preferably wild
- 300 g raspberries fresh or frozen
- 2 tbsp freshly squeezed lemon juice
- 500 g granulated sugar
Instructions
- Before you start, see notes 1 and 2 below.
- Place the fresh or frozen blackberries and raspberries, along with 2 tbsp lemon juice and 2 tbsp water, into a preserving pan (or similar).
- Bring to a boil on high heat whilst mashing the berries with a potato masher, then reduce the heat to a simmer and cook for 10 minutes.
- Pour the cooked berries into a sieve (or rotary food mill) over a glass bowl, and use the back of a large spoon to press the juice and pulp through (this will take 15 – 20 mins).
- Scrape the remaining pulp off the bottom of the sieve and add to the bowl.
- Pour the berry pulp/juice mixture back into the pan and add the sugar. (Discard the seeds left in the sieve).
- Stir over a low heat until the sugar is completely dissolved. The mixture must not bubble, or this will result in crystallised jam. When you drag a wooden spoon over the base of the pan, there should be no crunching sounds.
- Bring the pan to a full rolling boil over high heat until 104.5°C (220°F) is reached or time for 90 seconds.
- Remove the pan from the heat and test for set by placing a few drops of jam onto a chilled plate. Place the plate in the fridge for 30 seconds.
- Push a finger through the jam, and it will gently crinkle if the setting point has been reached. If it hasn’t, then bring to a rolling boil for another 20 seconds and retest. Repeat if necessary.
- Before potting up, eliminate any surface air bubbles (scum) by stirring the jam vigorously.
- Pot up the hot jam into hot jars by pouring straight from the pan using a jam funnel to avoid spillage.
- Place the lids on immediately. Makes just over 2.5 small jars of jam (about 570 ml/20 fluid oz).
- Allow to cool before labelling and then store in a cool, dry, dark place.
Video
Notes
- Place 2 saucers/plates in the freezer for the chilled plate test.
- Sterilise 3 x 220 ml (8 oz) jars and lids (or variation thereof). Start by washing the jars in hot soapy water (or take them straight from the dishwasher). Then fill with boiling water, empty, and place in the oven for 20 minutes at 140°C, 120°C fan, 284°F, gas mark 1. Leave the jars in the oven until the jam is ready to pot up. Washed lids should be sterilised by immersing in boiling water and then left to drain.
- I would usually advise stirring the boiling jam with a wooden spoon, but this jam is ready so quickly it’s not necessary. If you’re making a larger batch, which will take longer to boil, then definitely stir regularly to avoid the sugar burning on the base of the pan.
Leave a Reply