
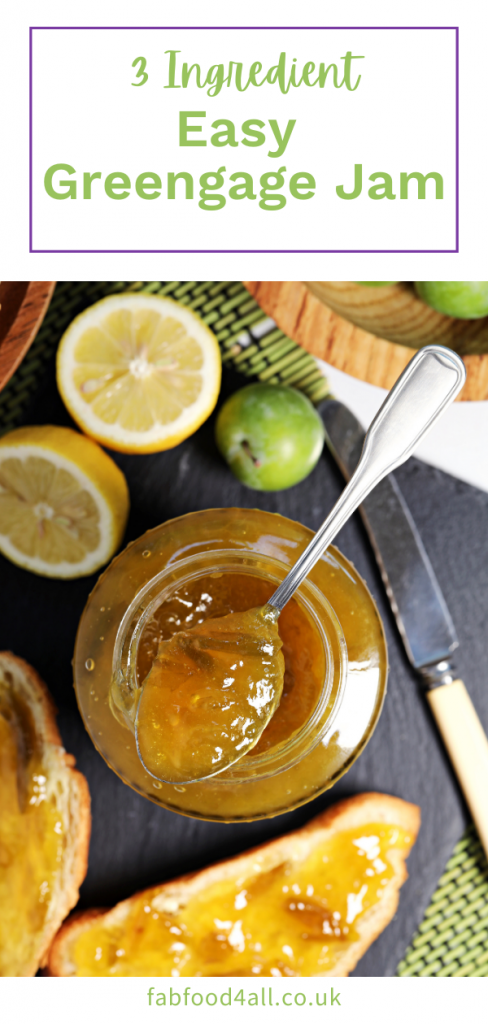
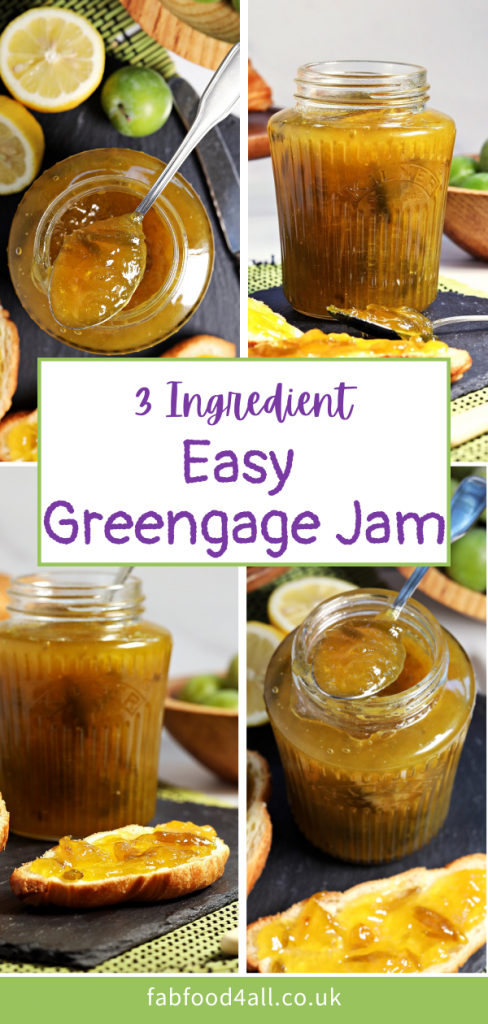
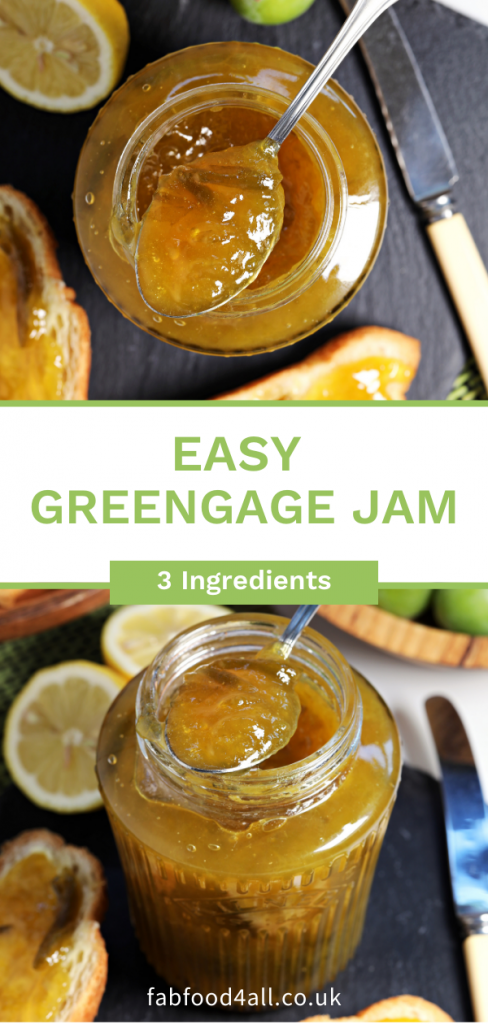
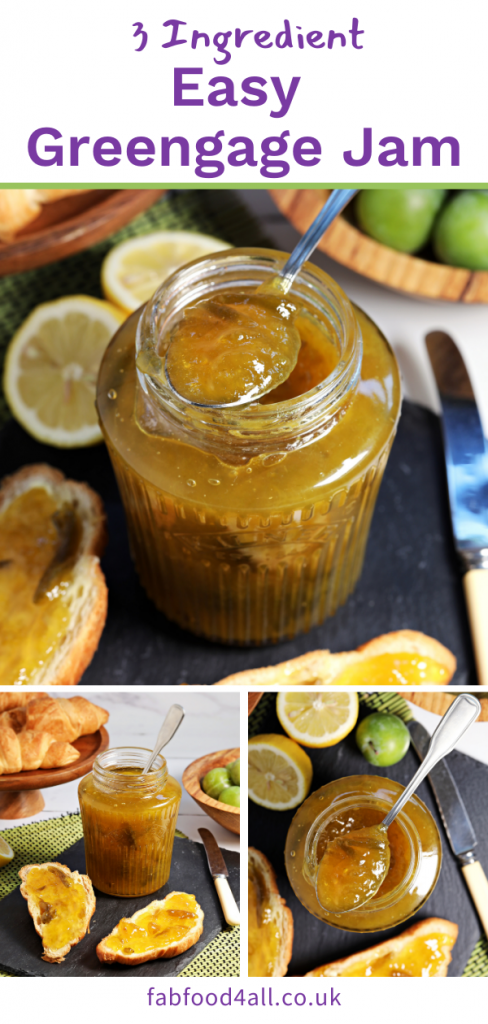
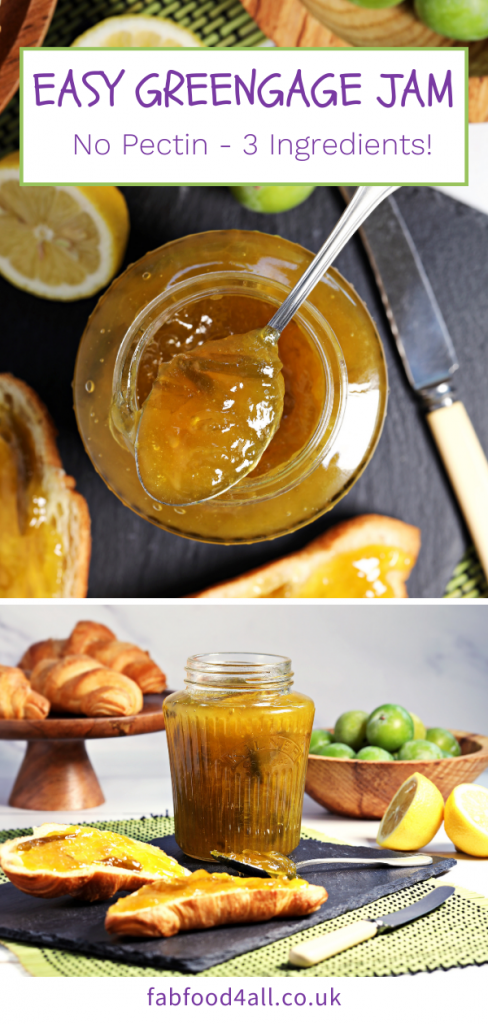
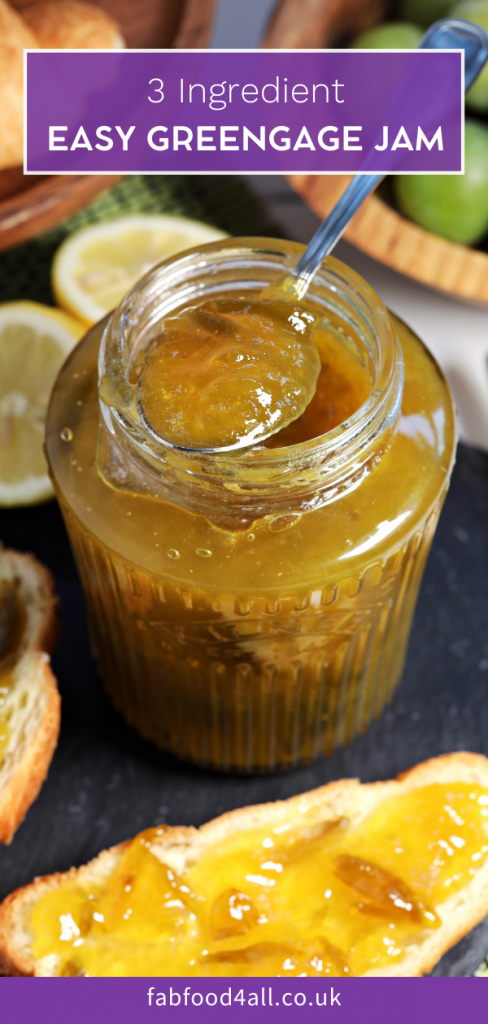
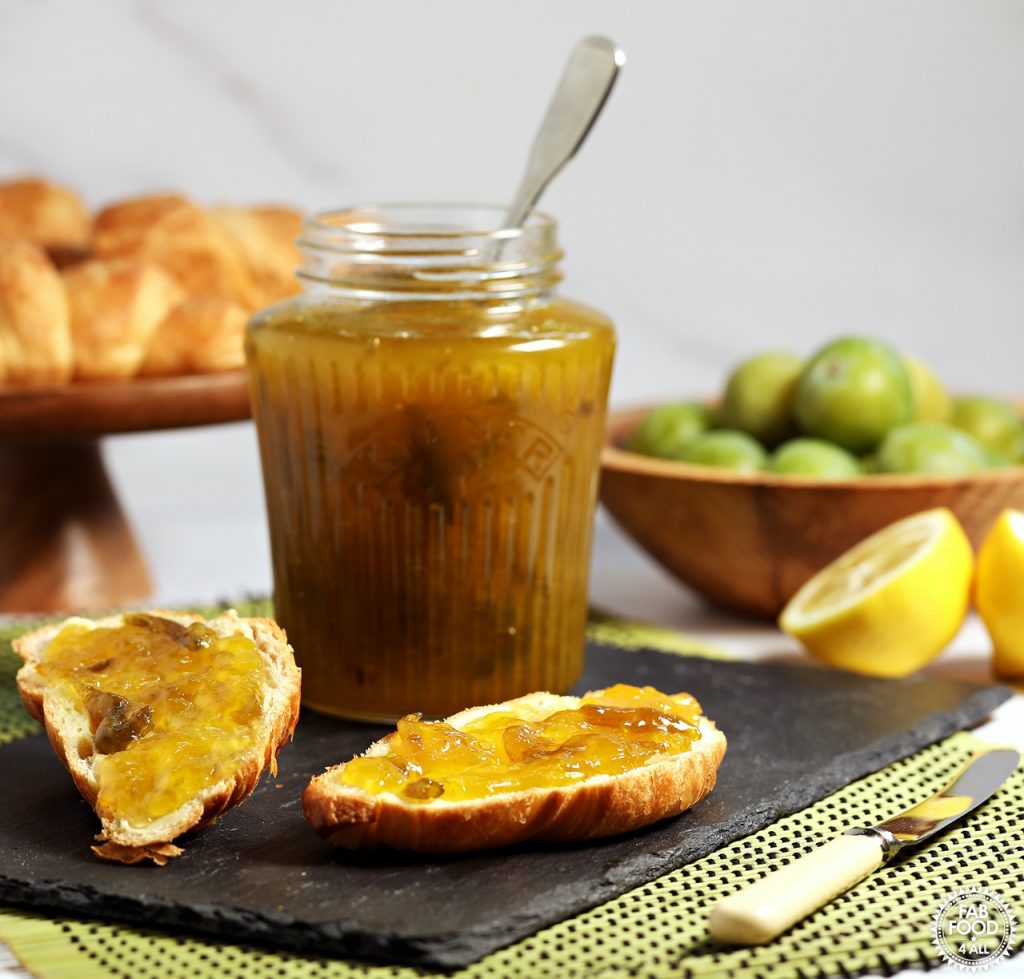
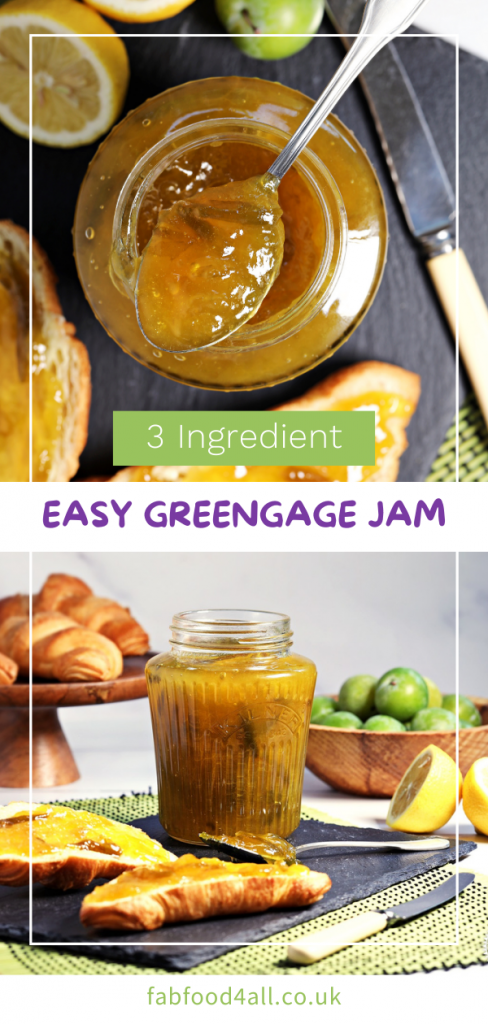
You will adore this quick and Easy Greengage Jam recipe with a subtle zing of lemon. With just 3 ingredients and no pectin, it’s the perfect way to preserve a glut of these unique and delicately flavoured stone fruits.

A Life Long Love of Greengage Jam
As a child I loved Tiptree Greengage Jam which was a rare treat and usually bought by my parents from the local garden centre.
So, back in 2016, I made a Greengage Jam recipe where I cracked open the stones to remove the kernels which were added during cooking to aid the set.
Fast forward to August 2023 and I decided I could make a better and easier Greengage Plum Jam recipe.
So, this time I’ve opted for adding lemon juice and skin to add a little zing, maintain colour and aid the setting process.
Are Greengages high in Pectin?
Yes, just like plums, Greengages are high in pectin so technically you don’t need lemon juice in Greengage Jam to aid the set.
However, I found that in the time it took to reach setting point the colour changed from green to tawny brown in my previous recipe.
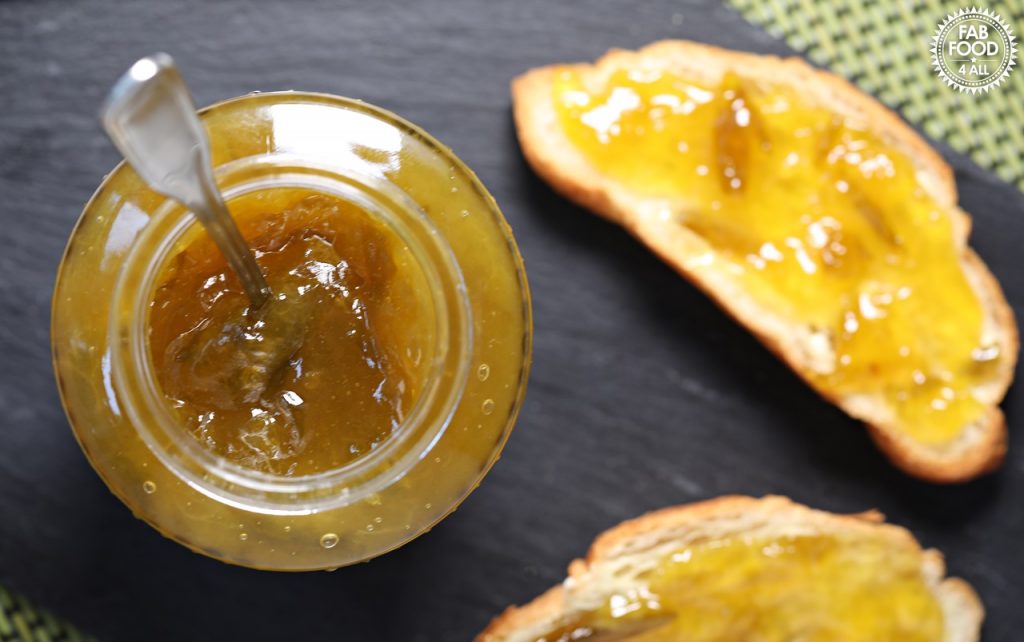
Hence, I almost halved the recipe and decided to add lemon to help maintain the green colour (photos don’t show just how green it was).
Choosing the best Greengages for Jam Making
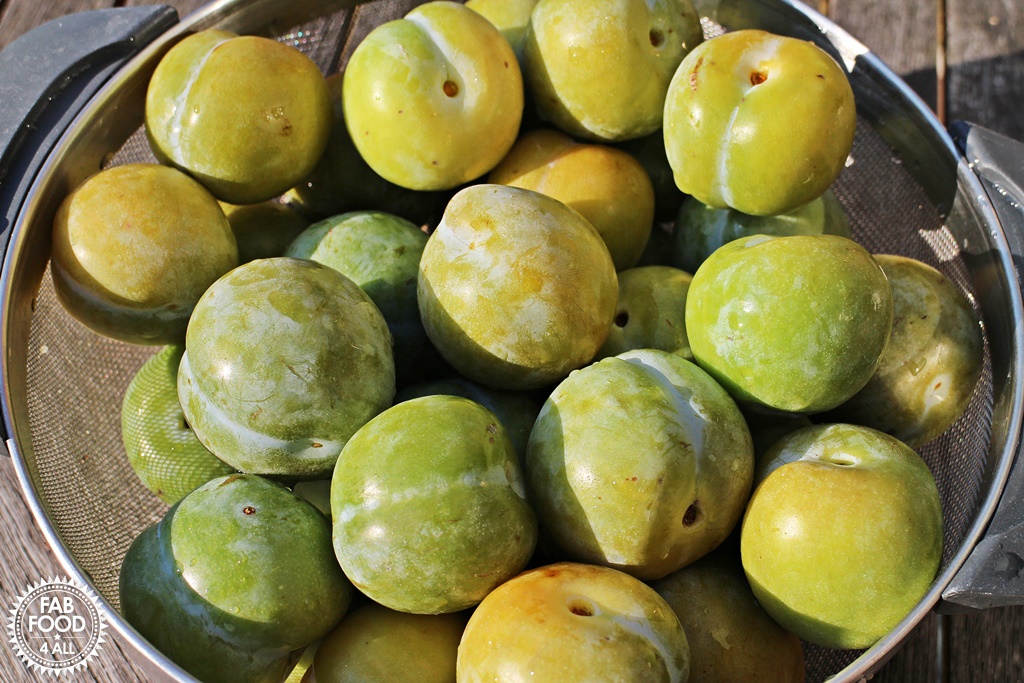
Greengages are in season from August to September.
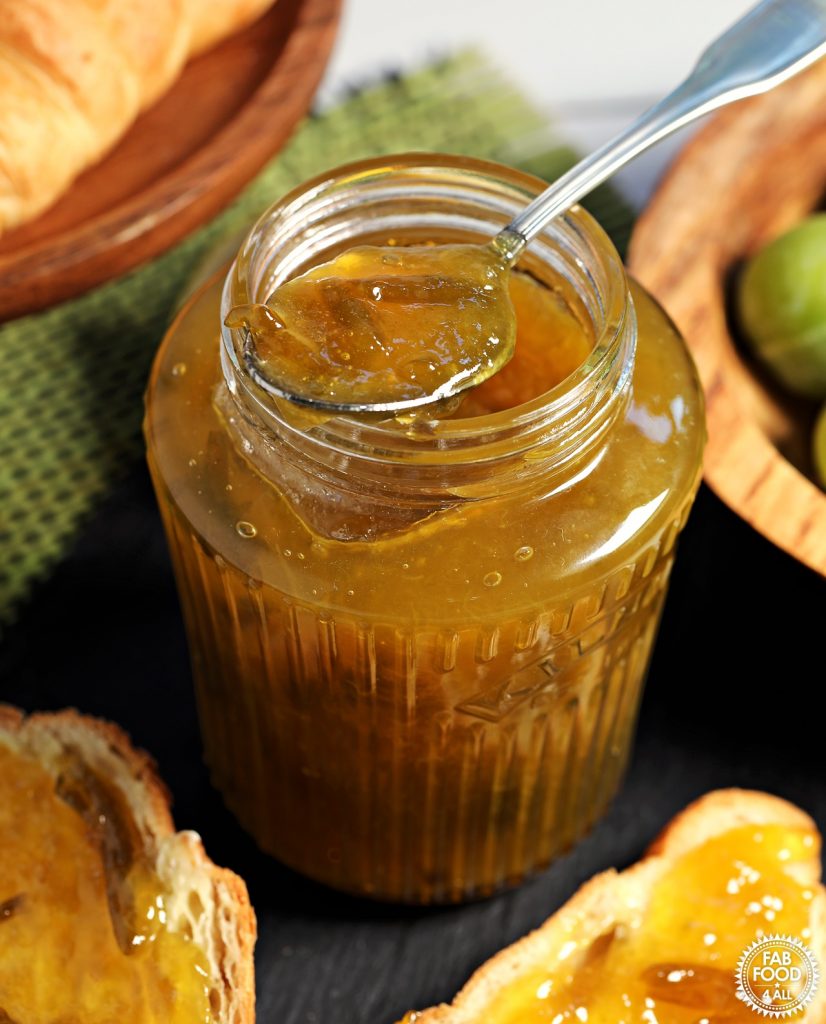
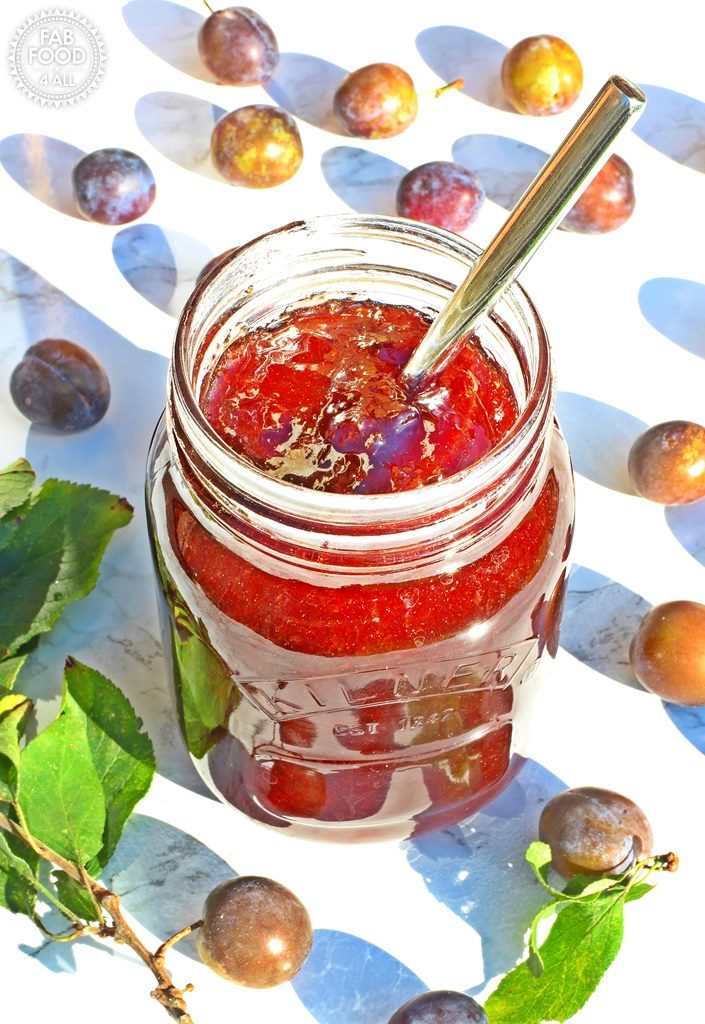
For the best colour, flavour and set, look for green, just ripe (fairly firm with slight give), greengages and not riper, soft yellow ones.
If you wouldn’t eat it, don’t jam it, is the rule of thumb!
Ingredients for Easy Greengage Jam

There are just 3 ingredients:
- Greengages – freshly picked or bought, don’t use overripe ones which won’t taste good.
- Granulated sugar – always my preference over jam sugar (with added pectin) which can give a stiff textured jam. Plus, you get a more concentrated fruit flavour as more water is boiled away.
- Half a lemon – juice and skin to add pectin, flavour and maintain colour.

How to make Greengage Jam (full recipe bottom of page)
- Add greengages and water to a preserving pan.
- Simmer for 15 – 18 minutes until greengages are cooked.
- Remove the stones.
- Add sugar, lemon juice and lemon skin and heat on low until sugar dissolves.
- Turn heat up and bring to a rolling boil. Time for 8 minutes or until temperature reaches 105°C.
- Test for set by placing a few drops of jam on a chilled saucer and place in fridge for 30 seconds. Push your finger through the jam and if it forms a crinkle/wave it’s ready. If not re-boil for another minute and test again, repeating until setting point is reached.
- Remove lemon skin and pot up jam into hot sterilised jar using a jam funnel and ladle.
- Then screw lids on immediately.
Trouble Shooting Common Jam Making Mistakes
- Jam is crunchy: you didn’t allow the sugar to fully dissolve before bring to a rolling boil.
- Jam is too runny: you misjudged the setting stage. Can be rectified by tipping jam back into the pan and re-boiling until setting point reached.
- Jam is too stiff: you boiled the jam for too long resulting in stiff crinkles when testing for set on saucer. A jam thermometer can avoid this.
- Jam burned: you didn’t stir it (been there, got the t-shirt)!
- Jam develops mould: you didn’t sterilise your jars and lids (never skip this step).
Is Easy Greengage Jam Shelf Stable?
I’ve lost count of the times that readers from across the pond ask if they need to water bath my jams to make them shelf stable.
All my jams are shelf stable as this is how we make jam in the UK and most of Europe.
If your preference is to water bath then you’ll need to check out your jar manufacturer’s instructions for guidance.
How long will Greengage Jam keep?
Easy Greengage Jam is at its best for colour and flavour in the first 12 months.
How should you store jam?
It should be kept in a cool, dry, dark place (I keep mine in a cupboard in my garage) where it will keep and be safe to eat for years.
Once opened, store Greengage Jam in the fridge where it will keep for months, even a year.
Always use a clean teaspoon to serve it which will prevent the jam from spoiling.
How many jam jars are needed?
This Easy Greengage Jam recipe makes 1 litre of jam so you can use 2 x 0.5 litre jars or 4 x 0.25 litre jars.
It’s a good idea to always add an extra, small jar, just in case a recipe renders slightly more jam.
Can you double the recipe?
Yes, you can double the recipe but you’ll need a jam thermometer to gauge when to test for set (105°C) as the time it takes to reach the setting point will increase.
Ways to use Easy Greengage Jam
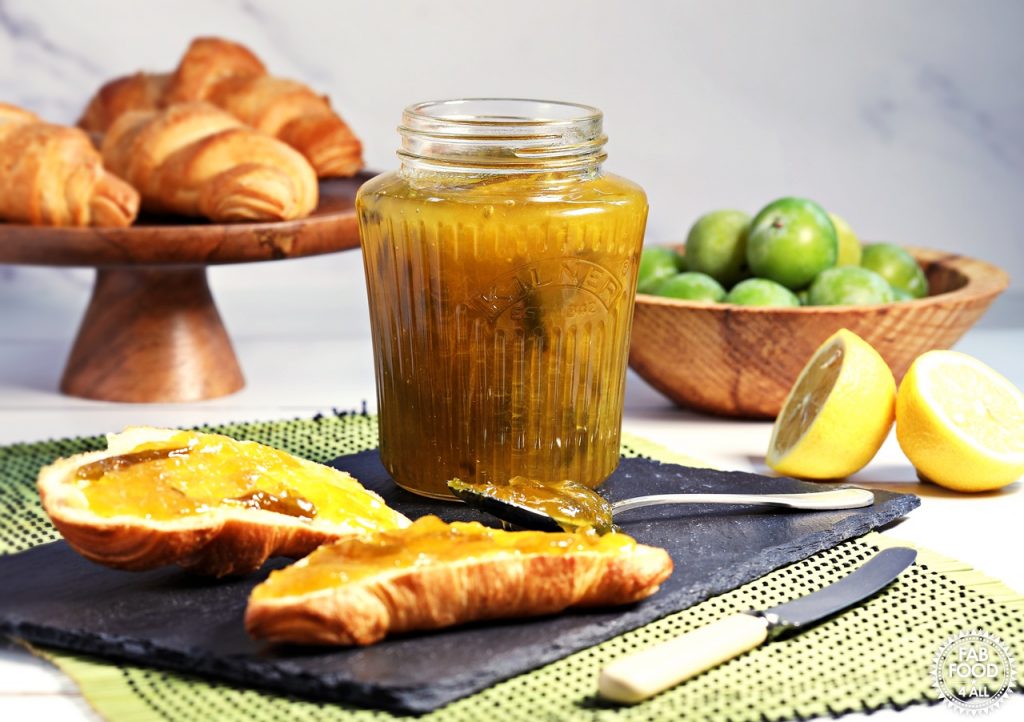
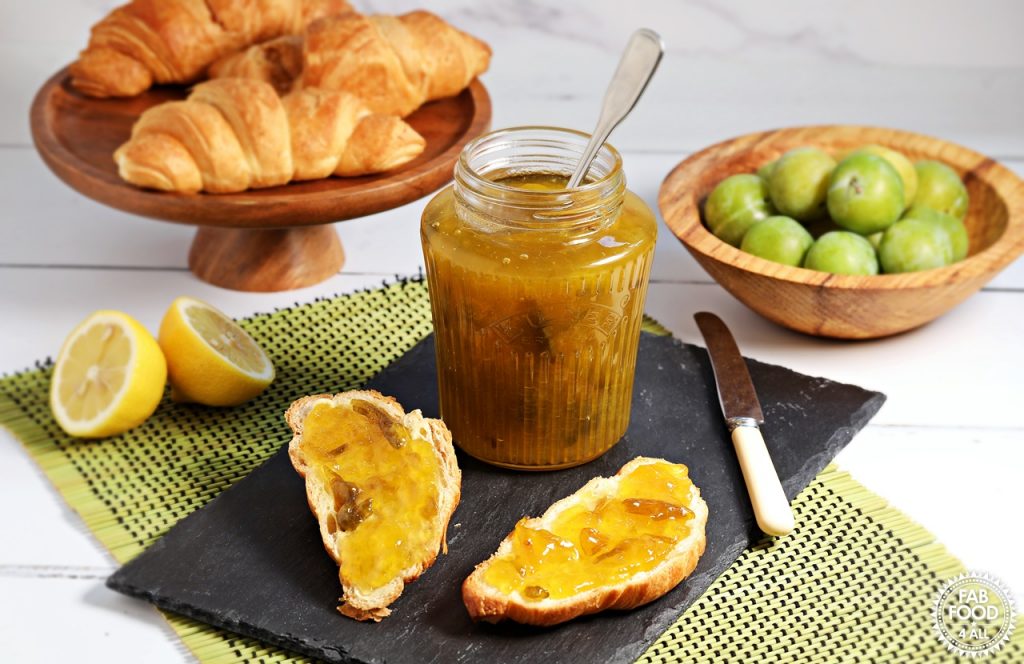
You can serve Greengage Jam for anything from breakfast on toast or croissants to afternoon tea on scones.
It’s great swirled into yogurt, rice pudding, semolina etc.
You can also use it in cakes, sponge puddings, cookies and jam tarts!
More Plum and Stone Fruit Jam Recipes
Here are some more delicious stone fruit jam recipes for you to try!
- Mirabelle Plum Jam – Fab Food 4 All
- Plum & Apple Jam – Fab Food 4 All
- Easy Nectarine Jam (no peeling or pectin) (Prize Winning) – Fab Food 4 All
- Damson Jam – Fab Food 4 All (photo above)
- Quick & Easy Apricot Jam – Fab Food 4 All
- Peach & Apricot Jam (1st Prize Winning) – Fab Food 4 All
- Sloe & Apple Jam – Fab Food 4 All
- Strawberry & Peach Jam – Fab Food 4 All
- Damson & Redcurrant Jam – BakingQueen74
- Quick Yellow Plum Jam – Simply Food
- Flaming Fury Peach & Niagara Ice Wine Jam – Kavey Eats
I’m sure you’ll love my quick and easy Greengage Plum Jam recipe which is the perfect way to preserve a glut of summer greengages!
I truly believe jam-making is great for your mental health as it’s such an immersive experience.
Best of all you’re creating something that will bring joy to others and jam makes a wonderful gift!
Do you agree? Let me know in the comments!
Pin for later!
NB: Original Greengage Jam recipe previously published in August 2016.
Leave a comment and rating below when you’ve made this recipe; I love getting your feedback! You can also share your pictures by tagging @FabFood4All over on Instagram.
Easy Greengage Jam
Equipment
- Preserving pan (or similar)
- 1 Measuring jug
- Kitchen knife
- Lemon juicer
- Digital scales
- long wooden spoon
- Metal whisk
- Digital thermometer (optional)
- 2 0.5 litre jam jars with lids 4 x 0.25 litre jam jars with lids
- jam funnel
- ladle
- 2 Saucers
- 1 Kettle (to boil water for sterilising)
Ingredients
- 1 kilogram greengages rinsed
- 800 grams granulated sugar
- ½ lemon squeezed for 1 tablespoon lemon juice & half lemon skin retained
Instructions
- Before you start place 2 saucers in freezer and sterilise jars (see notes).
- Add greengages (counting them into the pan) and 150 millilitres of water to a preserving (or similar large) pan.
- Bring to a simmer over a medium heat and cook, stirring occasionally, until the stones come away easily from the flesh (about 15 – 18 minutes).
- Once greengages are cooked remove the stones with a wooden spoon. Agitating with a whisk can help to loosen and find them. You should have as many stones as you counted greengages at the beginning!
- Add 800 grams granulated sugar, 1 tablespoon lemon juice and the half lemon skin. Heat on low until the sugar dissolves, stirring with a wooden spoon until no crunching sounds can be heard. Do no simmer or jam will be crunchy.
- Turn the heat up to full and bring the mixture to a full rolling boil whilst stirring continuously to avoid the jam catching on the base . At this point time for 8 minutes or if you have a digital thermometer aim for a temperature of 105°C, stirring continuously. The jam will drip slowly off your spoon and last drop will hang on when jam is at setting point.
- Test for set by putting a few drops of jam on a chilled saucer and place in fridge for 30 seconds. Push your finger through the jam and it should form a crinkle (or wave) and feel gel like. If setting point hasn’t been reached boil for another minute at a time and repeat test until ready.
- Remove lemon skin and pot up jam into 2 x 0.5 litre or 4 x 0.25 litre hot sterilised jars.
- Screw lids on immediately.
- Allow to cool before serving. Once opened store in fridge.
Notes
Sterilise 2 x 0.5 litre or 4 x 0.25 litre jam jars and lids by washing thoroughly in hot soapy water (or take straight from dishwasher), fill with boiling water, empty and place on a baking tray. Bake in a preheated oven at 140°C for 20 mins and keep the jars there until ready to pot up. Place lids in a bowl and pour over boiling water, use tongs to lift out and drain on a clean tea towel or draining rack.
Shelagh
I used your recipe last fall with great success. I froze another batch of plums – any problem using the recipe as though they were fresh?
Camilla
Great Shelagh. I would just use them as fresh and not thaw them.
Hannah Carlson
Thank you for this beautiful recipe! Im in Utah, USA and we found that the temperature to set was closer to 99/100 because of the altitude. We still overdid it… while waiting for the temperature to reach 105. But apart from the texture being very thick, the flavor is delicious!
Camilla
Thank you Hannah, the flake test where you look for a drip that hangs on to a wooden spoon would be useful another time in that case. You could tip the jam back into a pan and add water to make it thinner and reboil. At least you know for another time that you need a lower temperature. I always say mistakes are never wasted, they’re learning experiences and I’ve had many:-)
Lianne
Fabulous recipe, greengage tree branch broke with weight of fruit and had a lot to harvest and made this jam! First time made jam, very easy to follow and delicious recipe, will be using it to deal with rest of the fruit to sell out our garden summer fete
Camilla
Thank you so much Lianne and so happy that branch broke with ripe fruit on it:-) Good luck with your summer fete!
Vonny
I’ve just made greengage jam following your recipe for the first time. It was easy to follow. It looks so good I will try it later on some homemade scones thankyou.
Camilla
Awesome Vonny, so glad you found the recipe easy to make. Do let me know what you think after tasting:-)
Maggie
This is fabulous. And FWIW, I used a low-carb sugar substitute, and it worked BEAUTIFULLY. Thank you for a terrific recipe.
Camilla
So glad you like the recipe Maggie. I assume you used a sweetener instead of sugar? You’ll probably need to keep the jam in the fridge as the sugar acts as the preservative in jam so without it I’m not sure how long it would last.
Maggie
Yes, I use a sugar sub called Bochasweet. And I do keep the jam in the fridge or freezer, thanks!
Camilla
Just Googled and sadly not available in the UK but that sounds like a promising product as I’ve only ever tried making a Chia Strawberry Jam once with some Stevia I was sent and it tasted terrible. My personal hack for eating sugar is to have a glass of water with a tablespoon of apple cider vinegar in it as I had to give up sugar last year after not being able to sleep and getting pins and needles at night.
Jan
A bit of a fiddle with picking out the stones. But well worth it. I was using frozen greengages and wondered if would work, it did. Lovely jam.
Camilla
Awesome Jan, so glad you liked the recipe. Thank you for leaving feedback:-)
Nancy
Hello I made your Apricot Peach jam using conversion for the sugar and my scale for the fruit Turned out perfect. I been canning for 20 years and never without pectin. Very good. I love canning pie fillings also. Thank you so much
Camilla
Aaw, that’s so wonderful to hear Nancy, so glad you like the recipe. Do check out my other jam recipes:-)
LORI HARTZELL
Hi, this is all new to me. Could you put this into cups and u.,s . a. measuring for me please! I do want to try these green gage,plums I have in jelly them! Thank you, Lori
Camilla
Hi Lori, I’m afraid you can’t convert a weight to a volume accurately which I why I don’t have an automatic calculator. Digital scales are very cheap so I would advise you to invest in a pair in order to be able to make successful recipes where accuracy is key. Failing that you could use an online calculator but it’s not something I would put my name to or take responsibility for.
Karen Gray
I have a greengage tree in my garden. It’s only fruited three times in 15 years. This year it was so heavy with fruit that that the wind has spilt the tree and it is dying. Just managed to salvage enough greengages to make this jam before the tree surgeon comes to take it down. Absolutely gutted!
Camilla
Oh no Karen, that is gutting, I love greengages so I can imagine the pain:-(
Lynn Stewart
Can you process the jam in the Mason jars in a water bath so they last longer. I’d like to sell some at my craft show.
Camilla
Hi Lynn, this is how we make jam in Europe and it will last years although best eaten sooner! By all means water bath if you prefer but I don’t know anything about that process I’m afraid.
Kat T
I am new to jam making and recently tried making italian plum jam. The recipe called for fruit, sugar, and lemon juice but no water. The resulting jam was very very hard – almost like candy! Although the taste was good… But I notice some of your plum jams use water and some do not, is there a rule to this?
Thanks very much, looking forward to trying your recipes!
Camilla
Hi Kat, all I know is that if you add water to jam then you will need to boil it for a little longer to reach setting point. I don’t know which recipe you followed but the jam had obviously reached setting point a lot sooner than you took it off the heat. It’s best to err on the side of caution and test slightly sooner than a recipe might suggest. If you follow my recipes you should be fine as I go into great detail to get the best results:-)
Richard Eldred Hawes
One of my favourite fruits, and it is not bad as jam as well
Margaret gallagher
Ive made jam in the past and it’s been a little too runny -lets home my next attempt will be better
Camilla
Practice makes perfect Margaret:-)
Amy Fidler
Thanks for this information x
Richard Eldred Hawes
Greengages are one of my favourite fruits, it is such a pity that season is so short
Camilla
Same here, and harder to find these days!
A S,Edinburgh
Plums are one of my favourite fruits, and yet I don’t remember ever having tried greengages. I should be able to find some later in the year, I’ll have to look out for them. This jam looks wonderful!
Camilla
They are rarer these days but you can usually find them for a short while in the summer!
William Gould
I must admit to not ever trying greengage jam – I must give it a go!
Camilla
Oh gosh William, it was always my favourite treat growing up:-)
Richard Eldred Hawes
Thanks for the information on runny jam and I love greengages
Camilla
Pleasure Richard, yes I love greengages too:-)
Lucy
Looks so good Camilla! love greengages and I think I saw some in Tesco the other day. Thanks for the tips, sometimes jam doesn’t set for me either and I never know what to do. Thanks for linking to my jam too.
Camilla
Thanks Lucy, yes I’d read about this re-boiling technique but to date had never needed to use it so though it was important to share:-)
Becca @ Amuse Your Bouche
I had no idea lemons contained pectin! You’re a fountain of jam knowledge 😉 This looks awesome, I’ve never tried greengages.
Camilla
Thanks Becca. Our grandmothers and mothers would often use citric acid from the chemist’s or was it acetic, I’ll have to check with MIL who works in a chemists as lemons were few and far between in the early half of the last century!
Elizabeth
I am very much a beginner when it comes to jam making – these tips are fantastic, thank you! I need to try this recipe soon. 🙂
Camilla
Thank you Elizabeth, it’s all just practice, trial and error:-)
Zoe L
Yummy yummy, I’ve not heard of greengages before but the kids love jam, so worth a try making our own
Camilla
I am feeling so sorry for the humble greengage now, whole generations seem to have not encountered it! I should have kept one of the stones and planted it!
Michelle @ Greedy Gourmet
I still think greengages are strange because of their greenness. Surely they should taste sour?! The only time I managed to get jam right was when my +80 year old neighbour stood next to me showing me step-by-step. With so many different jams under your belt you should be giving classes!
Camilla
Aaw thanks:-) I was probably older than you Michelle when I started making jam. I think it’s all mind over matter and practice does make perfect (most of the time LOL). Maybe when the kids have left home I could teach jam making but right now I have enough on my plate:-)
Katie Bryson
A great post Camilla, waiting for jam to set can be so nerve wracking, so it’s a great tip to share that you can just take it all out of the jars and boil it up again. I love the ritual of jam making but haven’t done it for AGES. I’ve been stock piling jars and fruit in the freezer so I need to find a day to dedicate myself to it. Probably when the kids go back to school if i’m honest!!!!!
Camilla
Thanks Katie, it’s easy to take things for granted but when they go wrong it’s a wake up call! Hope you get you jam making day soon:-)
Sus // roughmeasures.com
I’ve never tried green gages before but this jam sounds lovely, I also like slightly runnier jam! You got yourself a bargain with those punnets too.
Camilla
Oh Sus, you would love them, such a shame that they are so rare these days!
Georgina Ingham | Culinary Travels
I absolutely love making jams and preserves. This looks like such a delicious recipe, definitely one to try. My latest adventure has been using the slow cooker to make jam – much easier and less mess but not quite as much fun as stirring the huge preserve pan 🙂
Camilla
Thanks Georgina, I have yet to try the slow cooker for jam making, not sure I understand all the ins and outs to it!
Rachel In Real Life
I don’t think I’ve ever even heard of greengages before! I like jam but I’ve never been brave enough to try to make it myself.
Camilla
I put of jam making for far too long, just dive in and make some. Perhaps start with my One Punnet Strawberry Jam which is so quick and easy!
Anca
It looks fab. I make my own jam too, as it allows me to add spices or make a combination of 2 fruits. Getting the fruits from the reduce aisle is a good idea, as the fruits are more ripe and better for jam (and cheaper too).
Camilla
Thanks Anca:-) Pectin levels decrease with riper fruit and also affects the keeping quality so just ripe to under ripe fruit is best for jam making.
Nayna Kanabar
This looks delicious I have never had greengage jam before. Thanks for sharing my yellow plum jam recipe.
Camilla
Thanks Nayna, I am so surprised that so many people haven’t either heard of greengages or had the jam!
Fashion and Style Police
I love jam. Thanks for sharing this recipe. Definitely going to try it.
Camilla
Thanks Stella, enjoy:-)
Ickle Pickle
Oh wow – I have never heard of greengages, or made jam! Love this post 🙂 Kaz x
Camilla
Gosh, they’re rarer than I thought which is quite sad! Think there needs to be a campaign to grow more of these wonderful trees!
Kavey
I think all of us who love making jam have had that happen to us once, because you are on the side of caution and not wanting it to overcook. Love the colour!
Camilla
Thanks Kavey, yes I have done the too stiff jam and never want to go back there LOL:-)
Viki Marden
I have never heard of this type of plum before and sadly don’t like jam myself but may have to try and make some for my other half and daughter if I see any, I have always wanted to try my hand at Jam.
Camilla
That’s shame you don’t like jam and also that you haven’t heard of greengages, they taste so good!
Sherry m
I am always nervous with jam. I tend to get it too runny or too set. The saucer in the freezer trick seems to work as to judging readiness. We had greengage plums in the yard when we were kids.
Camilla
It is a case of practice makes perfect but I think I got so distracted with my phone that I simply forgot where I was at and started potting up before it was ready! Lesson learned, all jams will have my undivided attention from now on!
Claire Jessiman
I’m not sure I’ve ever eaten a greengage! Shall keep an eye out for them. I had to reboil a jam this week too!!
Camilla
They were far more common in my childhood and are so delicious. This was my first time with runny jam, lesson learned to not do social media whilst making jam!
Claire mason
I wish I was good at this sort of thing as it looks and sounds yummy x
Camilla
Claire I only started making jam three years ago, practice makes perfect:)
Nikki
I used to love Jam when I was younger but went off it. Your post has reminded me of how much I liked it! def on the shopping list!
Camilla
The greengages I hope LOL:-)