
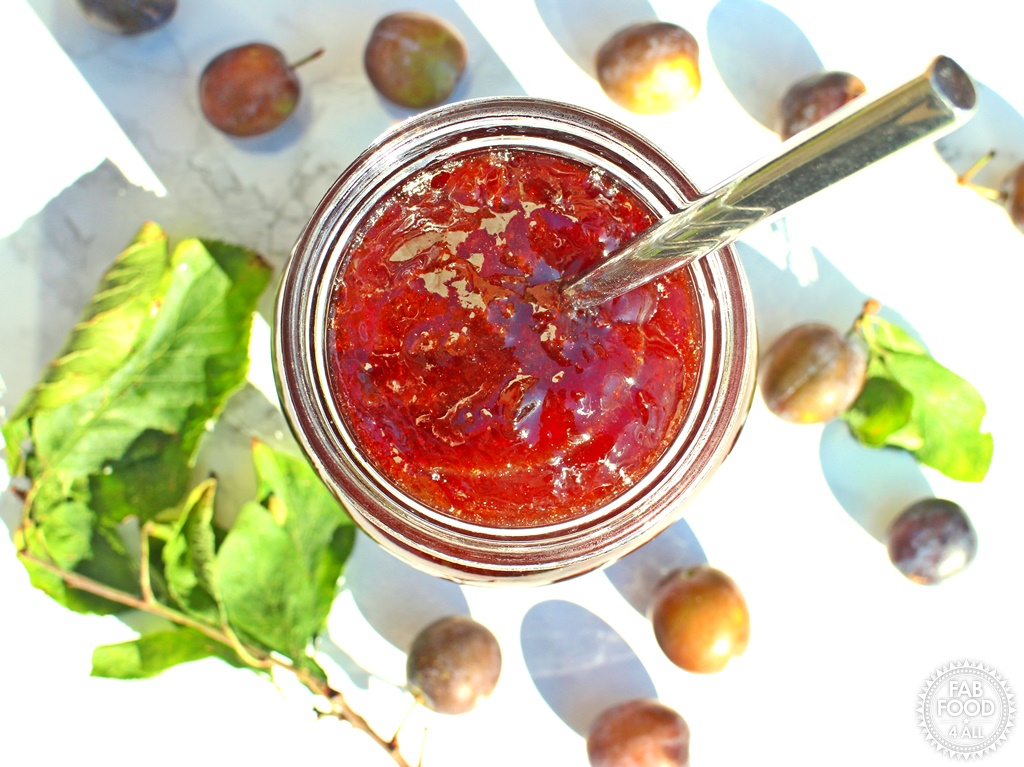
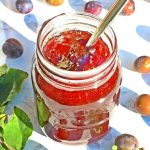
Damson Jam is beautifully tart and has a wonderful unique flavour. Perfect for using up your windfalls!
Today I’m re-posting my Damson Jam which was published in 2013 when I didn’t own or know how to use a professional camera. This recipe has been one of my most popular jams ever since so it was high time I did a re-shoot and gave it the presentation it deserved! I hope you approve.
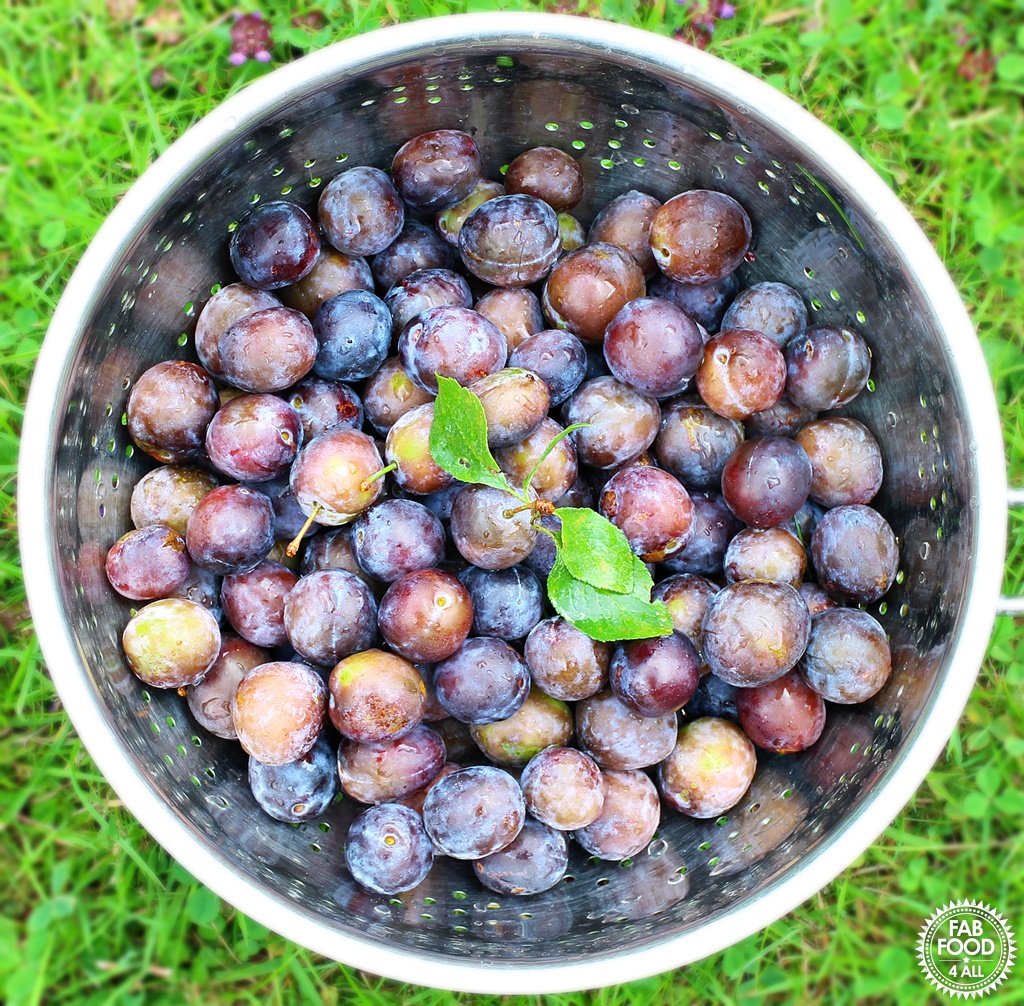
I have a confession to make, in the 40 years that my parents have lived in their current house I have never taken any notice of their Damson tree.
When I was growing up we had a Victoria plum tree and a huge pear tree which dominated the garden but the Damson tree just minded its own business in one of the borders.
The Victoria plum tree and the pear tree have long since languished but the Damson tree has soldiered on.
So it took my new love of jam making for me to actually look forward to the harvest of Damsons that I’ve half-heartedly accepted bags of in the past. Yes shocking I know!
As with all my jams I like to have a good old research of my topic and find the best and most efficient way to make my next jam. It became apparent that this wasn’t a simple jam to make like all the other ones I’d made.
With Damsons you have the sticky issue of the stone to contend with. Hence there were recipes where you either laboriously cut them out at the beginning or you have to wade through hot jam at the end to remove them.
Kirstie Allsopp even suggested counting the plums so that you could be sure to have removed all the stones! Then there were useful tips I found like agitating the plums once cooked with a whisk to help loosen the stones before fishing out.
Another tip I found which would have worked if my plums had all been really ripe, was to remove the stone by gripping the opposite ends of the Damson and squeezing thus releasing the stone. Sadly this only worked on a few of my plums and most of them were not ripe enough for this method.
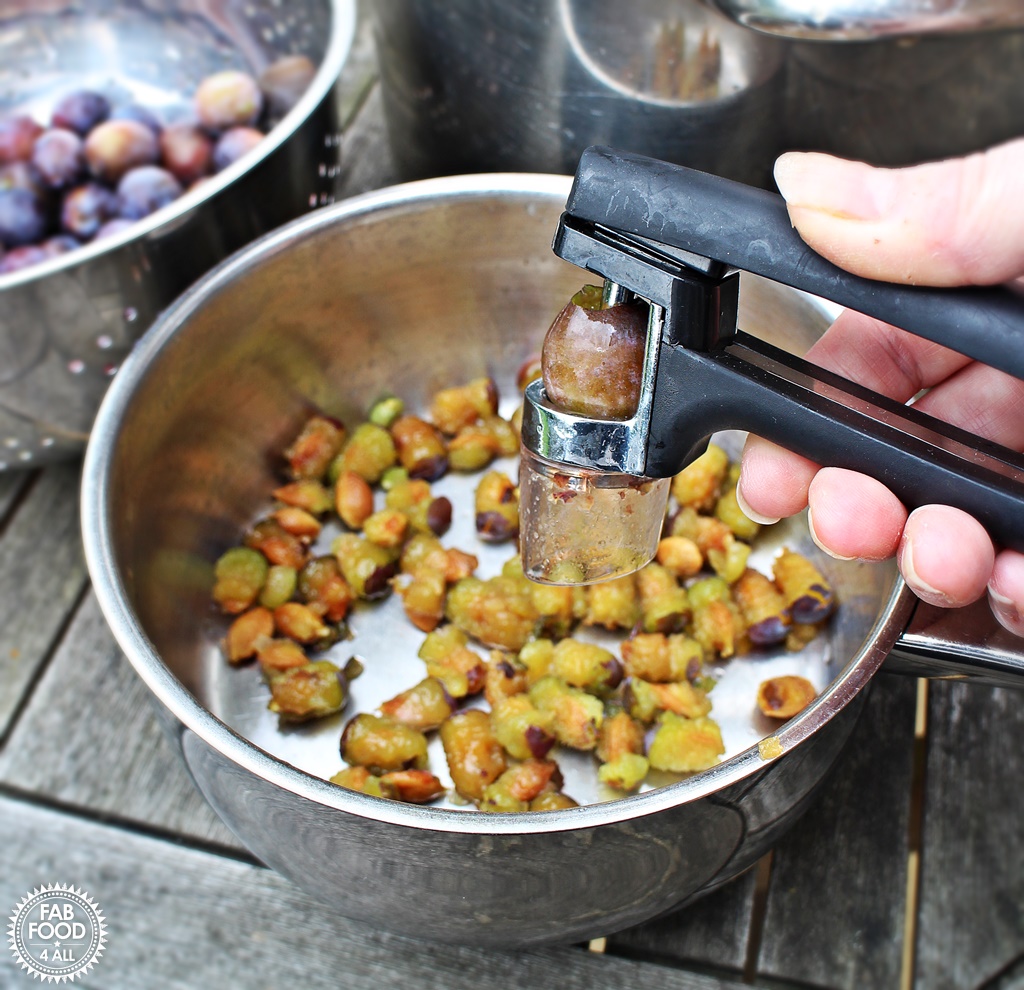
I came up with what I thought was a stroke of genius! I used my Oxo Goodgrips Cherry/Olive pitter as it is so sturdy and proved perfect for the job.
I decided I didn’t fancy fishing for stones at the end of the jam making process with rubber gloves and I’m really glad I opted to remove them beforehand.
If I hadn’t I wouldn’t have known about the 3 rotten plums that had looked fine from the outside but were totally brown on the inside which would have spoiled the jam.
The only problem with pitting the Damsons beforehand is that there is a certain amount of plum still stuck to the stone, which would also happen when using a knife or the squeeze technique.
Not wanting to waste any flesh I decided to simmer my stones in a small amount of water.
Then I popped them in a sieve which seemed to be the best of both worlds. The liquor was then put back into the pan with the simmered Damsons before adding the sugar.
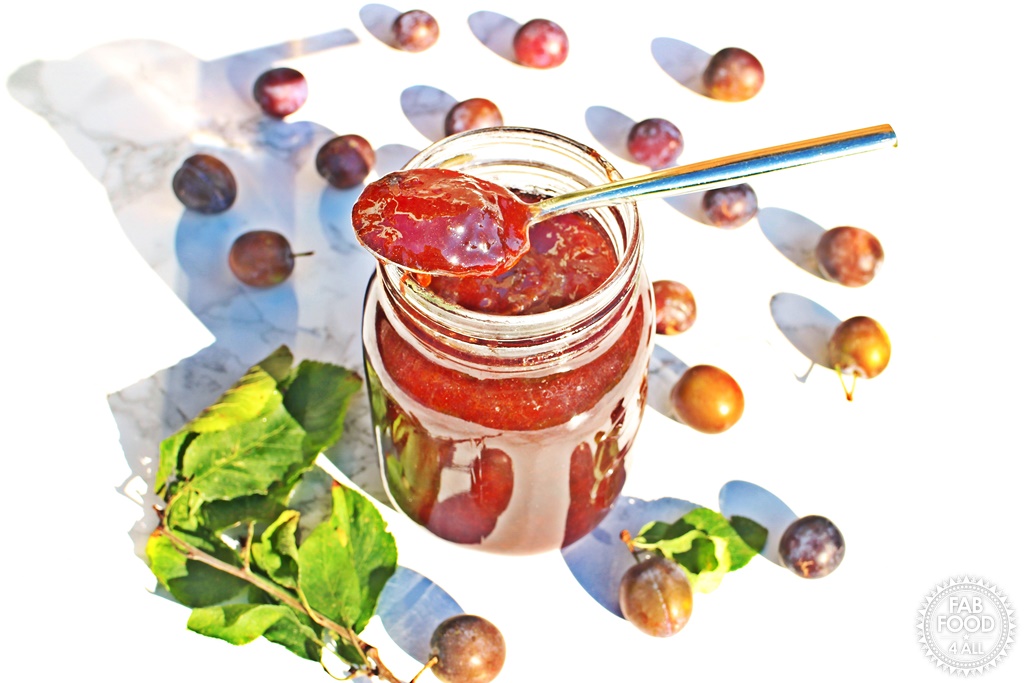
As Damsons are so delightfully full of pectin there was no need to add any other fruit or lemon juice to this recipe, they are the perfect fruit to make jam or jelly with.
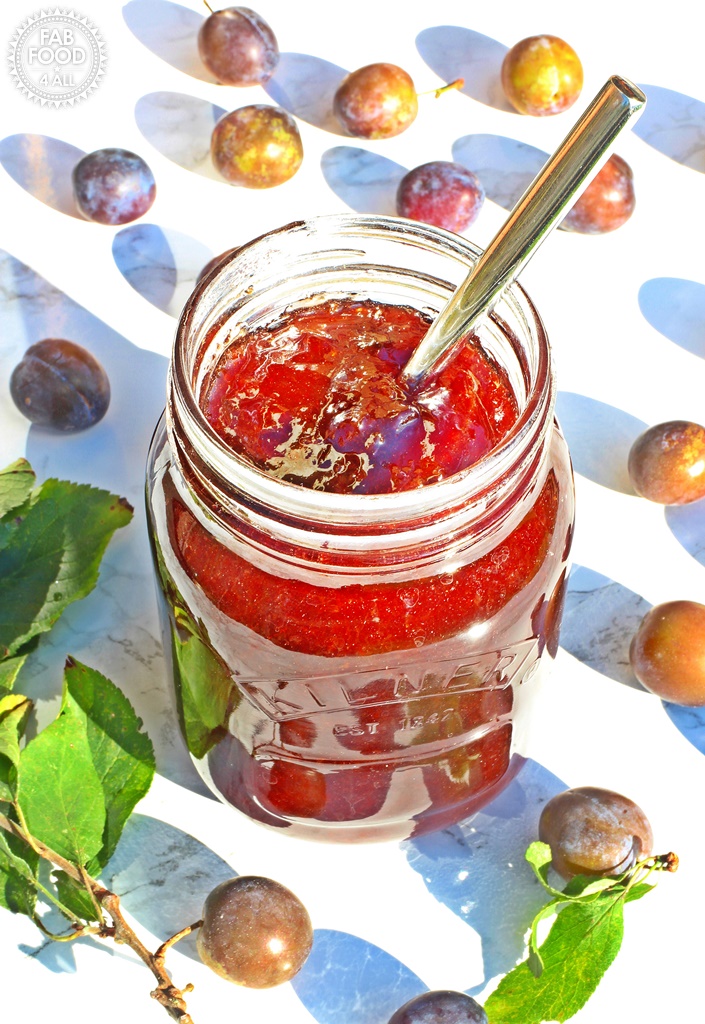
I had never eaten Damson jam before and it has a unique sharp edge to it which I have enjoyed especially at breakfast time.
This recipe made 8 jars of varying sizes, I did however measure the volume, which was about 2.1 litres.
For more plum jam recipe inspiration you might like:
I love chatting jam, so if you have any questions or want to tell me how you got on then do fire away in the comment section below!
I’m sure you’ll love my Damson Jam recipe so do leave a comment and rating below when you make it. Plus if you’re on social media tag @FabFood4All as I love seeing my recipes come to life.
Pin for later!
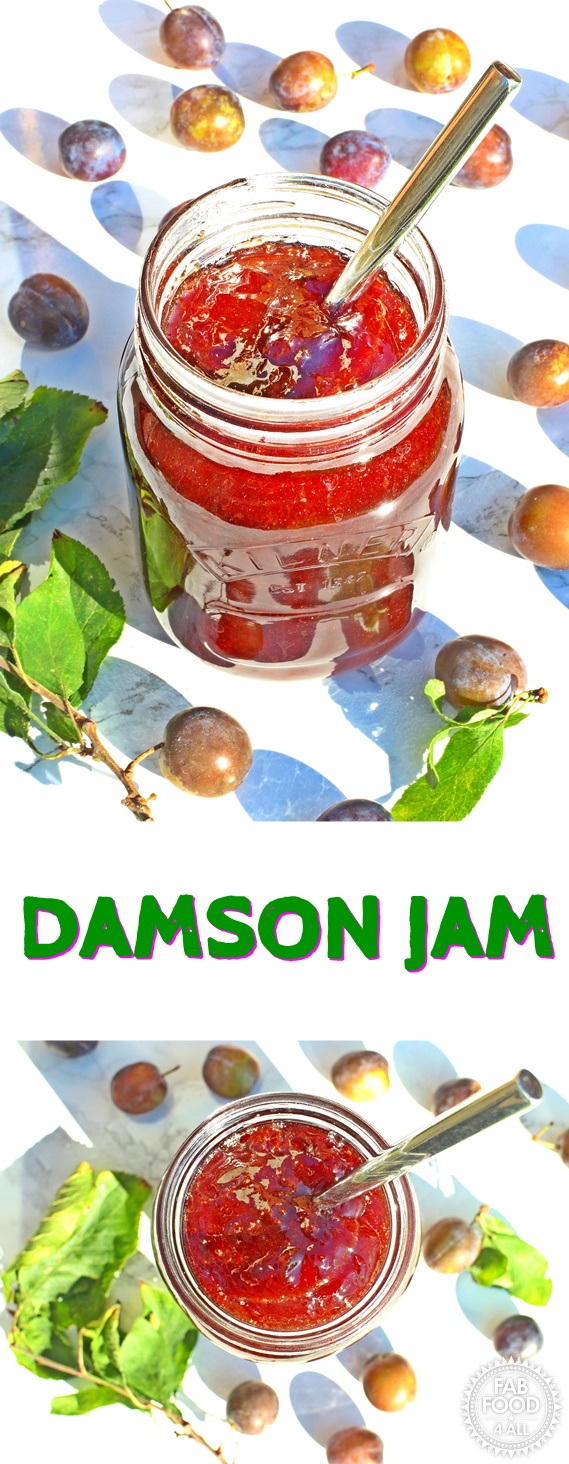
Damson Jam
Ingredients
- 1.5 kg Damsons (stoned after weighing)
- 1.875 kg Granulated Sugar
- 450 ml Water + 20 ml to simmer with damson stones
Instructions
- Cook the damsons in a preserving pan with the water gently for 20 minutes, stirring occasionally.
- At the same time cook the stones in a separate medium sized pan with 20 mls of water for 20 minutes.
- When the stones have cooked put them in a sieve and squeeze with the back of a wooden spoon for a couple of minutes. (There will be clear liquid and a little puree, no need to squeeze until dry).
- Add this liquor to the cooked Damsons and then add the sugar.
- Heat slowly until all the sugar has dissolved stirring with a wooden spoon.
- Bring to the boil slowly and then time a rolling boil for 13 minutes (make sure you stir with a wooden spoon regularly to stop it catching and burning).
- Take off the heat and test a teaspoon of jam on a cold plate, leave for a couple of minutes and if it crinkles when your finger is pushed through it it’s ready.
- If not boil for 2 more minutes at a time repeating the test.
- Once ready pot up into sterilised jars and put on a clean lid. Makes 2.1 ltrs or 8 jars of varied sizes.
Notes
Sterilise jars by washing or dishwashing, filling with boiling water, emptying and then placing in oven for 20 minutes at 140°C then leave in oven until jam is ready. Wash the lids, sterilise with boiling water and then leave to drain.
Vikki
Last year I had a glut of grapes. And I froze some for my favorite jam to which I always add citric acid and pectin to complete flavors and settability. I picked the grand total of 22 Dawson’s ha ha. Not quite enough to make half a cup of jam so I made a melange of my fruit and the required extra boiling for Damson’s and Hurrahb a greater flavor than I could have hoped for.
,
Camilla
Awesome Vikki, lovely when things just come together like they were meant to be:-)
Sylvia Smith
Hi from New Zealand. The birds got our first crop but I was onto it last year and made some lovely jam. I have beaten them again this year too. The pits were a hassle last year but I will try the microwave and whisk this year.
Camilla
Great Sylvia, so happy that my jam recipe has reached your shores:-)