

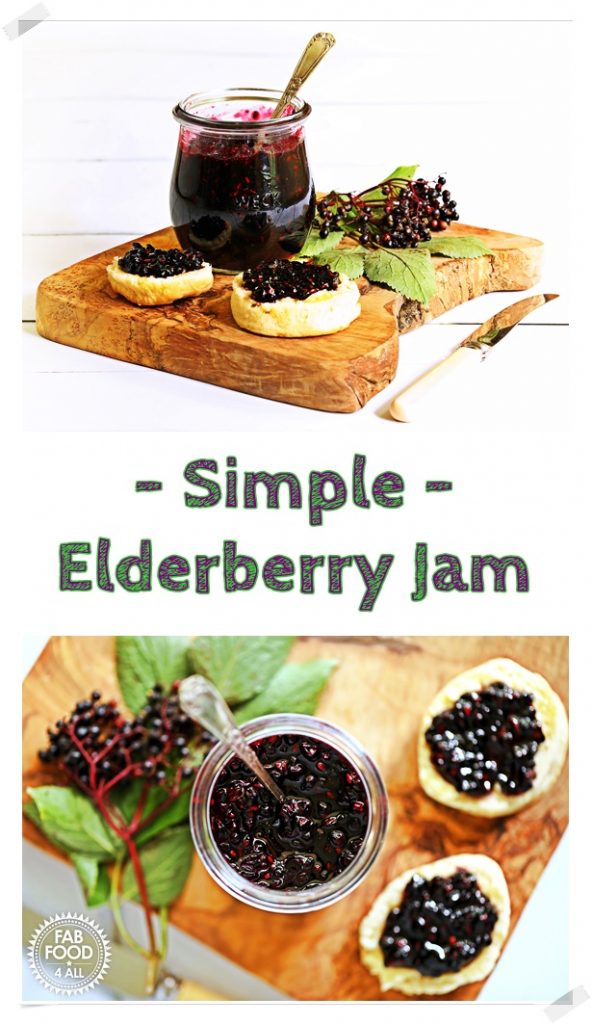
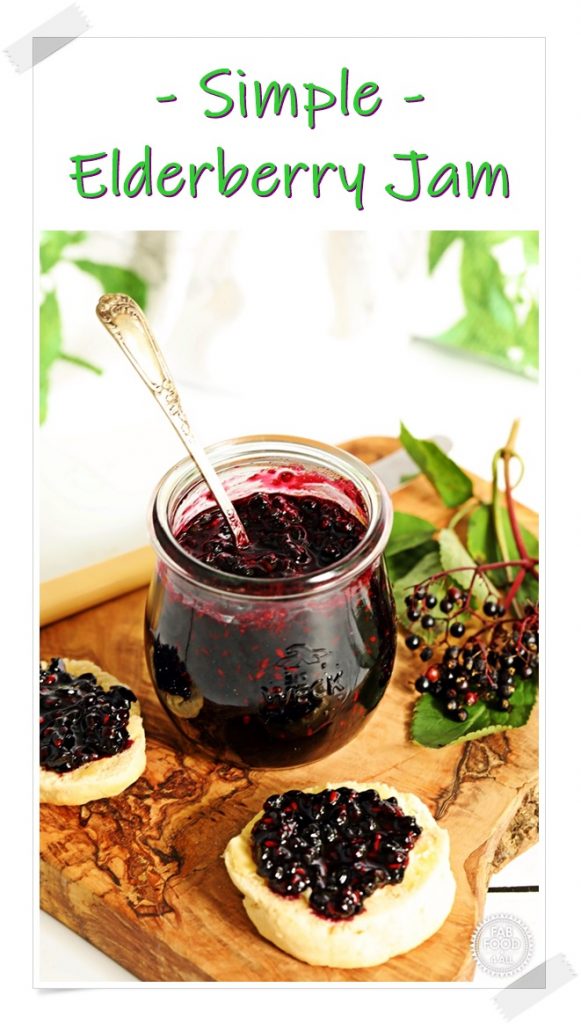
If you’re looking for a delicious and Simple Elderberry Jam recipe with seeds and no pectin they you’ve come to the right place! Follow my step-by-step video tutorial to ensure success!
What does Simple Elderberry Jam taste like?
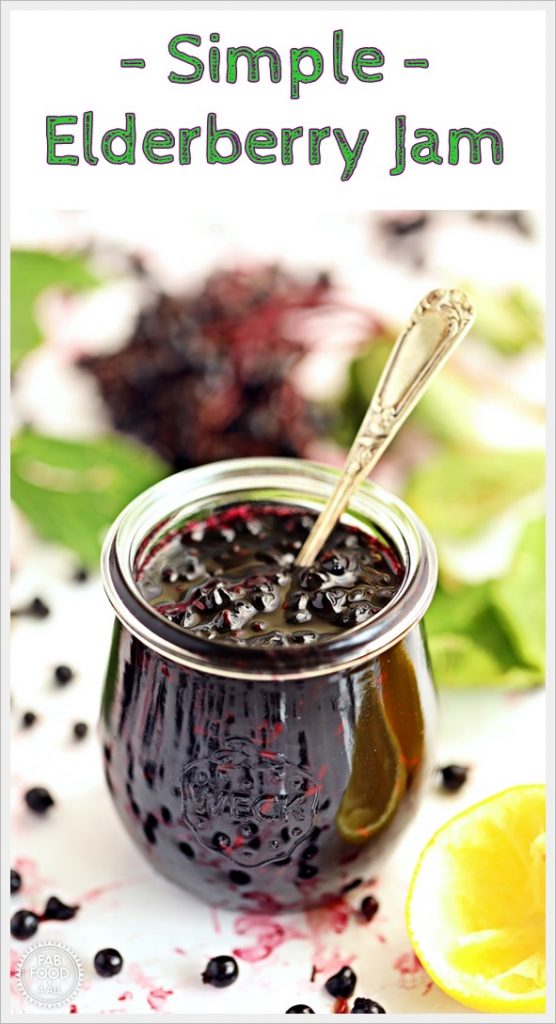
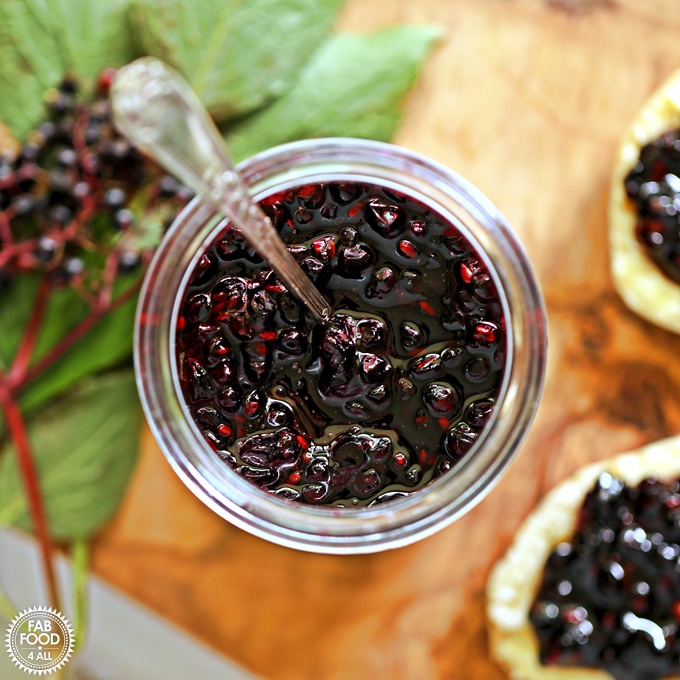
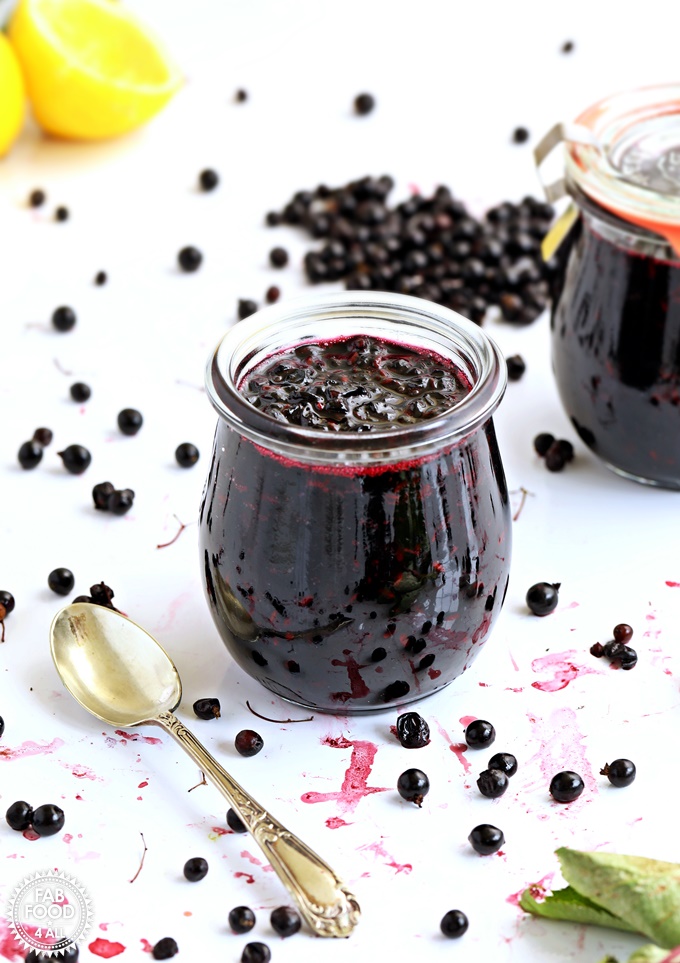
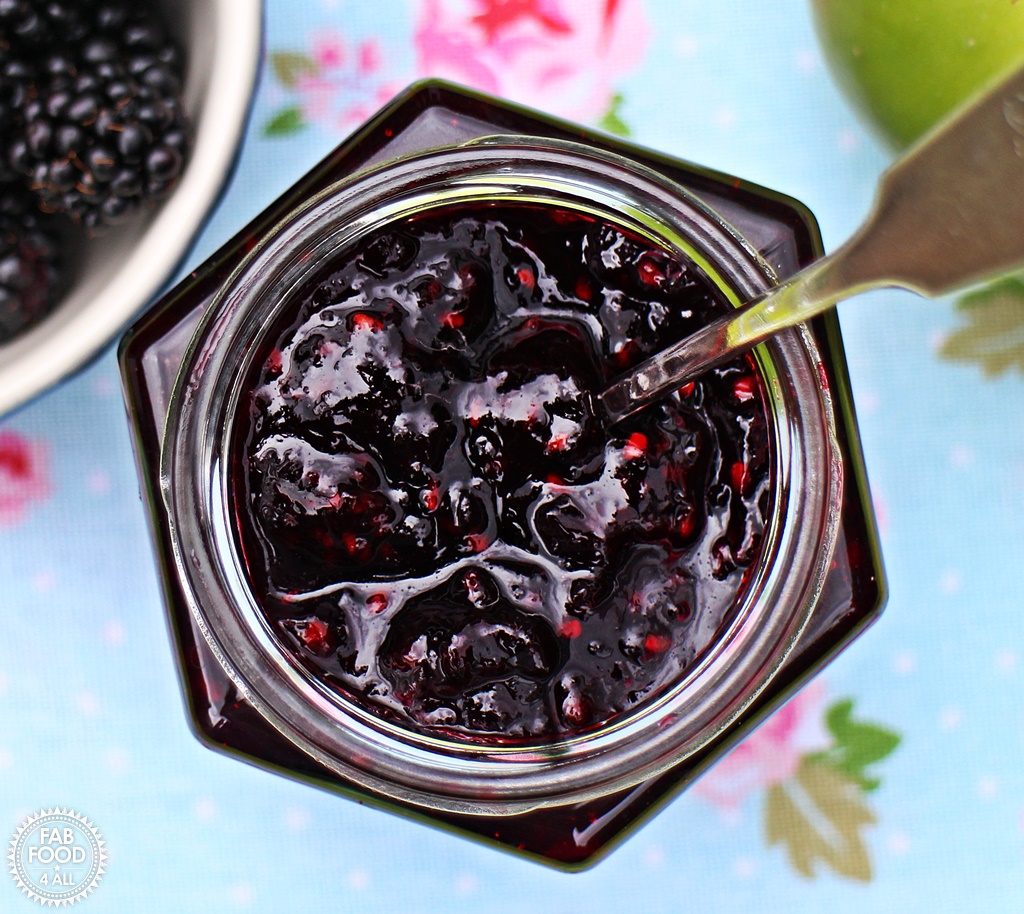
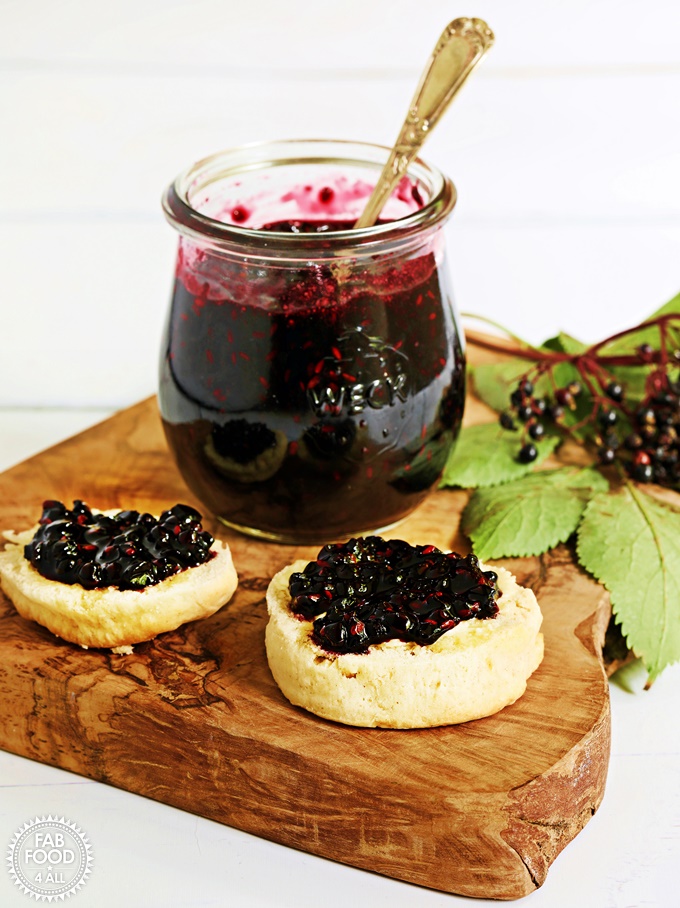
I would say that it tastes most similar to blackcurrant cordial with a slight tartness as it’s not sharp like blackcurrant jam but has a similar texture.
My son and I really liked the flavour but if you’re not a fan of seeds in jam like my hubby then you’re best off making a jelly!
We didn’t find the seeds bothersome in the least and I had been worried about them as I’d never made Elderberry jam before.

What are Elderberries?
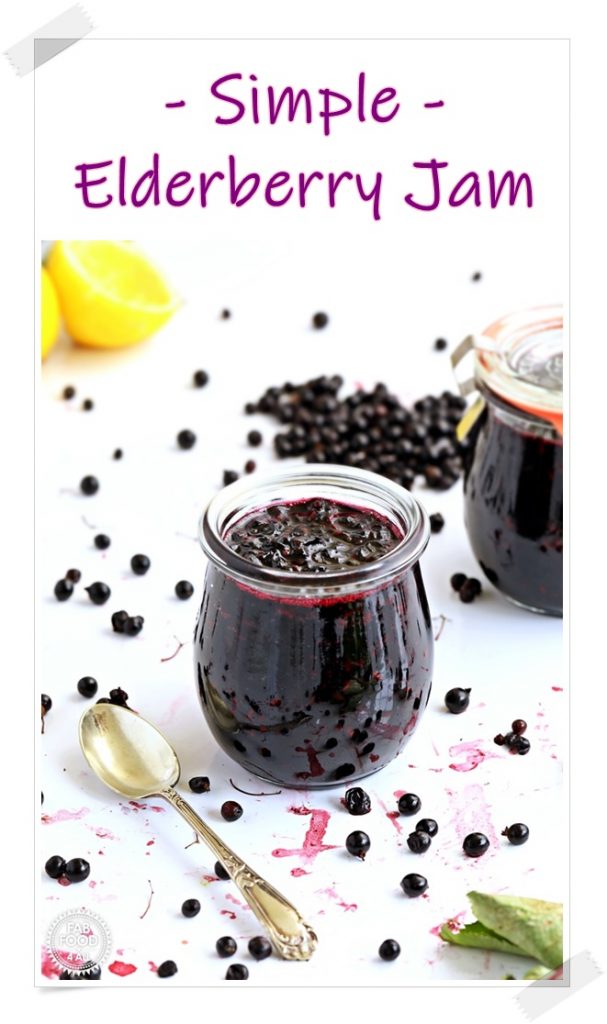
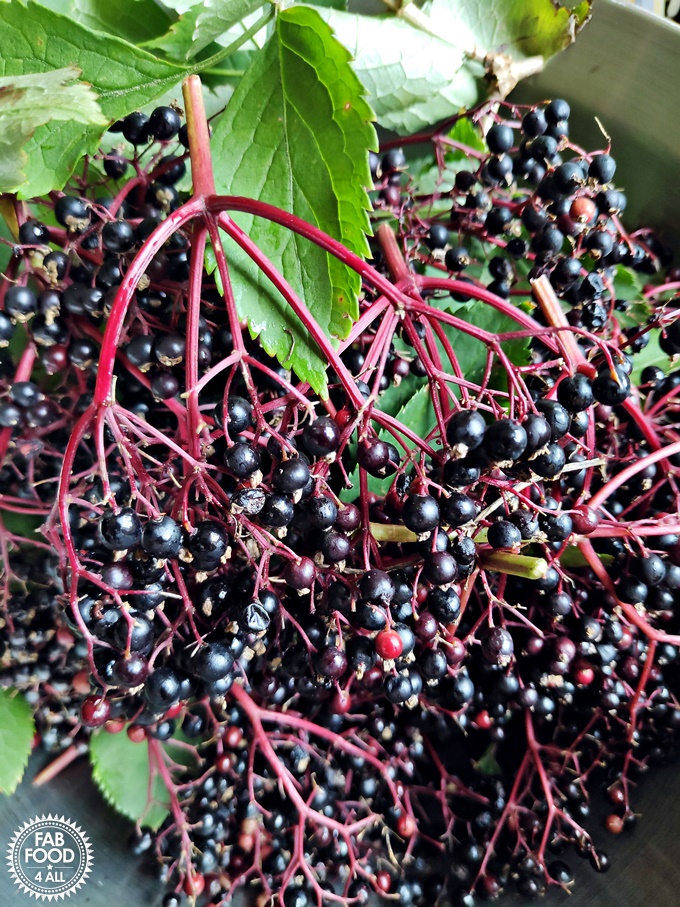
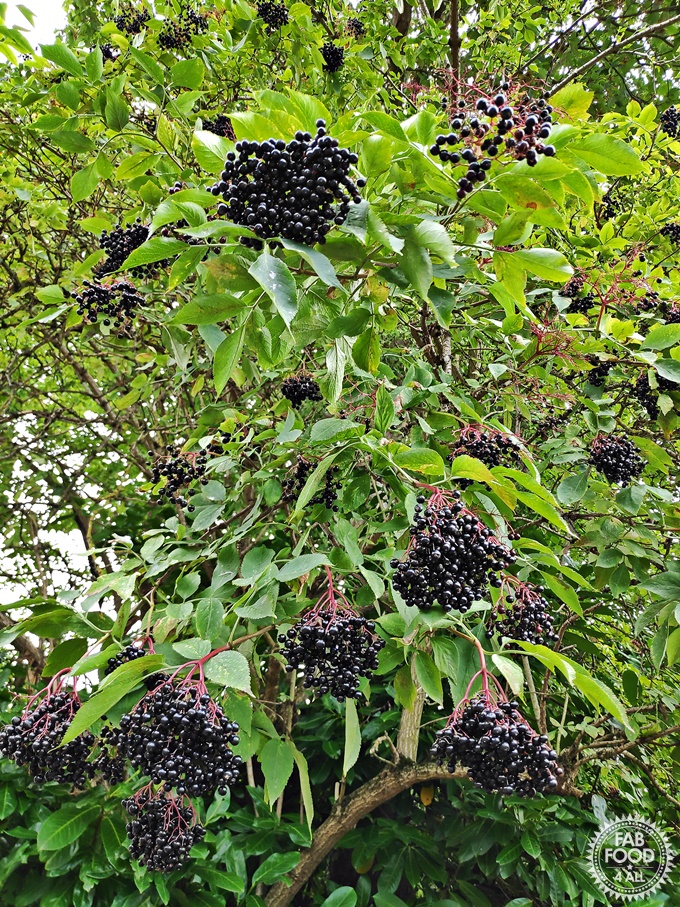
Elderberries grow in clusters of dark purple/black berries on an Elderberry Tree (most commonly Sambucas nigra) and appear between August and October. Prior to this come elderflowers which sweet and fragrant.
Are Elderberries high in pectin?
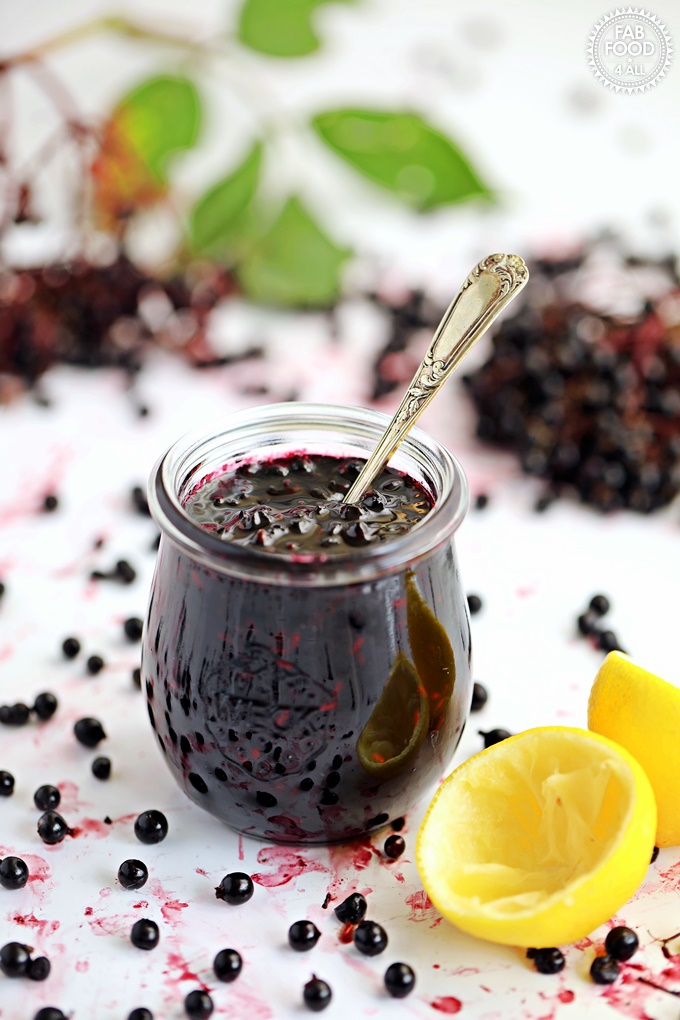
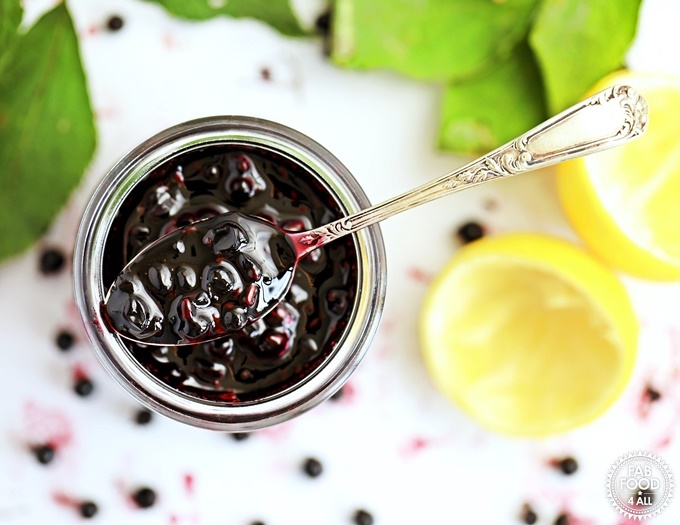
Elderberries are low in pectin so lemon juice helps with the gel formation in this Elderberry Jam recipe.
Where can you forage for Elderberries?
They are native to Europe and America and can be foraged from hedgerows, woodland, country lanes, along rivers etc and some people are lucky enough to have an Elderberry tree in their garden.
My biggest tip would be that if you see some, don’t wait a few days like I did to go back and pick them. More than likely the birds will beat you to it!
Let’s just say I got very fit trawling the countryside for enough elderberries to further develop my Elderberry Jam!
What’s the best way to pick Elderberries?
Elderberry trees can grow up to 20 feet tall so I took a telescopic lopper with me when I went foraging. Any elderberry clusters at picking height are easy enough to snap at the base of their stem with your fingers or you could use secateurs.
It’s also a good idea to wear old dark clothes and long sleeves to protect you from other wild shrubs. Plus take a bag with you that will stay open or a bowl or bucket would be great.
How do you prepare Elderberries?
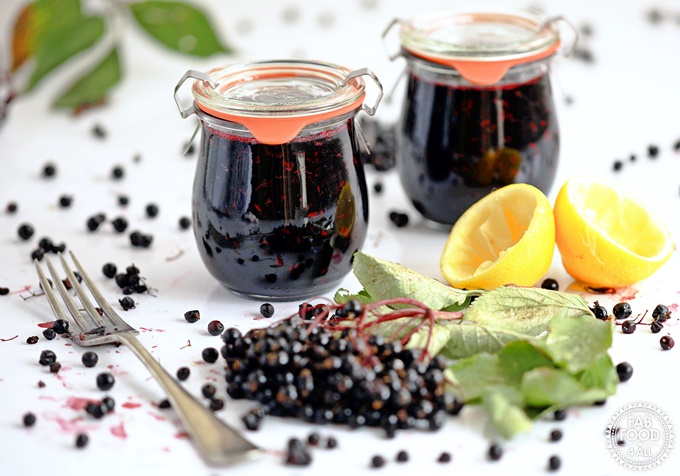
The easiest and quickest way to remove elderberries from their stems is by running a fork through them. It took me just 10 minutes to do this.
If your umbrellas of elderberries are all totally ripe this is a really quick process.
However, if there are unripe red or green berries you’ll want to remove these before you run a fork over the stems as they’re a devil to remove once in your bowl.
You then need to rinse and drain the berries a few times and be sure to pick out any stray raw berries, stems or bits of leaf. It’s a bit of a labour of love but quite relaxing.

Can you eat raw Elderberries?
No, elderberries, their stems, leaves and bark contain a toxic substance which can lead to nausea, vomiting and diarrhoea. Therefore, you should always cook elderberries before eating.
What are the health benefits of Elderberries?
Elderberries have been used for their health-giving properties for years and are said to protect against colds and flu and decrease the length of illness.
They are also high in Vitamin A as well as a source of potassium, vitamin C, folate, calcium and iron. Elderberries are also a great source of roughage.
My mother said that my grandmother would make Elderberry Syrup every year and give it to the whole family.
What can Elderberry Jam be used for?
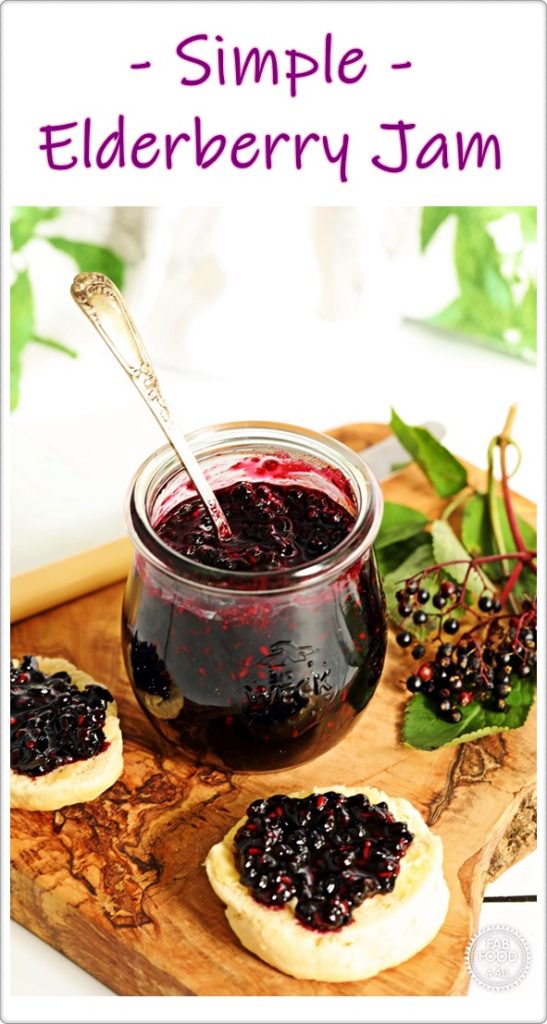
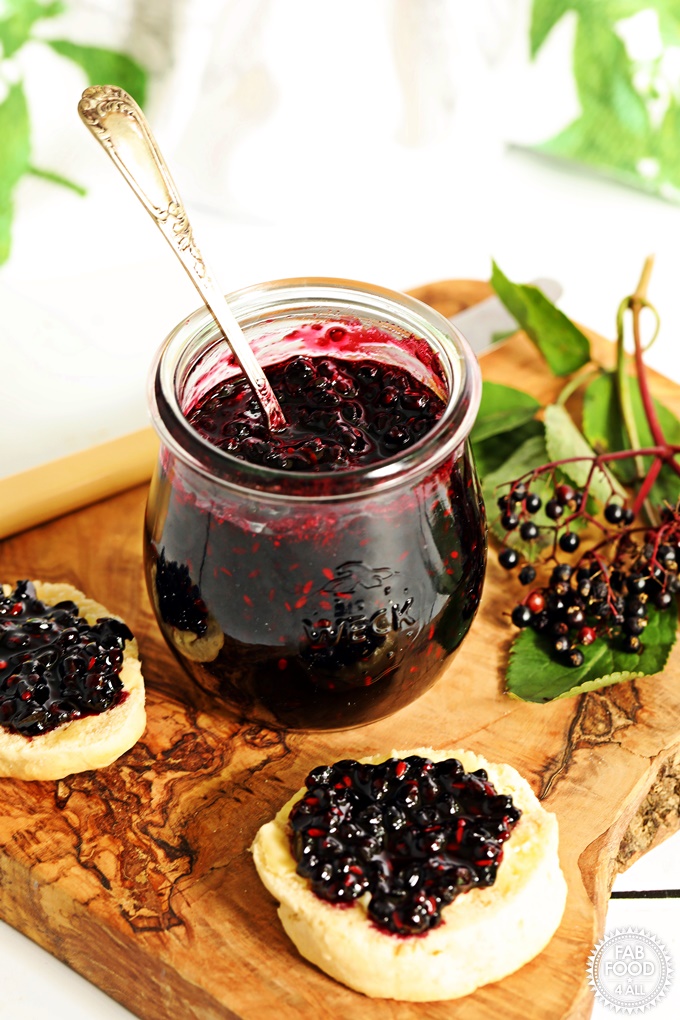
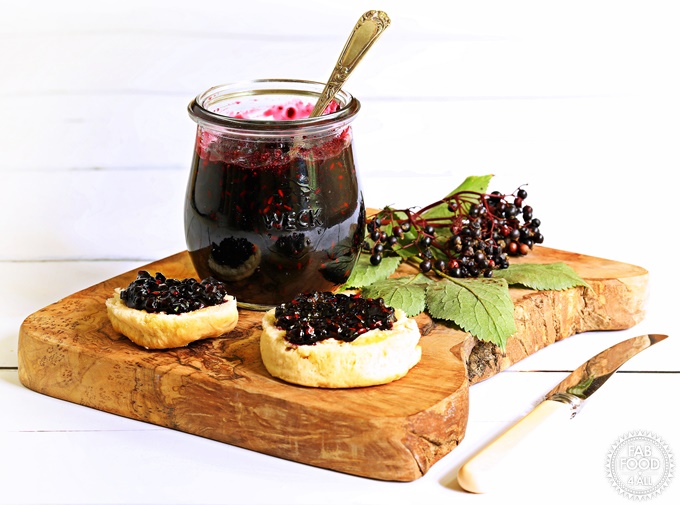
Well, apart from spreading on baked goods like scones, bread, etc Elderberry Jam can be stirred into plain yogurt, rice pudding, semolina pudding used in steam puddings, sandwich cakes together or baked into them, etc!
More Foraged Fruit Preserves
Here are some more recipes using foraged fruits from Fab Food 4 All and fellow food bloggers:
- Sloe & Apple Jam
- Easy Seedless Blackberry Jam
- Easy Blackberry & Apple Jam
- Blackberry & Apple Jelly
- Easy Crab Apple Jelly
- Easy Blackberry Curd
- Chocolate Blackberry Jam
- Elderberry & Port Jelly
- Sloe Cordial
- Hedgerow Jelly with Scotch Whisky
- Hedgerow Vodka
Other Recipes using Forages Fruits
- Blackberry & Apple Cake
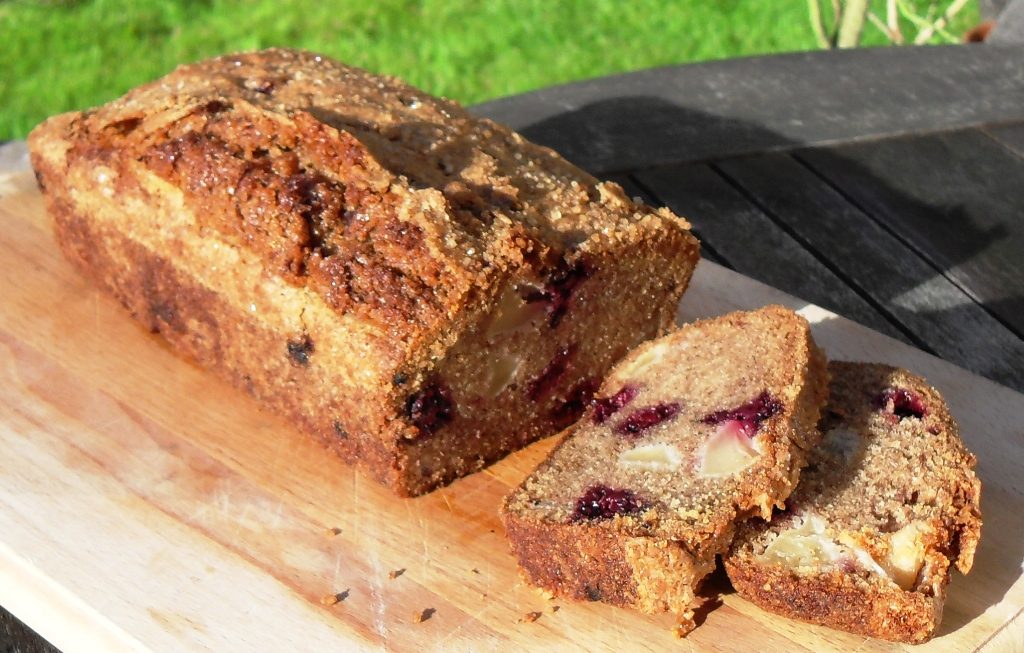
- Blackberry & Apple Loaf
- Easy Blackberry Compote
- Blackberry Sorbet
- Elderberry Tart with Cassis
- Nectarine & Bilberry Custard Tart
I’m sure you’ll love my Simple Elderberry Jam (don’t forget to check out the video) so do tag @FabFood4All on social media if you make it! Plus don’t forget to leave a comment and rating below. I love hearing from you!
Pin for later!

Simple Elderberry Jam
Equipment
- bowl
- colander or salad spinner
- preserving pan or large stainless steel cooking pot with lid
- long wooden spoon
- ladle
- jam funnel
- 3 x 200 ml glass jars and lids
- Kettle
- enamel baking tray
- oven gloves
Ingredients
- 500 g ripe elderberries prepared weight (see recipe for details)
- 500 g granulated sugar
- 2 tbsp freshly squeezed lemon juice
- 100 ml water
Optional:
- knob of butter or coconut oil to remove scum
Instructions
- Prepare your elderberries by removing from stems with a fork (or you can use your fingers). If you have any red or green ones it’s easier to remove by hand before you strip the stem as picking through a bowl of elderberries is not easy as they are so small. Now is the time to weigh the elderberries and I’d allow another 20 grams for the debris and red berries that you’ll end up throwing away.
- Immerse the elderberries in water and rinse several times until the water runs clear to remove any insects or debris. Pick out any stems or unripe berries, you just want black elderberries.
- Place the elderberries in a preserving pan or similar with 100 ml of water.
- Crush the berries to release their juices and bring to a boil.
- Turn the heat down to a simmer and cook gently for 10 minutes with a lid on, stirring a couple of times with a wooden spoon.
- Turn the heat down to a minimum and stir in the sugar and lemon juice and carry on stirring until sugar has completely dissolved (do not simmer). (Dragging your spoon across the pan there should be no crunching sounds).
- Then turn the heat up high and bring to a rolling boil and time for 6 minutes once it starts, stirring frequently to prevent the jam sticking to the pan.
- Take off the heat and test a few drops of jam on a chilled saucer and place in the fridge for a minute.
- Then run a finger through it, it should be tacky and not run back to the void your finger has just created. My jam was ready at 8 minutes and only showed the vaguest attempt at a wrinkle (this jam is very easy to over cook so please err on the side of caution)!
- If your jam hasn’t reached setting point then boil for another 2 minutes and repeat the test until ready.
- Stir the jam well to remove any scum but if that doesn’t work you can add a knob of butter or coconut oil for a vegan friendly option.
- Pot up into 3 x 200 ml sterilised jars, a ladle and jam funnel are really useful here.
- Place lids on immediately and allow to cool.
- Store in a cool dark place and once opened store in the fridge and eat within a few months.
- Jam best eaten in the first year but will be shelf stable for many years.
Video
Notes
Place 2 – 3 saucers/small plates in the freezer.
Sterilise jars by washing in hot soapy water (or take straight from dishwasher), fill with boiling water, empty and then place in oven for 20 minutes at 140°C where you leave them until the jam is ready. Washed lids should be sterilised with boiling water and then left to drain (if still wet place in oven once you’ve turned the heat off and run with just the fan for a few minutes).
TUBIDY
I absolutely loved this elderberry jam recipe! The video tutorial was super helpful and made the process so easy to follow. Can’t wait to try it out and enjoy it on some toast. Thanks for sharing!
Camilla
Excellent, do let me know what you think when you’ve sampled it:-)
Linda
I’m so excited to try this jam recipe! I’ve made elderberry jelly for years, but this year I wanted to keep the berries in and not strain them off. I grow elderberry bushes here in Colorado, so I don’t have to forage them.
Instead of a water bath, I turn the jar upside down for 5 minutes after filling and putting the lid on. At the end of 5 minutes, I turn the jar upright again. You should hear the popping noise within several hours. This seals the lid so that you don’t have to do a water bath. Been doing this method for many decades just like my mother did. If they don’t seal, I just use the jelly within 2 weeks and keep in the fridge. Hope that helps those who are concerned about sealing the lids!
Camilla
Awesome Linda, do let me know what you think of the jam when you’ve made it. I personally have never had any issue with ring style lids not sealing as hot jam in a hot jar creates a vacuum as it cools which ever way up it is. I have had cheap unbranded jars with single screw top lids not sea and then given the jam to my neighbours with instruction to keep in fridge and eat promptly:-)
Jaime Lynn
This is exactly.what I was hoping to find! No pectin, no straining. Just how I like it! I’m going to make this with the elderberries I stumbled across the other day, but I’m wondering if you’ve tried this with different kinds of sugar? I typically use honey or maple syrup for any sugar needs, or if I need actual sugar Crystal’s I’ll get coconut sugar. Do you know if any of these would work just as well as cane sugar? Thanks!!
Camilla
Excellent Jaime. I’m afraid I’ve only ever used granulated sugar in my jams so having no experience of using anything else I can’t advise. Maple syrup is very expensive and honey loses its health benefits when heated plus both have a dominant flavour so they’re not something I’ve ever been tempted to use even if you could get the jam to set (which I doub’t)?
Alayna Thompson
Does this need to be canned in a water bath to be shelf stable? I also noticed there is not pectin. Does it not need that either to preserve it?
Camilla
Hi Alayna, we don’t water bath jam in the UK or in most of Europe and it is shelf stable. You can of course water bath if that is your preference but you’d have to follow your jar manufacturers guidelines on that as I have no knowledge of this process. Pectin is something found in fruit which aids the setting, in low pectin fruits I add lemon juice which helps to set the jam – it has nothing to do with preserving the jam, the sugar does that:-)
Roger
Thank you for posting this recipe. It’s not quite elderberry time yet … but it will be soon and I’m going to give this a try.
🙂
Camilla
Excellent, do let me know what you think:-)
Lisa
It never ceases to amaze me how many trolls there are commenting on a recipe site (insert eye roll). Sorry you have to deal with that!
This is a great recipe that I will save.
I had more than the 13oz (US) that you had on the recipe – mine weighed in at 28oz. I used less sugar as I ran out..lol..so I ended up with about 9oz, but followed the instructions exactly and it turned out perfect and tasted delicious!
Thank you for posting!
Camilla
Hi Lisa, glad it all worked out OK for you. 500 grams is nearly 18 ounces though and if you only used 9 ounces of sugar for 28 ounces of fruit then I don’t think there is enough sugar in there to preserve the jam so I’d store in the fridge and eat it soon as it won’t keep for years (as per written recipe).
Jane Simpson
Can you give the measurments in US, please?
Camilla
Hi Jane, I’m afraid there is no way to accurately convert a weight to a volume if you mean cups. Your best option is to buy a cheap set of digital scales, I’ve seen them on Amazon US for not much more than the price of a coffee. That way you will be on the road to accurate and successful recipe making. I once weighed cups on blueberries in my kitchen and depending on the size of the blueberries they all weighed different amounts. Then scale that up for the amount of blueberries in jam recipe and the margin for error is huge. Plus the cups I own aren’t US cups. So I just don’t go there as food is too precious to waste and elderberries even more so as you can’t just buy them.
Sharon Wolf
Can this recipe be doubled? My husband hit the motherload (almost 3 gallons of berries!) and I would like ttomake some jam for gifts.
Camilla
Hi Sharon, yes that should be fine, just bear in mind that the setting point my take more than twice as long to reach so best to use a thermometer.
sama
could rehydrated dried elderberries work for this recipe as well?
Camilla
Hi Sama, I really don’t think that that would work.
Holly Garcia Held
I undercooked mine since I was going to do a waterbath for 20 minutes, so hard to know if it would gel right. So I added 1 tbsp. apple pectin. I did half sugar, half stevia in the raw. Lot on the sweet side even though I did more berries than sweetener, so next time I will lessen by at least 1/4.
Thanks for the recipe, I have a ton more elderberries in the freezer so going to try some other things.
Camilla
Thank you Holly, sorry I know nothing about water bathing or sweeteners but I guess it’s trial and error when diverting from the recipe.
Angela
Thanks for the recipe I’m going to make some today
Camilla
Excellent, do let me know how you get on:-)
Naomi
This is the first time I’ve picked the elderberries in our garden and the first time I’ve made preserves. Simple recipe and absolutely delicious! Thank you.
Camilla
Aaw, that’s wonderful, so pleased you like the recipe and had success on your first go, well done:-)
Christa
Elderberry seeds are toxic even when cooked. That’s why you won’t find elderberry jam in the shops!!!!!!
Or at least do your own research before you try this recipe
Camilla
I would respectfully advise you to do the same! First quote on Google “cooking the berries destroys the glycosides present in the seeds which can cause nausea and other gastro-intestinal upset” I do thorough research before posting any of my recipes and studied Home Economics to degree level so take food safety very seriously. You will have your work cut out as there are hoards of Elderberry dessert recipes out there with seeds included. I have myself had to comment a few years ago when I saw a girl on Instagram make a raw smoothie including Elderberries which could lead to sickness. I assure you my jam and all the other cooked elderberry recipes on the web are safe. I make this jam every year to ward off cold and flu and my elderly mother loves it too, it will not make you sick, quite the reverse.
Vicky
Thanķ you going to make it looķed good and free berries .
Camilla
Excellent Vicky, do let me know how you get on:-)
Simon Peters
In your recipe for elderberry jam you have the instruction ‘leave too cool’ ( sic). As you will realise, this is a schoolgirl error, you wanted ‘to’.
Kind regards,
Simon Peters
Camilla
In the recipe block at he bottom I say “allow to cool”, where does it say “leave too cool”?
Dot
Ha ha , I see you got no reply to previous message, anyway this all sounds very simple in the way you explained everything so here goes, elderberry jam here I come, I discovered elderberry tree at the bottom of my new garden, having just moved, wish me luck ☺️
Camilla
Sadly I can’t see what you’ve replied to until this comment is published. Gosh, aren’t you lucky, really wish I had an elderberry tree! Good luck:-)
Fawn Rosenberg
Is it safe to consume the whole berry including the seeds once cooked? I thought the elderberry seeds were toxic. Thank you!
Camilla
Hi Fawn, elderberries can be toxic if eaten raw. Cooked berries are fine and safe.
Shelly
I made the jam this morning. All was fine, left sealed jars on counter near open window. Just returned to find jam has liquified in the jars. Not even a little thickness to it. What do you think happened, and how can I fix? I made this another time with no issue at all!.Note: we are in a heatwave with 95 degree days, but the kitchen is shaded and nowhere near that. I look forward to hearing your thoughts.
Thank you!
Camilla
Hi Shelly, if the jam passed the crinkle test on a chilled plate then I would put the jars in the fridge and check the consistency the next day as it may be due to the heat. Failing that then you’d need to tip the jam back into a pan and re-boil until you reach setting point, but hopefully it won’t come to that.
Tegan
Hi. Can you use frozen elderberries for this recipe?
Camilla
Yes I just picked some today and froze them for future jam making as need a few more. Just proceed with the frozen elderberriea, no need to thaw.
Cynthia Russak
I found the berries in our last remaining elderberry bush. Usually the birds get them. This time, I was able to harvest enough to make 2 half pints and 3 smaller jars…I didn’t have everything to follow it 100 percent, but I used much less sugar and added 1 tsp. of stevia plus a low sugar jam making pectin I had left over, and it turned out quite well. Tastes just like the lozenges you get in the health food store. I think you should post a low sugar recipe. I did the best I could with what I had and it turned out well. The worst part was picking out all the stems.
Camilla
Hi Cynthia, glad you like the jam, it’s one of my favourites. I haven’t seen any elderberries this year as been stuck inside with Covid so I hope I haven’t missed them locally. My problem with low sugar jams is that I really don’t like the taste of sweeteners. I made a sugar free chia jam once and it tasted awful to me so never ventured down that path again. I avoid sweeteners as much as possible to be honest.
Alicia Causey
Absolutely delicious
Camilla
Thanks Alicia, I know and I can’t wait to pick more elderberries when they’re ready:-)
Lisa
Beautiful jam!
Thanks for the recipe!
Camilla
Thank you so much Lisa. We’re still waiting for our elderberries here as currently still flowering, but as soon as they appear I’ll be making more of this luscious jam:-)
Andrea
Can u use dried elderberry
Camilla
Hi Andrea, no you need the juice from the fresh elderberries to make jam.
Toni
Hi I love this recipe, over the years I found that freezing the berries first stems and all, they fall off like marbles,
We love fresh foods
Toni
Camilla
Thank you so much Toni. That’s a wonderful tip. Although, call me odd, but there’s something quite satisfying about pronging the berries off the stems:-)
steve widman
where is the recipe?
Camilla
There’s a jump to recipe button at the top of the post or just scroll to the bottom of the page.
Kay Griffiths
I used your recipe for 12pounds of elderberries stemmed and cleaned. I doubled the recipe 6 times. It all came to out beautifully. Great taste, color and consistency. I rate your recipe 5! Thanks.
Camilla
Hi Kay, that’s lovely to hear, would have been great if you could have hit the star rating in that case:-)
Aly
Can recipe be doubled or even tripled?
Is there a problem to do so?
Reading different responses to making jams on general.
Camilla
Hi Aly, in theory you could but as I haven’t tried this I don’t know how long it would take to set, I’m guessing it would double the or triple the time (you’d need a digital/jam thermometer) plus as the fruits are so tiny I’m not sure that they’d like such a long cooking time. If it was me I’d cook up a couple of batches in 2 pans at the same time rather than risk a larger batch.
Janet Starnes
This is the first year that I have beaten the birds to the berries, so I am anxious to try this. Thanks.
Camilla
Excellent Janet, I need to go foraging this weekend because as you say, the birds can just swoop in and take the lot before you know it! Do let me know what you think of the jam when you make it – enjoy:-) xx
Jane Owen Schaumloffel
Hi Camilla, so happy to find your detailed recipe for the huge bag of elderberries I’ve had in my freezer from last autumn that my daughter so generously gave me. It certainly did take a while to strip and pick over the fruit! Rather frantic to remove all the stems after learning they’re poisonous. Checked with Google and thankfully seems a few little bits shouldn’t matter. The jam set just as you said, mine took 8 minutes too. Can’t wait to enjoy some for breakfast soon! Many thanks, Jane
Camilla
Wonderful Jane, I’m so envious. I really think eating this jam is a way to stave off ills and chills so plan to make an abundance this year to see me into next year:-)
Jennifer
Thank you for the recipe. A couple of questions. 1) why don’t you add pectin? 2) can you water bath the jars for sealing the lids?
Thanks!
Camilla
Hi Jennifer, 1) the first jam I ever made used jam sugar with added pectin and I disliked the set so much I never used it again. So all the jams containing fruit with low pectin levels us lemon juice to aid the set instead. 2) This is the way we make shelf stable jam in Europe and I’m afraid I don’t know anything about canning or water bathing I’m afraid.
Lynne
Very clear explanation! Mine took much longer to finish and also I translated grams to cups … not sure if I got it right but mine was too sweet. Can you post the equivalent in cups for the sugar and elderberries?
Camilla
Hi Lynne, I don’t give cup measurements as they are not accurate and jam is like an experiment in a lab unlike say a casserole where it wouldn’t matter if the measurements weren’t exact. I once put blueberries of various sizes into cups and the weight differed by nearly 20 grams depending on if they were big or small berries. So when you then multiply that up there’s a large margin of error. I believe scales are widely available and quite cheap at Amazon US as I have been on the site and they were even on the home page. If you want accurate recipes that work every time then a set of scales is imperative.
Nicholas
what a detailed guide on elderberries!
Camilla
Thank you:-)
Katherine Hackworthy
This looks incredible! Sadly my elderberries are all gone now, but bookmarking this for next year.
Camilla
Thank you Katherine, so envious of your elderberries, would have save me a lot of time if I’d had my own supply:-)
Chloe Edges
Great to have you back! I know I don’t like elderflowers but I don’t think I’ve ever actually tried elderberries. i do like blackcurrant so I will have to give them a try if I see any!
Camilla
Thanks Chloe, it’s great to be back:-) I’m sure you’d love this jam!
Janice Pattie
Such a clever idea! I’ve only every thought of elderberries for wine which we used to make years ago. I’ll definitely be trying this.
Camilla
Thanks Janice, I’m sure you’ll love it! Mum has already begged for another jar of it which has never happened before:-)
Sarah James
Glad to see you back with another fab recipe Camilla. Hoping to find some elderberries this week. Thanks for including my recipes.
Camilla
Thank you Sarah, can’t believe that elderberries have passed me by all these years:-)
Choclette
Ooh how wonderful Camilla. I love the flavour of elderberries, but I reckon this is the first elderberry jam I’ve ever seen. I bet it’s delicious. I used to make elderberry rob every year to keep the coughs and colds at bay, but it’s one of the casualties of blogging and fell by the way side.
Camilla
Thank you Choclette, it’s so good, my mum has even begged for another jar of it:-) Sounds like you need to blog your elderberry rob!